Care
Point:
Only remove battery and washer
fluid reservoir if removing left hand
track rod.
1.
Release lock nut (1) and wind up steering
arm.
2.
Care
Point:
Use a ball joint separator.
3.
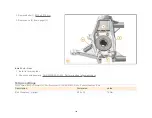
Separate track rod (3) from upright.
Care
Point:
Ensure the mark is clear and will
not wipe off before new track rod
is fitted.
4.
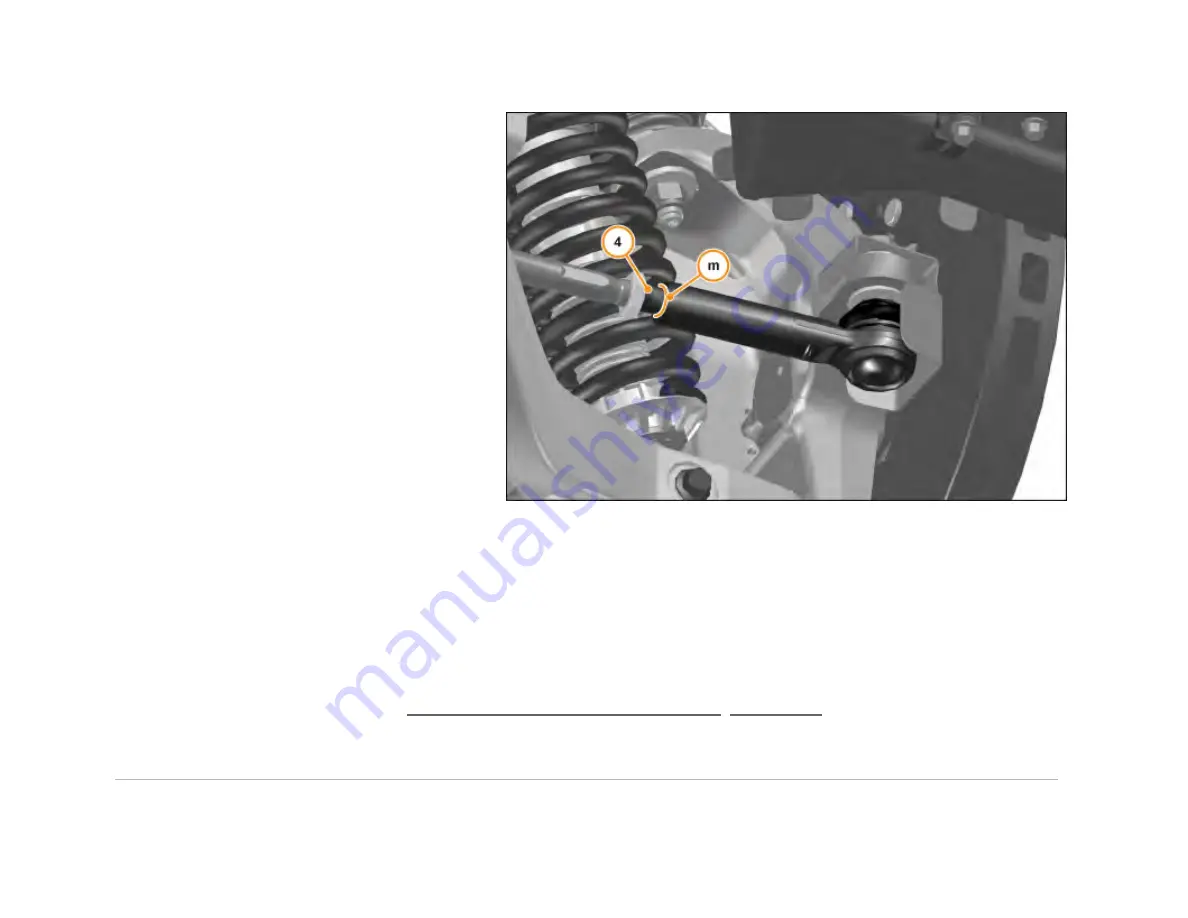
Mark steering arm thread (4) with position of
track rod (m).
5.
Remove track rod (3), counting the number of
full rotations it takes to remove.
Care
Point:
Count the number of full rotations while installing the track rod. This will align with the marking made on the steering arm
thread (m).
Care
Point:
Ensure track rod is held with spanner across the machined flats when applying torque to lock nut (3).
Install track rod
1.
Install components in reverse order.
2.
Carry out steering alignment check. AA-RM-03B03-01-002 - Perform a wheel alignment check
Torque settings
FG03 Chassis / D01 Steering System / Steering System / AA-RM-03D01-01-001 - Remove/install track rod
123
Summary of Contents for MP4-12C
Page 1: ......
Page 35: ...5 Disc Cross Drilled Hole Chip on disc Do not renew disc 1 34 ...
Page 52: ...2 Detach union nut 2 M10 17 Nm 3 Loosen nut 3 4 Remove front brake hose 4 51 ...
Page 69: ...2 Detach union nut 2 M10 17 Nm 3 Loosen nut 3 4 Remove rear brake hose 4 68 ...
Page 98: ...Description Dimension Value Bolt Floor panel tunnel M6 x 16 10 Nm 97 ...
Page 104: ...1 Remove bolts 1 M6 x 20 4 Nm 2 Remove tyre spoilers 2 Remove front guide vanes 103 ...
Page 105: ...1 Remove screws 1 M6 x 16 6 Nm 2 Remove front guide vanes 2 Remove rear guide vanes 104 ...
Page 125: ...Description Dimension Value Track rod steering rack M14 30 Nm 124 ...
Page 194: ...4 Remove bolts 2 M6 x 20 8 Nm 5 Remove bolts 3 M6 x 16 8 Nm 193 ...
Page 195: ...5 Remove bolts 3 M6 x 16 8 Nm 6 Remove bolts 4 M6 x 16 8 Nm 194 ...
Page 196: ...6 Remove bolts 4 M6 x 16 8 Nm 7 Remove bodyside lower rear arrows 195 ...
Page 203: ...Description Dimension Value Clamp ISG to Throttle M6 5 Nm 202 ...


