background image


- 5 - 

Machine Specification 


 Automatic Scrubber 

C510 

Brush Width 

20in 

Squeegee Width 

33.5in 

Solution Tank 

20Gal 

Recovery Tank 

23Gal 

Brush Rotation 

175rpm 

Efficiency 

27976sq.ft/h


Voltage 

24V 

Vacuum Motor Power 

0.73HP 

Brush Motor Power 

                                         0.73HP 

Traction motor 

0.53HP 

Weight  

418lbs 

Length x Width x Height 

59*28*43in 


Note: 

MC preserves rights to improve the technology without prior notice. 
So, the machine may not match these manuals, figures completely. 

Daily Operation and Maintenance 

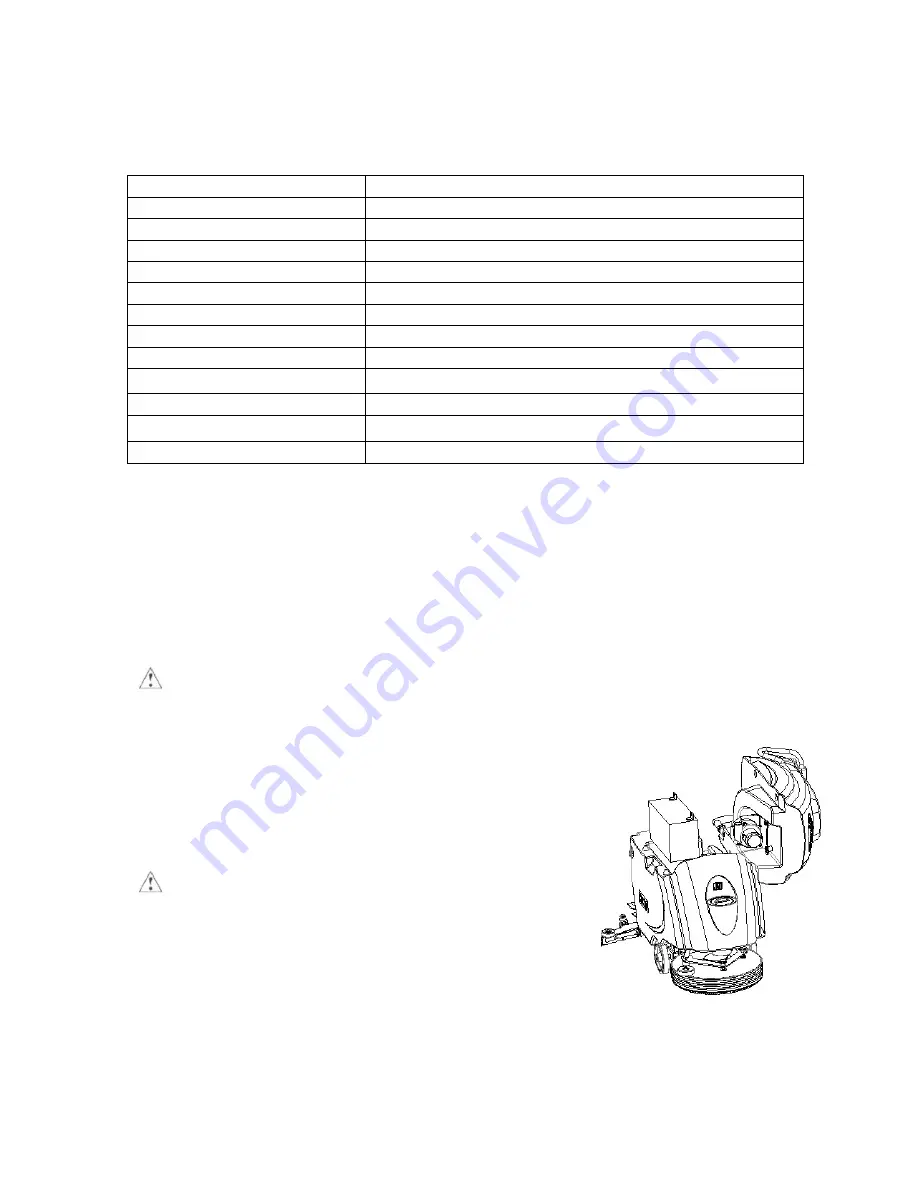
How to Install Batteries 

Caution: Batteries are heavy.


Install (2) 12-volt batteries.  New Batteries should be given a full charge before first use.  
Limit use of new batteries during first 5 cycles. 
 
1.


Make sure the recovery tank is empty then turn down 
the recovery tank. 

2.


Place batteries on the tray.  Use the bracket to secure 
them.  Position them correctly. 

3.


Connect all the cable terminals. 

Caution: Make sure you connect RED (+) cable 

terminals to positive (+) posts and BLACK (-) cable 
terminals to negative (-) posts.  Machine will not operate 
if not connected properly.  Failure to do so will result in 
damage to batteries and possible explosion. 

4.


Spray each post with a protective lubricant.  Place 
battery terminal protectors over all posts. 

Summary of Contents for C510

Page 1: ...Operator s Manual C510 AUTOMATIC FLOOR SCRUBBER Please read this Operator s Manual carefully and make sure fully understand before using the appliance Please keep this Manual for future reference ...

Page 2: ...h 6 How to Fill the Solution Tank 6 How To Operate The Machine 6 How to Turn the Vacuum Motor On and Off 6 How to Lower Raise the Brush Pad 7 How to Lower Raise the Squeegee 7 How to Set the Solution Flow 7 What to Do When You re Operating The Machine 7 Brush Forward Assisted System 7 Vacuuming Up Solution 8 How to Control Excess Foam in the Recovery Tank 7 How to Empty the Recovery Tank 8 Mainten...

Page 3: ...sion top cover should be open and battery caps installed when charging Disconnect all positive and negative battery terminals before attempting any adjustment or maintenance Traction drive and vacuum motors and components can cause injury if accidentally started Battery acid can cause injury to the eyes or skin Wear protective goggles gloves and clothing BEFORE filling or charging batteries If cha...

Page 4: ...er switch 14 Squeegee body 23 Recovery tank 6 Squeegee release handle 15 Guide wheel 24 Cap for recovery tank 7 Water volume level 16 Hole for tube water 8 Brush lift pedal 17 Solution tank 9 Water valve 18 Big wheel Note When the red indicator light flash means you need to recharge the battery ASAP a forward and reverse knob b speed adjust knob c suction motor button d brush motor button e water ...

Page 5: ...eries Caution Batteries are heavy Install 2 12 volt batteries New Batteries should be given a full charge before first use Limit use of new batteries during first 5 cycles 1 Make sure the recovery tank is empty then turn down the recovery tank 2 Place batteries on the tray Use the bracket to secure them Position them correctly 3 Connect all the cable terminals Caution Make sure you connect RED cab...

Page 6: ...insert it into the plate underneath by turning it counter clockwise until it locks How to Fill the Solution Tank 1 Open the solution fill cover 2 Fill the tank 17 with the desired level of clean water 3 Add cleaning chemical 4 You can also insert the tube into hole 16 to add water Do not overfill How To Operate The Machine 1 To turn the power on turn the key switch 5 The power indicator f will lig...

Page 7: ...ow Adjust the water flow based on the floor conditions Lift the water volume level up to increase the volume lay down the level to decrease the volume What to Do When You re Operating The Machine Brush Forward Assisted System This machine has the brush forward assisted adjustment device when you feel hard to push forward the machine you can adjust the device by yourself Check the right figure Vacu...

Page 8: ...on top to air dry 2 Remove the squeegee assembly rinse and wipe clean Check the squeegee inlet for clogs or debris 3 Clean and wipe the tops of batteries with an ammoniated window cleaner 4 Charge the batteries as described in this manual Weekly Never test the strength of the battery unless it is fully charged and cool Check the battery cells with a hydrometer Monthly 8 Lubricate brush and squeege...

Page 9: ...properly Squeegee is leaving streaks Debris is on blade Blades are torn or damaged Floors not properly swept before cleaning Solution is not feeding or turning off properly Clogging of hose or valve Batteries are not holding a charge Batteries need to be replaced High current draw from high brush pressure Charger needs servicing Battery is run down Floors are not being scrubbed stripped or buffed ...

Reviews: