background image

23-10-2020

manual.zwave.eu/backend/make.php?lang=en&sku=MCOEMH9-CO2

manual.zwave.eu/backend/make.php?lang=en&sku=MCOEMH9-CO2

3/10

1. Device must be wall-mounted vertically. Do not lay it flat or upside down while working.

2. Do not mounted it in a wind gap, or cover its bottom, which may affect the detected data.

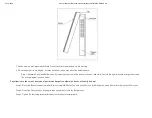
Step 1: Separate Panel and Bottom case by removing the screw at the bottom of device. Insert all wires into the right terminals and tighten screws.

The wiring diagram is shown below.

Pay attention to the current direction of positive and negative, otherwise device will easily be burn!

Step 2: Mount the Bottom case onto wall with two screws (M4*25mm).The hole pitch 60mm is for 86/60mm box, and 82mm is for American 120mm box.

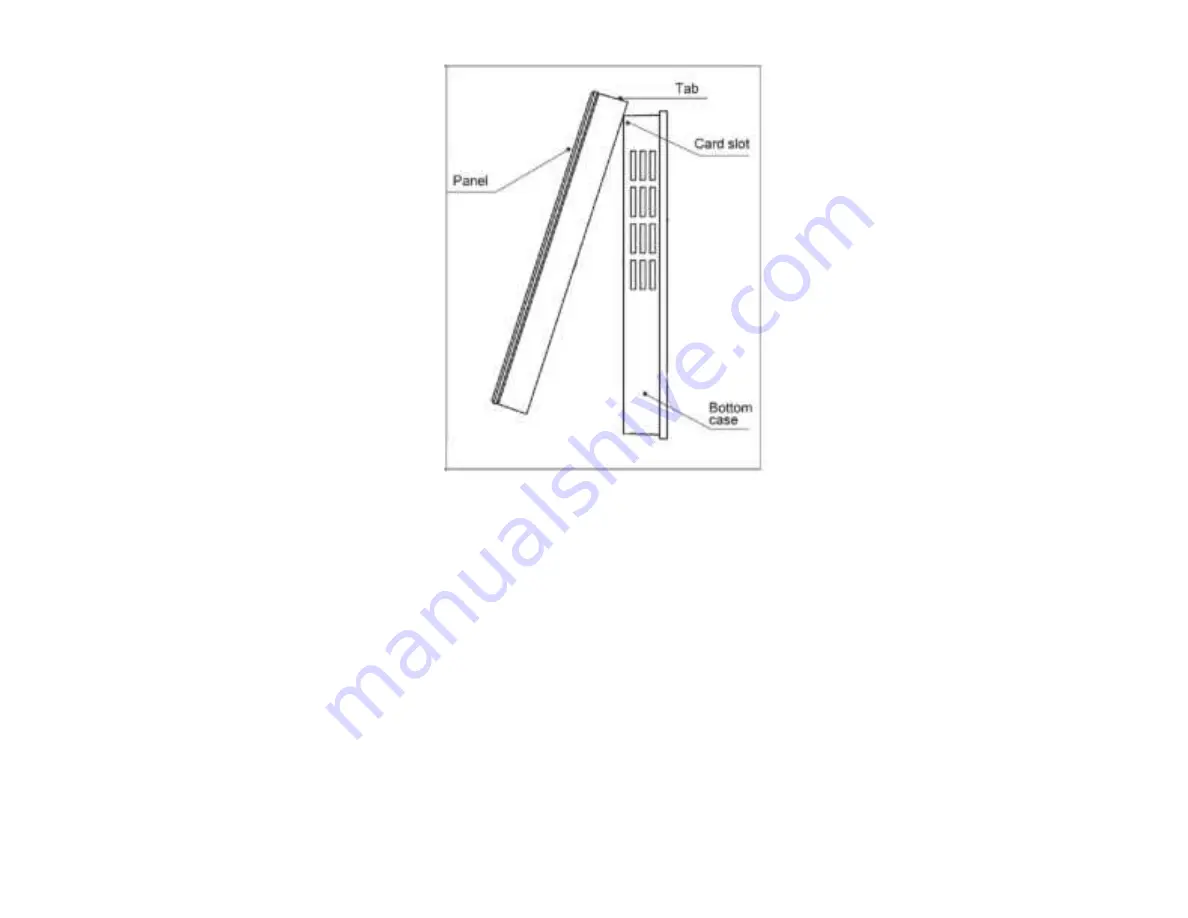
Step 3: Mount the Panel back by aligning its tabs and card slot onto the Bottom case.

Step 4: Tighten the fastening screw and the device is ready for normal work.

Summary of Contents for MCOEMH9-CO2

Page 1: ...safety information before using it You can find further information in the device manual Step 1 Separate Panel and Bottom case by removing the screw at the bottom of device Insert all wires into the r...

Page 2: ...ward compatibility For more information about Z Wave technology devices white papers etc please refer to www z wave info Product Description MCOHome CO2 Monitor is an air quality detector which compat...

Page 3: ...ase by removing the screw at the bottom of device Insert all wires into the right terminals and tighten screws The wiring diagram is shown below Pay attention to the current direction of positive and...

Page 4: ...tive inclusion mode Inclusion and Exclusion is then performed doing a special manual action right on the device Inclusion Including and Excluding of Z Wave network Activate Inclusion Exclusion mode in...

Page 5: ...r exclusion of Z Wave network If device has not been included into any Z Wave network before will display on the screen Then press K2 once flashing and device enters into learning mode to get a node I...

Page 6: ...the setting Hour starts flashing Press K2 the value will cycle switchover from 00 23 Press K1 to save the change Minute starts flashing Press K2 the value will cycle switchover from 00 59 Then press...

Page 7: ...frequency 3 Remove all dead devices from associations Otherwise you will see severe delays 4 Never use sleeping battery devices without a central controller 5 Dont poll FLIRS devices 6 Make sure to h...

Page 8: ...features IMPORTANT Controllers may only allow configuring signed values In order to set values in the range 128 255 the value sent in the application shall be the desired value minus 256 For example T...

Page 9: ...IP 21 Voltage 12 V Device Type Routing Multilevel Sensor Generic Device Class Multilevel Sensor Specific Device Class Routing Multilevel Sensor Firmware Version 01 02 Z Wave Version 03 43 Z Wave Prod...

Page 10: ...a Z Wave network Inclusion is the process of adding new Z Wave devices into a network Exclusion is the process of removing Z Wave devices from the network Association is a control relationship betwee...

Reviews: