OM 897 / Page 7 of 20
Backlight
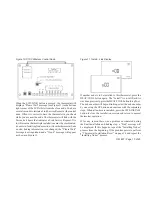
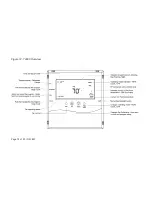
A single button on the right hand side of the thermostat
activates the display backlight. When pressed, the backlight will
illuminate the display briefly and turn off. If other buttons are
pressed immediately after the backlight button, the display will
stay illuminated until a few seconds after all button activity has
ended. Backlighting takes significant energy from the batteries
and should be used sparingly. Frequent use of the backlight
function will noticeably reduce battery life.
Setting The Clock
In all setup modes, the T9000 will flash the display item you are
about to change. The UP and DOWN buttons change settings,
the HEAT/COOL button is used to move to the next item.
To set the clock, you will use the buttons marked CLOCK,
UP, DOWN, and HEAT/COOL.
Step 1
Press the CLOCK button. The hour digits will flash. Press the
UP or DOWN button to change the hour. Note that AM/PM
will change as you roll the hour past twelve. Be sure to set the
hour properly for AM or PM. Press the HEAT/COOL button
to keep the hour you’ve just set and move to minutes.
Step 2
The minute digits will now be blinking. Press the UP or DOWN
button to change to the desired minute. When the correct minute
is flashing press HEAT/COOL.
Step 3
One of the seven day icons (Mo, Tu, We, Th, Fr, Sa, Su) will now
flash. Press UP or DOWN until the correct day icon is flashing.
When the correct day is flashing, press HEAT/COOL.
Step 4
Press the clock button to keep all clock changes you’ve made
and resume normal operation.
Thermostat
Programming
The T9000 provides for program periods: Morning, Day,
Evening, and Night. The time and temperature can be set for
each period. Upon initial power-up the T9000 loads time and
temperature program default parameters for weekday and
weekend days. The default program perimeters conform to
Energy Star guidelines, and are a good point from which to
start.

