background image


 ACTUAL OPERATION 


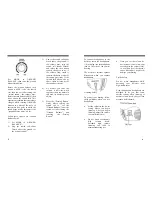
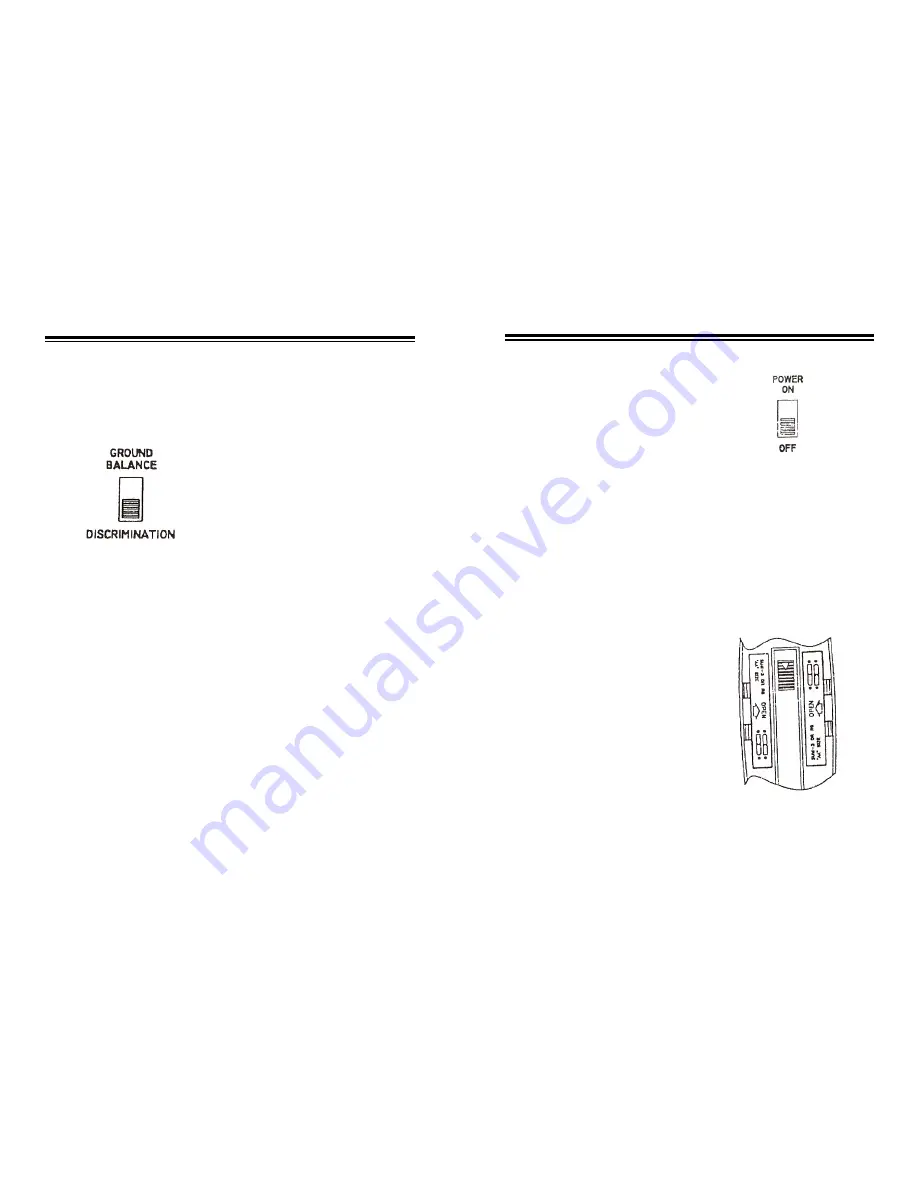
OPERATION MODE SWITCH  
(MODE) 
 

There are two sections in operation 
mode switch, one is GROUND 
BALANCE, and the other is 
“DISCRIMINATION”.  


Set MODE to “GROUND 
BALANCE”, the detector responds 
to all metals, has no discrimination 
function, but can eliminate the 
effect of “minerlization reaction”,  
has enough penetrability, works 
steadily, and indicates properly, so, 
this mode is usually selected at the 
beginning of detecting some area. 
 
Set MODE to 
“DISCRIMINATION” the detector 
can distinguish the type of the metal 
and select the bigger and valuable 
metal. 


11 


PREPARATION: 


Place batteries into the battery 
compartment, turn on the power 
supply switch, the detector is 
electrified to work. The pointer is 
usual not at the center of the 
viewmeter when detector is just 
on, but swings to one side. This 
expresses that the detector is not 
in a steady mode, you need to 
press and relieve the “Zeroing 
Button” a few times until the 
pointer doesn’t drift any longer. 
All of these are normal 
phenomena. The detector needs a 
short time to preheat, during this 
period, the search coil should rest 
over the ground and begin to 
work only after the pointer return 
to “0” position. Watch the 


indictor light when you press the 
button, if the light is dim or dark, 
replace the batteries. 
 
In detection, the operator holds 
the handle and sweeps slowly the 
search coil above the ground, 
keeps the search coil 8inch above 
the ground. When finding metals, 
the detector responds and the 
viewmeter indicates change. 


z


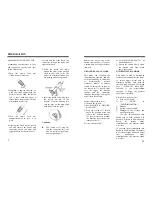
To disconnect the search 
coil’s cable from the 
detector, grasp the plug and 
pull it out of the connector. 
Never pull on the cable. 

 
7.


Loosen the knob at the search 
coil’s end, then adjust the 
search coil to the desired angle. 
(The search coil should be 
parallel with the ground.) 
Tighten the knob just enough 
to keep the search coil from 
rotating or wobbling. 
 

Caution:

 Do not overtighten 

the search coil or use tools 
such as pliers to tighten it. 


INSTALLING BATTERIES 

 
You need 8 pieces of 1.5V 
batteries to power your detector. 


Cautions: 


z


Use only fresh batteries of 
the required size and 
recommended type. 


z


Do not mix old and new 
batteries, different types of 
batteries (standard, alkaline, 
of rechargeable), or 
rechargeable batteries of 
different capacities 


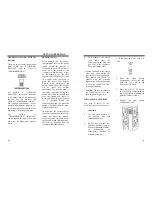
1. If the detector is ON, turn it to 
OFF.  


2.


Press the right battery 
compartment cover’s tab and 
slide the cover off in the 
direction of the arrow. 

 
3.


Place 4 pieces of 1.5V battery 
into the battery compartment on 
top of the ribbon, matching the 
polarity symbols (+and -). 

 
4.


Replace the right battery 
compartment cover.


Summary of Contents for 5008

Page 1: ...gh power replace batteries to try z Place batteries matching the polarity symbols and If you won t use it for a long time take out the batteries to avoid putridness z The search coil s plug should be not affected with damp or the detector will loss detection ability the plug can be used only after drying in such condition z The detector is prohibited to work in rainy day and in burning sun z The s...

Page 2: ...tact a museum or historical society in your area z Leave the land and vegetation as it was Fill in any hole you dig z Use your detector only in safe areas z Dispose of any junk you find only in approved areas Do not leave it for the next treasure hunter to find Notes z The search coil will not detect without motion You must move the object since you are not sweeping with the detector at this time ...

Page 3: ...Remove any watches ring or other metal jewelry you are wearing then place the detector on a wooden or plastic table 2 Adjust the search coil s angle so the flat part faces the ceiling Note Never test the detector on a floor inside building Most buildings have metal of some kind in the floor which might interfere with the objects you are testing or mask the signal completely Move a sample of the ma...

Page 4: ...etter penetrability so this mode is preferentially selected wherever indoor or outdoor search In this mode as long as the search coil is moved right over the target the detector sounds and the viewmeter indicates the change any type of metal raises the volume Follow these steps to set it 1 Turn on the switch 2 Set the MODE to GROUND BALANCE 3 Stop the search coil 24inch above the ground press and ...

Page 5: ...indictor light when you press the button if the light is dim or dark replace the batteries In detection the operator holds the handle and sweeps slowly the search coil above the ground keeps the search coil 8inch above the ground When finding metals the detector responds and the viewmeter indicates change z To disconnect the search coil s cable from the detector grasp the plug and pull it out of t...

Page 6: ...on or drifts Replace the batteries ADJUSTING THE METER With MODE set to OFF use a screwdriver to adjust the alignment control until the pointer lines up with 0 on the scale USING HEADPHONES You can connect a pair of stereo headphones not supplied to the detector so you can listen to it privately Using headphones also save battery power and makes it easier to identify subtle in the sounds you hear ...

Page 7: ...presses there are metals in this area try another area to adjust 5 Press the Zeroing Button firstly before raising the search coil to set the Ground Balance lower the search coil after tuning the Ground Balance and relieving the Zeroing Button To connect headphones to the detector insert the headphones 1 8 inch plug into the headphone jack on the side of the control housing The detector s internal...

Page 8: ...ensitivity when it is at critical sound Note Press the Zeroing Button before adjusting the critical sound and set free it after adjusting If the critical sound rises falls or disappears set it by pressing the Zeroing Button SENSITIVITY TURN BUTTON Sensitivity Turn Button controls the sensitivity of the detector Rotate it counter clockwise to the end point the sensitivity is MIN and the detection d...

Reviews: