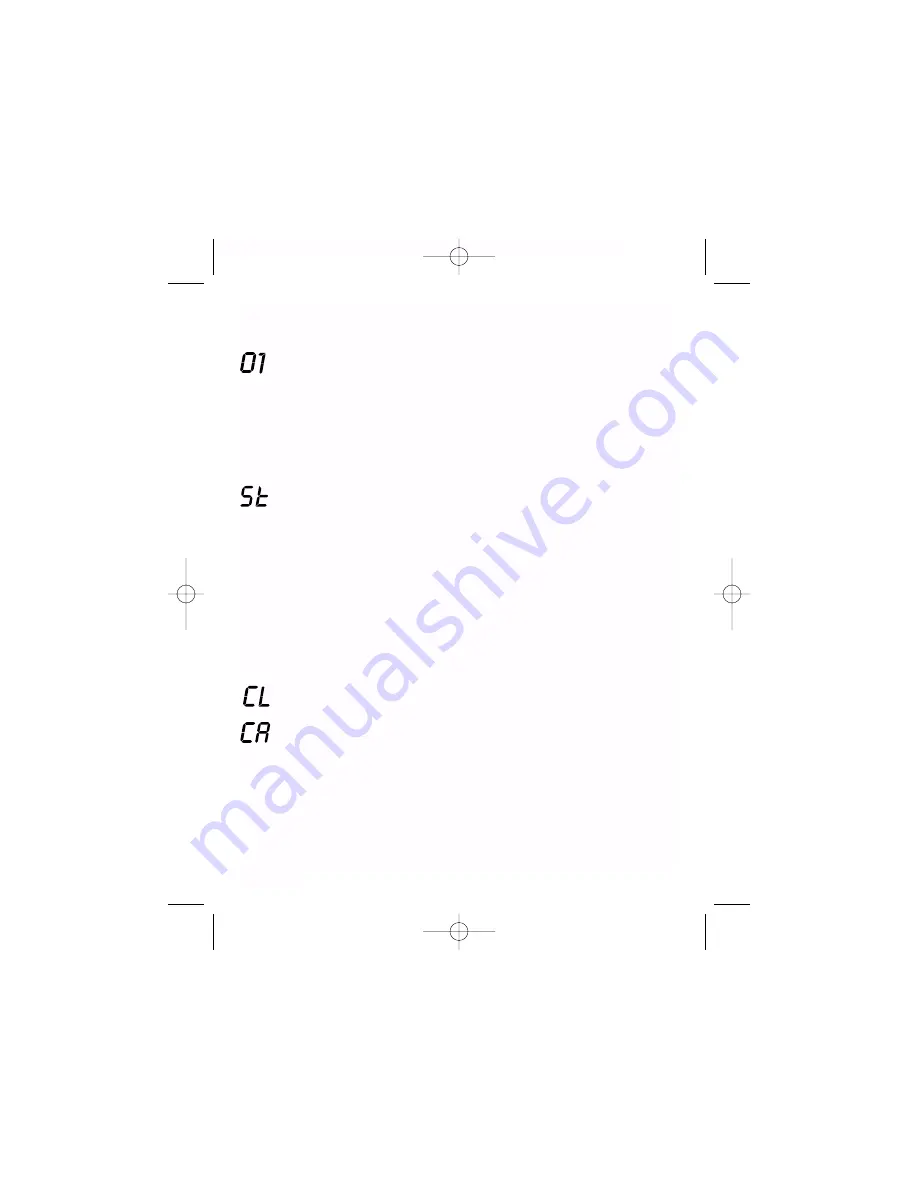
4. Hold CaptureView II steady and press the Shutter button. A beep
sounds to confirm that a picture was taken.
5. The counter in the LCD increases by one.
Note:
If you take more than 99 pictures, the camera counter returns to
01. The counter flashes, indicating that the number of pictures is more
than 99. Three screens will be displayed. For example, if you have
taken 148 photos, the counter displays, in sequence, 01, 48, 99. If you
have taken 312 photos, the counter displays 03, 12, 99. The final 99
means that you have taken more than 99 pictures.
Self-Timer
The self-timer allows a 10 second delay before taking a picture.
1. Press the Mode button (
4, Fig. 1
) to turn on the camera.
2. Select a picture resolution mode as described in "Taking Still
Pictures/Setting the Resolution."
3. Press the Mode button until the self-timer icon displays. Press the
Shutter button to select the self-timer mode.
4. Press the Shutter button again. The icon flashes for 10 seconds.
5. CaptureView II beeps when the picture has been taken. The counter in
the LCD increases by one.
Erasing/Deleting Pictures
You can erase the last picture you captured using the CL option or erase all the
pictures you have stored in memory using the CA option.
1. Press the Mode button (
4, Fig. 1
) to turn on the camera.
2. Select the CL option to erase the last pictured you captured or select
the CA option to erase all the pictures. Press the Shutter button and
the chosen erase icon flashes.
3. Press the Shutter button again
while the icon is flashing
to erase the
image(s).
Note:
When CaptureView II’s memory is full, the LCD displays "Fu"
and you are prevented from taking any more pictures until you have
downloaded your pictures and/or erased pictures using the CL or CA
options.
Other Modes
•
The
Battery Life
indicator (at the lower right of the LCD) shows black
shading top and bottom when receiving full power.
•
Off
("OF). Pressing the shutter/select button shuts the camera off.
Page 4
00 Discovery version 8x22 #2 8/14/03 4:09 PM Page 4


