4
QUICK-START GUIDE
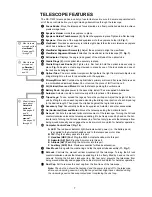
1.
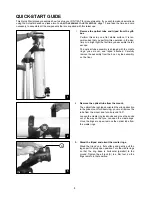
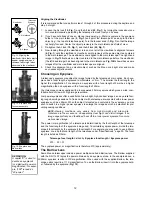
Remove the optical tube and tripod from the gift-
box.
Perform this setup on a flat, stable surface. It is rec-
ommended that you perform this operation in the day-
time or in bright light the first time you assemble the tel-
escope.
The optical tube assembly is shipped with the cradle
rings, yoke mount, and tripod attached. Carefully
remove the assembly from the box. Lay the assembly
on the floor.
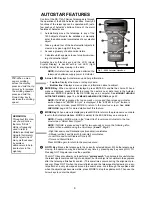
2.
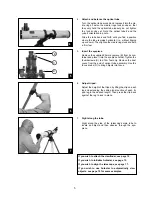
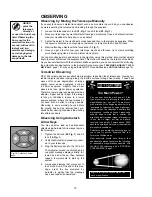
Remove the optical tube from the mount.
The optical tube is shipped oriented the wrong direction
in the yoke mount for observing—you must remove the
tube from the mount and turn it around 180°.
Loosen the cradle ring lock knobs and move the knobs
out of the way so that you can open the cradle rings.
Once the rings are open, remove the optical tube from
the cradle rings.
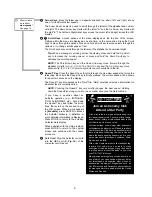
3.
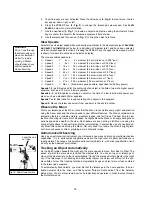
Stand the tripod and orient the cradle rings.
Stand the tripod on a flat surface and gently pull the
legs apart to a fully open position. Turn the cradle rings
so that the ring base is horizontal (parallel) to the
ground. Tighten the alt lock (A) to a firm feel, so the
rings remain in that position.
This Quick Start procedure explains how to set up your DS-114AT for manual viewing. If you wish to make observations
using the Autostar handbox, please turn to
HOW TO ASSEMBLE YOUR TELESCOPE
, page 10 and take the time and care
necessary to assemble all the components that are supplied with this telescope.
2
1
3
A


