29
Aligning the Red-Dot Viewfinder
STEP 4:
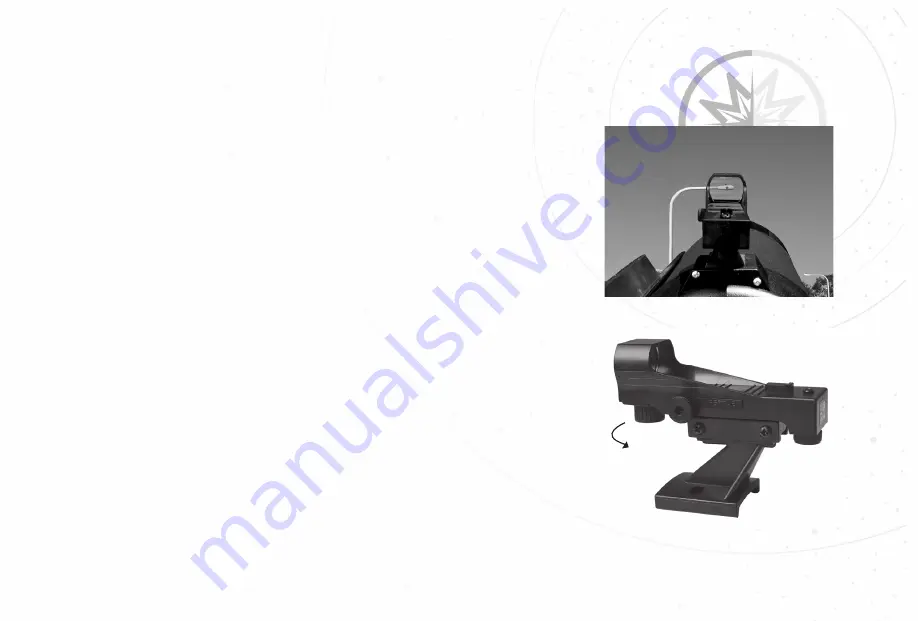
Look through the
red-dot viewfinder
. Turn one or both
of the viewfinder’s
alignment screws
(fig 1. #16) until the red-dot
is precisely over the same object as you centered in the eyepiece.
The
side alignment screw
controls the horizontal, while the
rear
alignment screw
controls the vertical.
STEP 5:
When finished, turn off the red-dot viewfinder by rotating
the
on/off switch
(fig 1. #15) counter-clockwise.
STEP 6:
Check this alignment at night on a celestial object, such
as the Moon or a bright star, and use the viewfinder’s
alignment
screws
to make any necessary refinements. Once they are aligned
and pointing at the same location, use the
red-dot viewfinder
to
locate objects by placing the red-dot over the object. Then use the
26mm eyepiece to view the object.
Step 4.
Step 5.
28


