6
ASSEMBLING THE BASE
Note: The Light Bridge Plus telescope does not
require any special tools to assemble. Please
follow the directions closely when assembling and
disassembling the telescope. The base supports
the telescope and allows you to move the telescope
from side to side.
Note: Numbers in parentheses. e.g., (9), refer to
Figures.1 - 5.
Step 1:
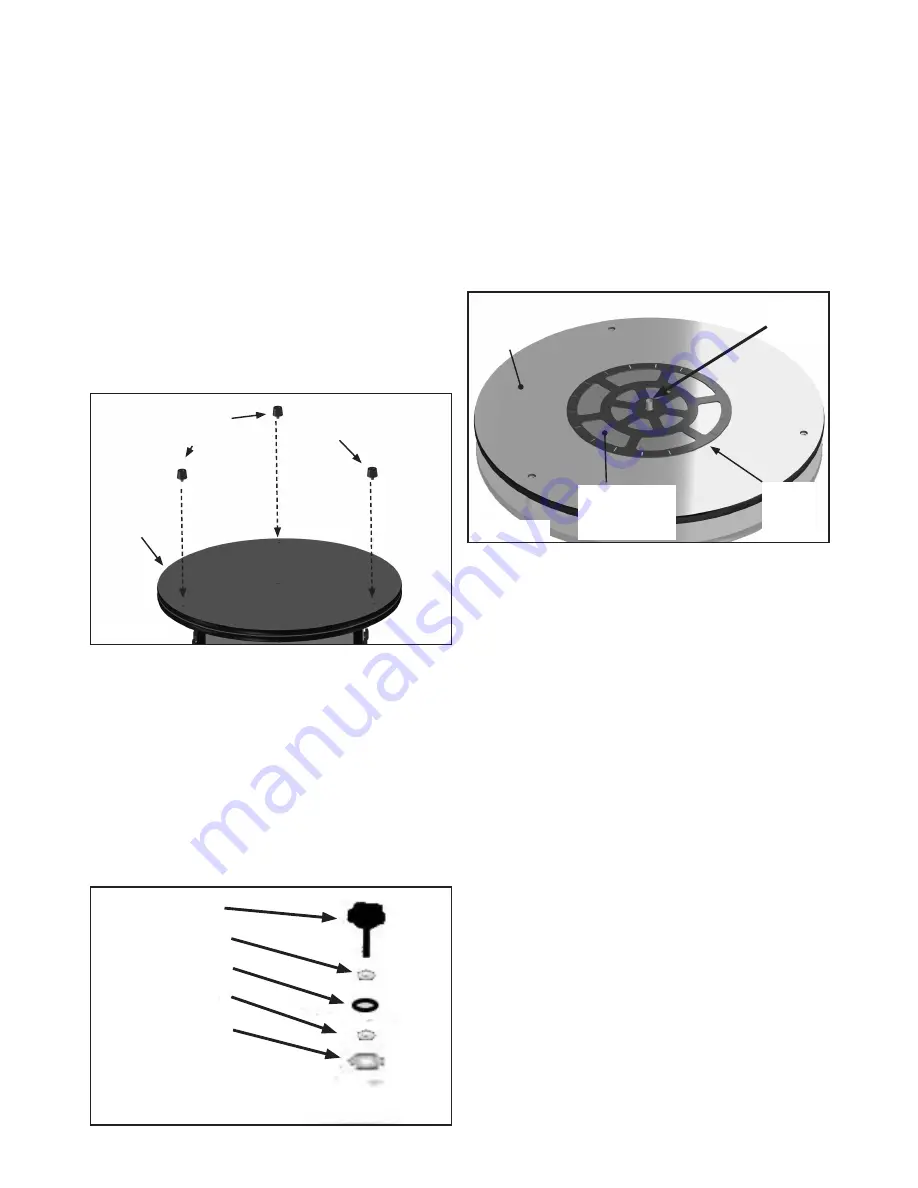
Attach the three feet to the bottom panel (20).
Locate the bottom panel which has three threaded
holes and thread in each foot into the holes until
firm.
Step 2:
Locate the included hardware pack and set aside
the following:
1. Center bearing bushing (29).
2. Two large bearing plates (30) and large needle
bearing (31).
3. Small needle bearing (32) with two small and
one large washer (33).
4. Azimuth adjustment knob (34)
Step 3:
Place the center bearing bushing (29) into the
countersunk hole on the top side of the base
bottom panel (16). Slide one of the large roller
bearing plates (30) over the center bushing (29)
followed by the large roller bearing (31).Place the
remaining bearing plate (30) on top of the roller
bearing (29). Lastly, place the top panel (16) onto
the center busing. The correct orientation of the
top panel is with the six threaded holes facing up.
See Figure 4.
Step 4:
To secure the azimuth bearing system in place:
On the adjustment knob bolt (34), place one small
washer (33) on both sides of the small needle
bearing (32) followed by the large washer. Slide
the adjustment bolt (34) through the top base
panel (16) and into the center bushing (29) and
hand-tighten. A threaded nut is pre-installed on the
bottom plate.
Step 5:
Rotate the circular base panels (16). They should
move smoothly and easily without any stiffness. If
not, check to make sure the parts were assembled
in the correct order and there is nothing preventing
the base from rotating freely.
Step 6:
Locate the six pre-drilled holes on the topside of
the upper most panel (16). The six holes form a
“U” shape and are used to mount the side (12) and
front base panels (13) into position.
Step 7:
Locate all 12 base thumbscrews (15) and all four
base panels (12-14). Place one of the large side
walls (12) onto the base with the LightBridge Plus
logo facing outward.
Figure 6
Bottom side
of bottom
panel
Base
feet
Base
feet
Center
bushing
Large
needle
bearing
Top side
of bottom
panel
Bearing plates
above and
below bearing
Figure 7
Adjustment Knob
Small washer
Small needle bearing
Small washer
Large washer
Figure 8


