14
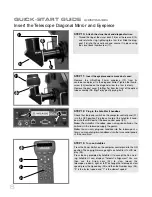
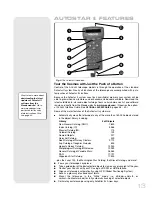
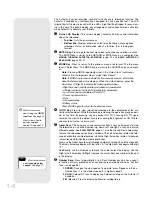
The Autostar II system provides control of virtually every telescope function. The
Autostar II handbox has soft-touch keys designed to have a positive feel. The LCD
(Liquid Crystal Display) is backlit with red LEDs (Light Emitting Diodes) for easy view-
ing in the dark. The backlit display, key arrangement, and sequential menu structure
make Autostar II extremely user friendly.
B
2-Line LCD Display:
This screen displays Autostar II's menus and information
about the telescope.
•
Top line:
Lists the primary menu.
•
Bottom line:
Displays other menus that may be chosen, menu options,
telescope status, or information about a function that is being per-
formed.
c
ENTER Key
: Press to go to the next menu level or to choose an option in a menu.
The ENTER key is similar to the RETURN or ENTER key on a computer. See
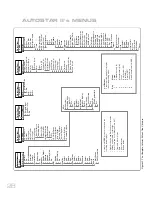
MOVING THROUGH AUTOSTAR II'S MENUS
, page 22 and
BASIC AUTOSTAR II
OPERATION
, pages 26 - 27
d
MODE Key
: Press to return to the previous menu or data level. The top menu
level is “Select Item." The MODE key is similar to the ESCAPE key on a comput-
er.
Note:
Pressing MODE repeatedly while in the “Select Item” level moves
Autostar II to the topmost screen: “Select Item: Object.”
Note
: If MODE is pressed and held for two seconds or more, information
about the telescope's status displays. When the status displays, press the
Scroll keys (
7, Fig. 2
) to display the following information:
• Right Ascension and Declination (astronomical) coordinates
• Altitude (vertical) and Azimuth (horizontal) coordinates
• Local Time and Local Sidereal Time (LST)
• Timer and Alarm Status
• Date
• Site coordinates
• Battery status
Press MODE again to return to the previous menu.
e
GO TO Key
: Press to slew (move) the telescope to the coordinates of the cur-
rently selected object. While the telescope is slewing, the operation may be abort-
ed at any time by pressing any key except GO TO. Pressing GO TO again
resumes the slew to the object. Also, press during the alignment or GO TO pro-
cedures to activate a "spiral search."
f
Arrow Keys
: The Arrow keys have several functions. Press an Arrow key to slew
the telescope in a specific direction (up, down, left, and right), at any one of nine
different speeds. See
SLEW SPEEDS
, page 21. Use the Up and Down Arrow keys
to move the telescope vertically up and down. The Left Arrow key rotates the tele-
scope horizontally counterclockwise, while the Right Arrow key rotates it clockwise
(unless reversed for Southern Hemisphere use).
Also, use the Arrow keys to scroll through numbers 0 through 9 and the alphabet.
The Down Arrow key begins with the letter "A;" the Up Arrow key begins with digit
"9."
Additionally, use the Arrow keys to move the cursor across the display: Use the
Right or Left Arrow key (
5, Fig. 2
) to move the cursor from one number to the next
in the display.
g
Number Keys:
Press to input digits 0 to 9. Each Number key also has a specif-
ic function, which is printed on each key (these are commonly known as "hot but-
tons"—see page 36):
1 SPEED:
Changes the slew speeds. To operate, press Speed and then a
Number key (1 is the slowest speed, 9 is highest speed).
2 CALD
(Caldwell): Press to display the Caldwell catalog on the Autostar II
handbox.
3 M
(Messier): Press to display the Messier catalog library.
e
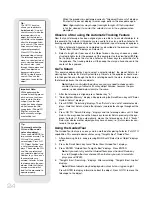
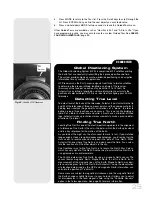
Want to learn more
about using the
GO TO
function
? See page 24.
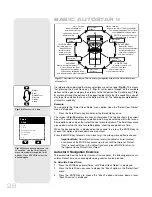
Want to learn how to
perform a
spiral
search
? See page 24.
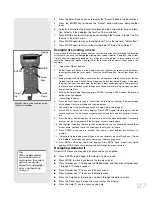
Want to learn more
about
changing slew
speeds
? See page 21.
SPEED
1
Summary of Contents for RCX400
Page 73: ......


