6
QUICK-START GUIDE
{CONTINUED}
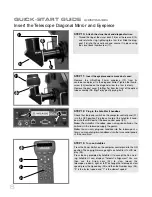
Insert the Telescope Diagonal Mirror and Eyepiece
STEP 10:
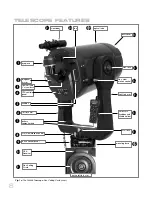
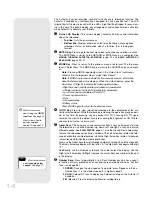
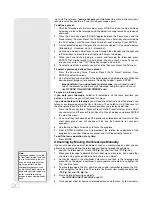
Attach the visual back and diagonal mirror:
1.
Thread the ring of the visual back (16) over the rear cell (15)
and rotate the ring, tightening to a firm feel. Slide the diag-
onal (18) into the visual back and secure it in place using
the visual back thumbscrew (17).
STEP 11:
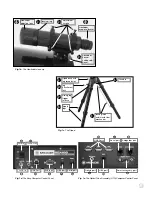
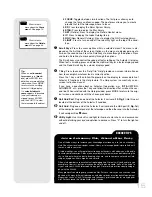
Insert the eyepiece and remove dust cover:
Remove the UltraWide 24mm eyepiece (19) from its
container and place it in the diagonal mirror. Tighten the thumb-
screw (20) located on the diagonal mirror to a firm feel only.
Remove the dust cover (
18, Fig. 1a
) from the front of the optical
tube assembly (
19, Fig. 1a
) by gently prying it off.
STEP 12:
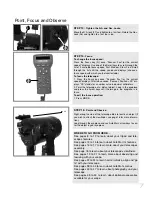
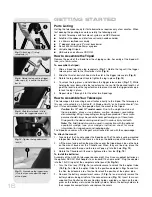
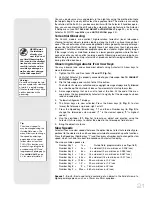
Plug in the AutoStar II handbox
Check that the power switch on the computer control panel (21)
is in the OFF position. Plug the coil cord of the AutoStar II hand-
box into the HBX port of the base control panel (22).
Note:
The AutoStar II handbox does not require batteries; the
batteries in the telescope supply the power.
Note:
You can only plug one handbox into the telescope at a
time; you cannot plug two handboxes into the two control panels
at the same time.
STEP 13:
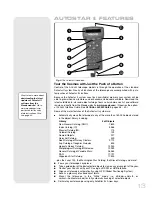
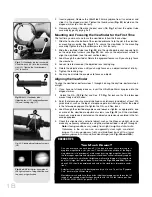
Turn on AutoStar:
Press the Power Switch on the computer control panel to the ON
position. The copyright message lights on AutoStar II's LCD dis-
play (23).
Press the key prompted by AutoStar II to accept the Sun warn-
ing. AutoStar II now displays "Automatic Alignment." You can
then use the Arrow keys (24) to slew (move) the
telescope up, down, right, or left.To change the telescope’s slew
speed, press the Speed key (25) and then the Number keys (26).
"9" is the fastest speed and "1" is the slowest speed.
1*
1&
1^
1%
1(
2)
2#
2$
2%
2^
2!
2@
Summary of Contents for RCX400
Page 73: ......


