“SE
Series
” Service and Parts Manual
March
201
7
Page 1-8
F
R E Q U E N T
I
N S P E C T I O N
C
H E C K L I S T
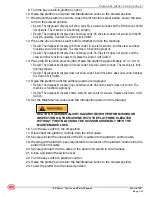
1. Mark a test line on the ground for reference.
2. Turn the key switch to platform control and turn the red Emergency Stop button clock-
wise to the on position at both the ground and platform controls.
3. Press the drive select button.
4. Choose a point on the machine(i.e., contact patch of a tire) as a visual reference for
use when crossing the test line.
5. Bring the machine to top drive speed before reaching the test line. Release the func-
tion enable switch or the joystick when your reference point on the machine crosses
the test line.
6. Measure the distance between the test line and your machine reference point.
• Result: The machine stops within the specified braking distance. No action required.
• Result: The machine does not stop within the specified braking distance.
NOTE:
The brakes must be able to hold the machine on any slope it is able to climb.
7. Replace the brakes and repeat this procedure beginning with step 1.
D
R I V E
S
P E E D
- S
T O W E D
Proper drive functions are essential to safe machine operation. The drive function
should respond quickly and smoothly to operator control. Drive performance should
also be free of hesitation, jerking and unusual noise over the entire proportionally
controlled speed range.
Perform this procedure with the machine on a firm, level surface that is free of
obstructions.
1. Create start and finish lines by marking two lines on the ground 40 ft /12.2 m apart.
2. Turn the key switch to platform control and turn the red Emergency Stop button clock-
wise to the on position at both the ground and platform controls.
3. Lower the platform to the stowed position.
4. Press the drive function select button.
5. Choose a point on the machine; i.e., contact patch of a tire, as a visual reference for
use when crossing the start and finish lines.
6. Bring the machine to top drive speed before reaching the start line. Begin timing
when your reference point on the machine crosses the start line.
7. Continue at full speed and note the time when your reference point on the machine
passes over the finish line. The time should be 10-14 seconds.
D
R I V E
S
P E E D
- R
A I S E D
Proper drive functions are essential to safe machine operation. The drive function
should respond quickly and smoothly to operator control. Drive performance should
also be free of hesitation, jerking and unusual noise over the entire proportionally
controlled speed range.
Perform this procedure with the machine on a firm, level surface that is free of
obstructions.
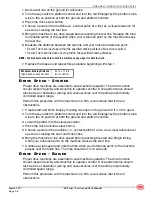
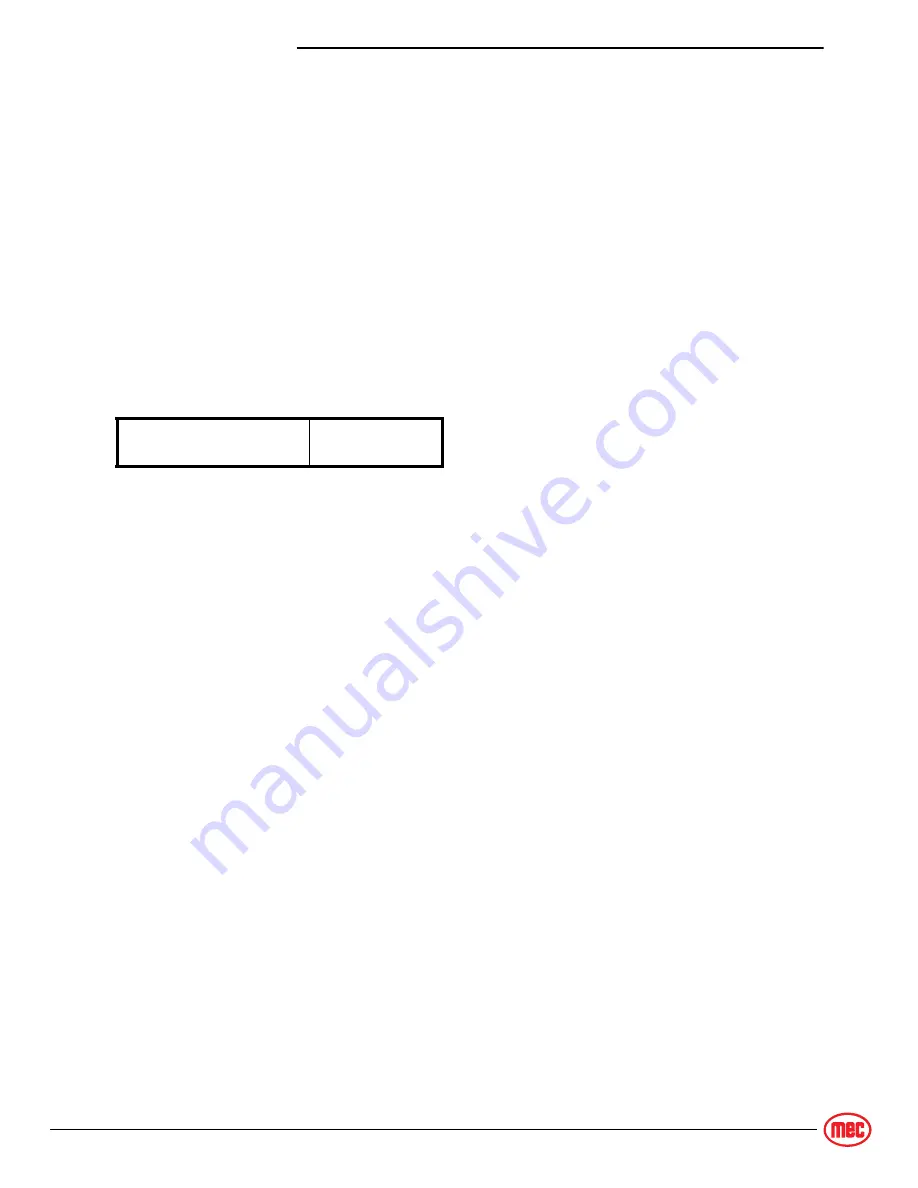
Maximum Braking Distance
High Speed on paved surface
24 in ± 11.8 in
61 cm ±30 cm
Summary of Contents for 1930SE
Page 23: ... SE Series Service and Parts Manual March 2017 NOTES ...
Page 39: ...March 2017 Page 1 16 SE Series Parts Section NOTES ...
Page 55: ... SE Series Service and Parts Manual March 2017 Page 2 16 NOTES ...
Page 102: ...March 2017 Page A 34 SE Series Parts Section Motor Controller 1930SE SE Series ART_5197 ...
Page 114: ...March 2017 Page A 46 SE Series Parts Section NOTES ...
Page 118: ...March 2017 Page B 4 SE Series Parts Section Scissor Assembly 1930SE SE Series ART_5258 ...
Page 128: ...March 2017 Page B 14 SE Series Parts Section NOTES ...
Page 154: ...March 2017 Page C 26 SE Series Parts Section NOTES ...
Page 156: ...March 2017 Page D 2 SE Series Parts Section Lower Lift Cylinder Assembly SE Series ART_5285 ...
Page 170: ...March 2017 Page D 16 SE Series Parts Section NOTES ...
Page 178: ...March 2017 Page E 7 SE Series Parts Section NOTES ...
Page 188: ...March 2017 Page F 10 SE Series Parts Section NOTES ...
Page 193: ...NOTES ...


