Page 60
Speed Level Seres - Servce & Parts Manual
January 2019
Secton 6 - Electrcal System
provides information as to the position of the axle relative to the chassis. This information is
used to allow or disallow drive when the platform is in the elevated position. If the front axle is
more then 3 degrees out of parallel with the chassis, drive will be turned off to prevent the loss of
stability.
The third level sensor is located inside the GP400 and monitors the chassis angle. All three
sensors will calibrate at one time during the calibration procedure.
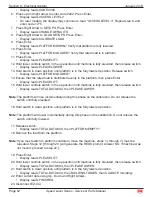
Park machine on a flat level surface.
Be sure that all tires are properly inflated to the same pressure and that the tires are all the same
size.
Ensure that the platform is perfectly level side-to-side and front-to-rear by using the two
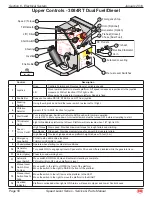
Manual Level Switches located in the upper control box and a spirit level. Use a framers level if
necessary.
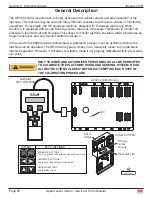
Open the lower control box and plug the EZ-Cal into plug J-9 (4-pin connector) on the GP400.
The display should light up and read “HELP - PRESS ENTER.
Press the right arrow to access “ACCESS LEVEL 3”, press ENTER.
The display reads CODE 0000 with the cursor flashing.
Press the Up and Right arrows to enter code 2222, Press Enter
Display reads “ACCESS LEVEL 2”
On later models, the display may continue to read “ACCESS LEVEL 3”. Repeat step b.
and enter code 1775.
Right arrow to SETUPS, Press Enter
Display reads ‘CHANGE DEFAULTS”
Right arrow to TILT SETUPS, Press Enter
Display reads “CALIBRATE LEVEL”.
Press Enter
Display reads “CALIBRATE LEVEL YES: ENTER NO: ESC”
Press Enter
Display reads “CALIBRATE LEVEL YES: ENTER NO: ESC” plus has actual tilt
percentages.
Press Enter again.
The percentage numbers should be 0.0 - 0.0 (or very close).
Level calibration is complete. Unplug the EZ-Cal or press ESC, ESC, ESC.
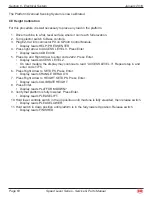
ANSI Height Calibration
Height calibration must be performed if the GP400 is replaced. For this procedure it is not necessary
to place any load in the platform.
Drive machine to level ground, in area where it can reach full elevation.
Turn selector switch to Base controls.
Plug EZ-Cal into connector P9 on GP400 Control Module. EZ-Cal display reads HELP: PRESS
ENTER
Press right arrow to ACCESS LEVEL 3, Press Enter.
Display reads CODE 0000
Press Up and Right Arrow to enter code 2222. Press Enter.
Display reads ACCESS LEVEL 2.
On later models, the display may continue to read “ACCESS LEVEL 3”. Repeat step b. and
enter code 1775.
Press Right Arrow to SETUPS, Press Enter.
•
1.
2.
3.
4.
a.
•
b.
•
•
c.
•
d.
•
e.
•
f.
•
g.
•
h.
1.
2.
3.
4.
•
5.
•
•
6.

