


F1050/F1200
6-4
6
Attachments
2
1
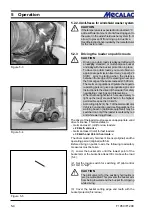
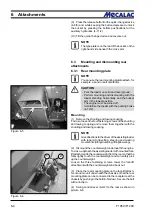
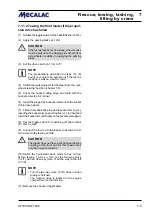
(9) Press the release button for the quick-change device
(4-8/6) and, while keeping the button depressed, unlock
the bucket by pressing the bottom pushbuttons for the
auxiliary hydraulics (4-11/2).
(10) Tilt the quick-change device and reverse out.
NOTE
The type plate is on the rear of the bucket, on the
right-hand side beneath the cross arm.
6.3
Mounting and dismounting rear
attachments
6.3.1
Rear mounting plate
NOTE
You can use the rear mounting plate to attach, for
example, a sand or salt distributor.
CAUTION
- Park the loader on solid and level ground.
- Perform mounting and dismounting with the
loader standing horizontally and the bucket
arm in the lowest position.
- The engine must be turned off.
- Immobilise the loader with the parking brake
(4-12/2).
Mounting
(1) Remove the shunting and towing coupling.
To do so, loosen the four fastening screws of the shunting
and towing coupling and remove them together with the
shunting and towing coupling.
NOTE
Give directions to the driver of the assisting loader
with regard to travelling, steering and working
movements (tilting/dumping, lifting/lowering).
(2) Dismount the counterweight underneath the engine.
To do so, approach the assisting loader with mounted fork-
lift attachment to the counterweight from the rear so that the
forks lightly touch the counterweight and can safely pick
up the counterweight.
Loosen the three fastening screws, lower the fork-lift
attachment with the counterweight and back out.
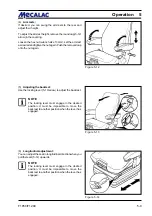
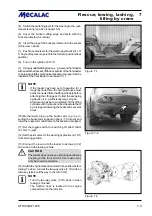
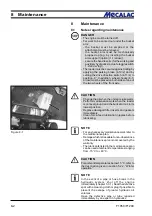
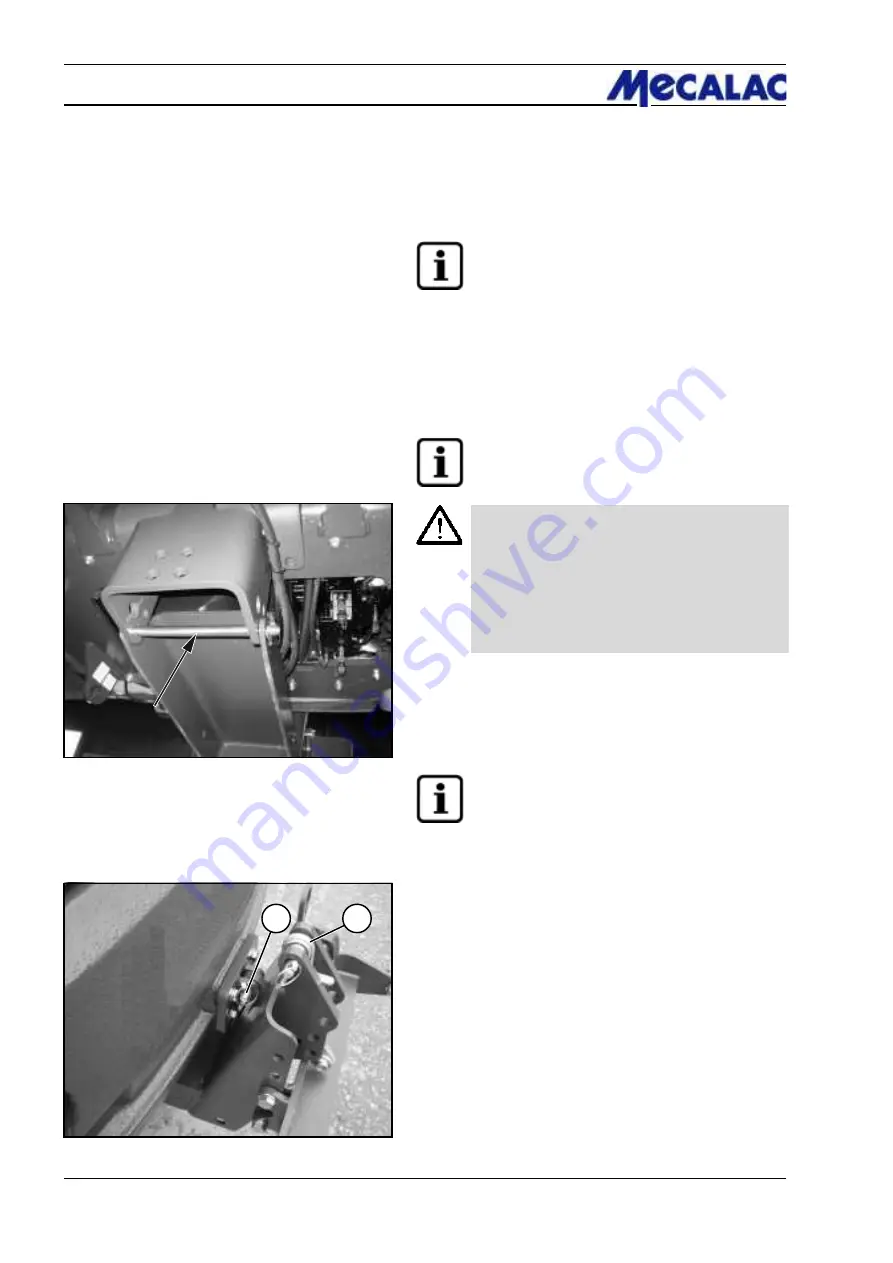
(3) Place the rear mounting plate on the fork-lift attach-
ment and move it underneath the chassis so that the rear
mounting plate can be connected to the receptacle at the
chassis by pushing in the bolt (6-5/arrow). Secure the bolt
with a linchpin.
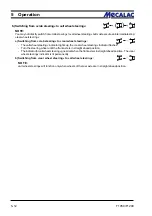
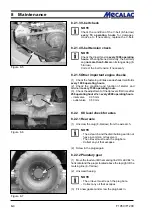
(4) Swing control lever (6-6/2) to the rear as shown in
picture 6-6.
Figure 6-6
Figure 6-5
Summary of Contents for AF 1050
Page 9: ...Safety regulations...
Page 21: ...Signs...
Page 24: ......
Page 25: ...Protection against theft...
Page 28: ...F1050 F1200 3 4 3 Protection against theft...
Page 29: ...Description...
Page 43: ...Operation...
Page 55: ...Attachments...
Page 60: ......
Page 61: ...Rescue towing lashing lifting by crane...
Page 67: ...Maintenance...
Page 69: ......
Page 88: ...F1050 F1200 8 20 8 Maintenance Figure 8 47...
Page 89: ...Circuit diagrams...
Page 114: ......
Page 115: ...Technical Data Equipment...
Page 122: ......
Page 123: ...TechnicalData Attachments...
Page 132: ......
Page 133: ...Optional Extras...
Page 135: ...F1050 F1200 13 3 Optional Extras 13...
Page 136: ...F1050 F1200 13 4 13 Optional Extras...
Page 137: ...F1050 F1200 13 5 Optional Extras 13...
Page 138: ...F1050 F1200 13 6 13 Optional Extras...
Page 139: ...F1050 F1200 13 7 Optional Extras 13...
Page 140: ...F1050 F1200 13 8 13 Optional Extras...
Page 141: ...F1050 F1200 13 9 Optional Extras 13...
Page 142: ...F1050 F1200 13 10 13 Optional Extras...
Page 143: ...F1050 F1200 13 11 Optional Extras 13...
Page 144: ...F1050 F1200 13 12 13 Optional Extras...
Page 145: ...F1050 F1200 13 13 Optional Extras 13...
Page 146: ...F1050 F1200 13 14 13 Optional Extras...
Page 147: ...F1050 F1200 13 15 Optional Extras 13...
Page 148: ...F1050 F1200 13 16 13 Optional Extras 23131461 KL C 31632...


