F1050/F1200
8-14
8
Maintenance
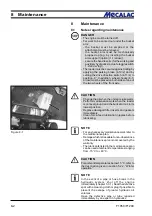
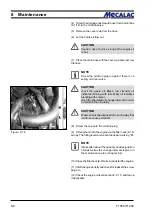
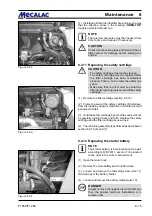
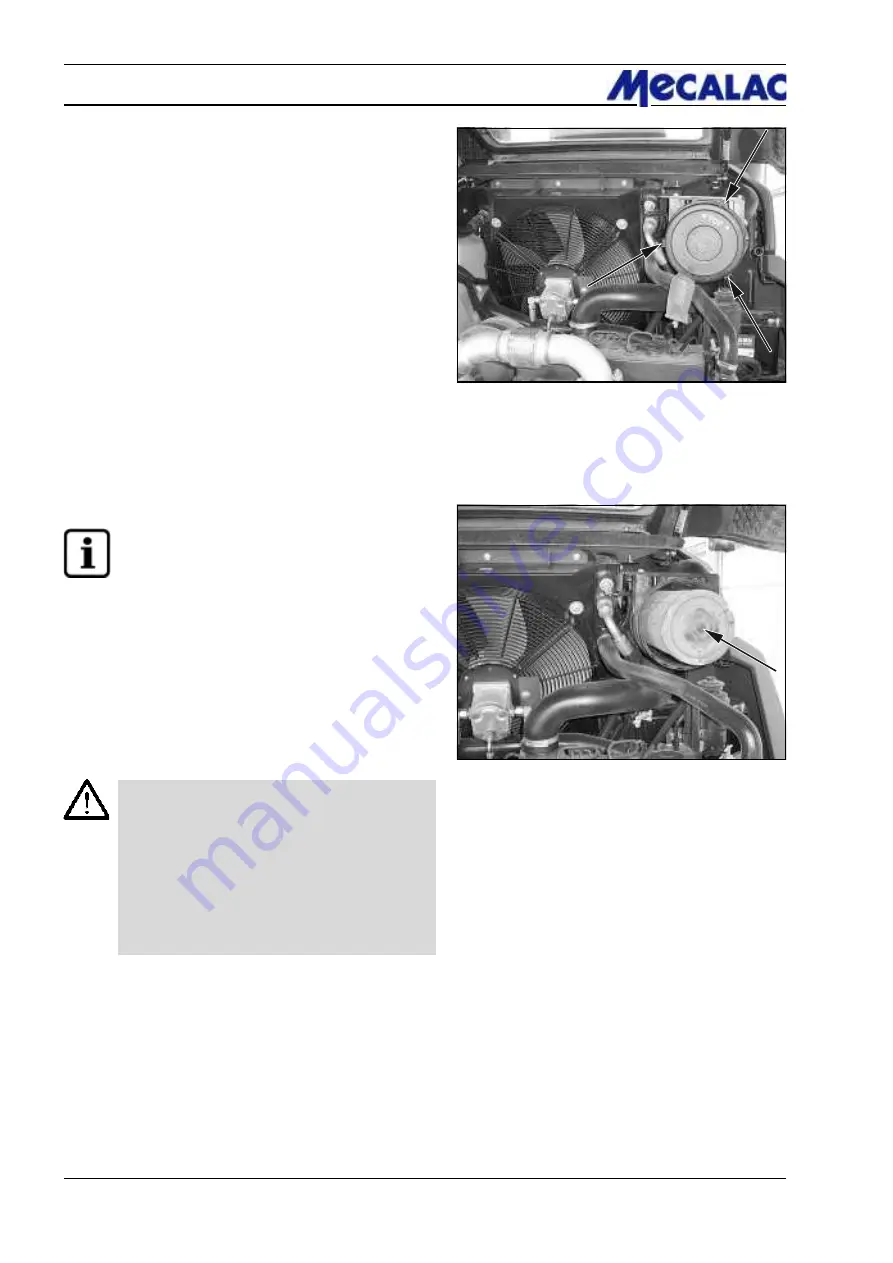
Figure 8-30
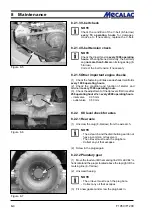
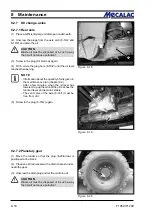
Figure 8-31
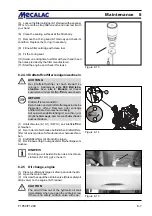
(6) Check filter for mechanical damage, in particular
sealing surfaces and threads.
(7) Apply a thin coat of clean operating fluid on sealing
surfaces, threads and O-rings if necessary.
(8) Check whether the designation of the new filter match-
es that of the old one before installing the filter.
(9) Assemble filter separator disc, filter cartridge and filter
bowl to form one unit. Replace the O-ring (8-29/4) with a
new one.
(10) Install filter separator disc with filter cartridge and filter
bowl by slightly turning it back and forth.
(11) Screw on the hydraulic filter lid with a new O-ring (8-
19/2).
(12) Close the motor hood.
8.2.10 Maintaining/replacing the air filter
NOTE
The filter cartridge needs to be maintained when
the “air filter clogging indicator” (4-14/15) lights
up, but at the latest after 12 months.
(1) Open the motor hood.
(2) Loosen the three spring-loaded catches on the air filter
lid (8-30/arrows) and remove the air filter lid.
(3) Pull out the filter cartridge (8-31/arrow) by carefully
turning it back and forth.
(4) Clean the filter cartridge.
CAUTION
- For cleaning, use a compressed air gun to
which a pipe (angled at 90°) has been
attached. The pipe must be sufficiently long
to reach the bottom of the cartridge. Use dry
compressed air of no more than 5 bar to blow
out the cartridge by moving the pipe back and
forth in the interior of the cartridge. Cleaning
can be stopped when dust formation ceases.
- Do not use petrol or hot liquids for cleaning.
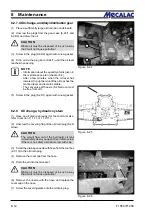
(5) Use a hand-held lamp to check the cartridge paper and
the rubber gasket of the filter cartridge for damage.
If the cartridge or the gasket is damaged, replace the
cartridge.
(6) Carefully insert the filter cartridge.
Summary of Contents for AF 1050
Page 9: ...Safety regulations...
Page 21: ...Signs...
Page 24: ......
Page 25: ...Protection against theft...
Page 28: ...F1050 F1200 3 4 3 Protection against theft...
Page 29: ...Description...
Page 43: ...Operation...
Page 55: ...Attachments...
Page 60: ......
Page 61: ...Rescue towing lashing lifting by crane...
Page 67: ...Maintenance...
Page 69: ......
Page 88: ...F1050 F1200 8 20 8 Maintenance Figure 8 47...
Page 89: ...Circuit diagrams...
Page 114: ......
Page 115: ...Technical Data Equipment...
Page 122: ......
Page 123: ...TechnicalData Attachments...
Page 132: ......
Page 133: ...Optional Extras...
Page 135: ...F1050 F1200 13 3 Optional Extras 13...
Page 136: ...F1050 F1200 13 4 13 Optional Extras...
Page 137: ...F1050 F1200 13 5 Optional Extras 13...
Page 138: ...F1050 F1200 13 6 13 Optional Extras...
Page 139: ...F1050 F1200 13 7 Optional Extras 13...
Page 140: ...F1050 F1200 13 8 13 Optional Extras...
Page 141: ...F1050 F1200 13 9 Optional Extras 13...
Page 142: ...F1050 F1200 13 10 13 Optional Extras...
Page 143: ...F1050 F1200 13 11 Optional Extras 13...
Page 144: ...F1050 F1200 13 12 13 Optional Extras...
Page 145: ...F1050 F1200 13 13 Optional Extras 13...
Page 146: ...F1050 F1200 13 14 13 Optional Extras...
Page 147: ...F1050 F1200 13 15 Optional Extras 13...
Page 148: ...F1050 F1200 13 16 13 Optional Extras 23131461 KL C 31632...

