F1050/F1200
8-15
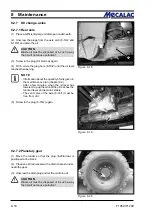
Maintenance
8
Figure 8-32
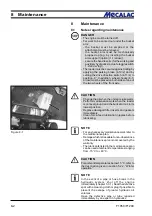
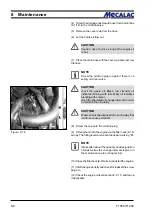
(7) Install the air filter lid on the filter housing in such a way
that the direction arrow in the marking „
OBEN-TOP
“
roughly points to half past one.
N O T E
The dust removal valve must be checked from
time to time and cleaned if necessary.
CAUTION
Check all connection pipes and hoses of the air
filter system for damage before starting the
engine.
8.2.11 Replacing the safety cartridge
CAUTION
- The safety cartridge must not be cleaned.
- The safety cartridge must be replaced after
the filter cartridge has been maintained/
cleaned 5 times, but no later than after two
years.
- Make sure that no dirt or dust can enter the
filter housing during replacement of the safety
cartridge.
(1) Remove the filter cartridge (section 8.2.10).
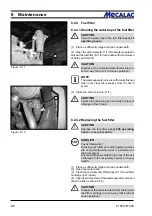
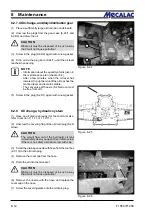
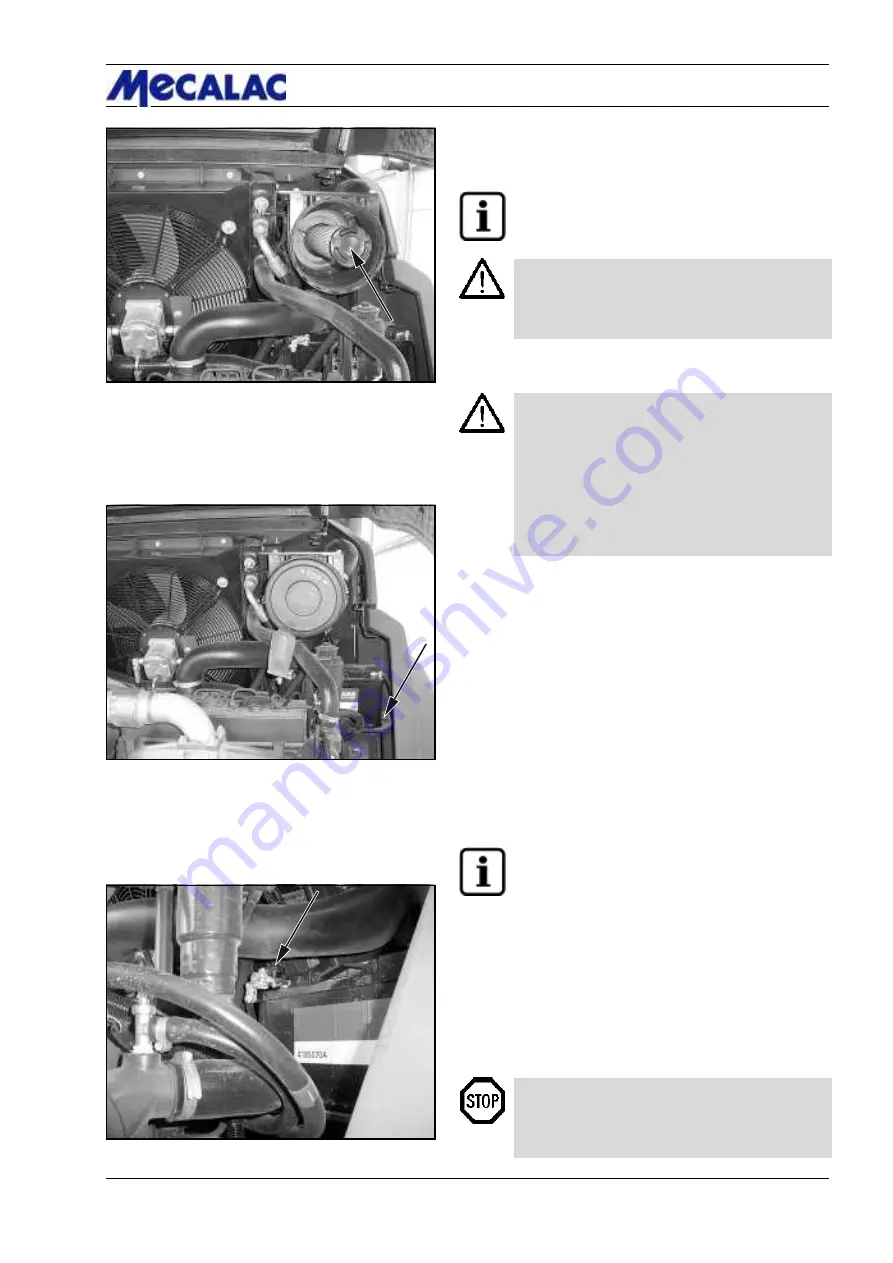
(2) Pierce the seal of the safety cartridge (8-32/arrow)
from the inside by using a screwdriver or similar tool and
pull up both strips.
(3) Hold the safety cartridge by both strips and pull it out
by carefully turning it back and forth. Replace the safety
cartridge and the filter cartridge by new ones.
(4) The remaining assembly is performed as described in
section 8.2.10 (6) and (7).
8.2.12 Replacing the starter battery
NOTE
The starter battery is a maintenance-free part
according to DIN 72311, section 7. It is located
to the right in the motor compartment.
(1) Open the motor hood.
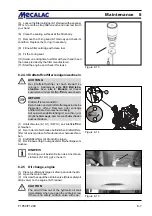
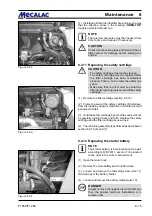
(2) Remove the main battery switch (8-34/arrow).
(3) Loosen and remove the fastening screw (size 17)
(8-33/arrow) of the battery holder.
(4) Loosen and remove the battery clamps (size 13).
DANGER
Always remove the negative terminal first and
then the positive terminal. Installation is in
reverse order.
Figure 8-33
Figure 8-34
Summary of Contents for AF 1050
Page 9: ...Safety regulations...
Page 21: ...Signs...
Page 24: ......
Page 25: ...Protection against theft...
Page 28: ...F1050 F1200 3 4 3 Protection against theft...
Page 29: ...Description...
Page 43: ...Operation...
Page 55: ...Attachments...
Page 60: ......
Page 61: ...Rescue towing lashing lifting by crane...
Page 67: ...Maintenance...
Page 69: ......
Page 88: ...F1050 F1200 8 20 8 Maintenance Figure 8 47...
Page 89: ...Circuit diagrams...
Page 114: ......
Page 115: ...Technical Data Equipment...
Page 122: ......
Page 123: ...TechnicalData Attachments...
Page 132: ......
Page 133: ...Optional Extras...
Page 135: ...F1050 F1200 13 3 Optional Extras 13...
Page 136: ...F1050 F1200 13 4 13 Optional Extras...
Page 137: ...F1050 F1200 13 5 Optional Extras 13...
Page 138: ...F1050 F1200 13 6 13 Optional Extras...
Page 139: ...F1050 F1200 13 7 Optional Extras 13...
Page 140: ...F1050 F1200 13 8 13 Optional Extras...
Page 141: ...F1050 F1200 13 9 Optional Extras 13...
Page 142: ...F1050 F1200 13 10 13 Optional Extras...
Page 143: ...F1050 F1200 13 11 Optional Extras 13...
Page 144: ...F1050 F1200 13 12 13 Optional Extras...
Page 145: ...F1050 F1200 13 13 Optional Extras 13...
Page 146: ...F1050 F1200 13 14 13 Optional Extras...
Page 147: ...F1050 F1200 13 15 Optional Extras 13...
Page 148: ...F1050 F1200 13 16 13 Optional Extras 23131461 KL C 31632...

