P0700/P0710/P0850/P0860/P1000/P1010
4-6
4
Description
4.3
Wheel change
DANGER
Before
changing a wheel on public roads, the
danger area must be properly marked.
(1) Park the loader on solid ground and not on inclines if
possible.
(2) Lower the attachment to the ground.
(3) Set the drive switch (4-10/11) to “0”.
(4) Apply the parking brake (4-9/3).
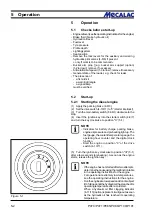
(5) Turn the ignition key to the left to position “0” (5-1).
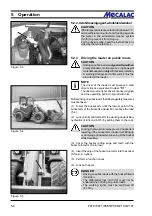
(6) Lock (4-8-/6) pilot valves for the working and auxiliary
hydraulics (4-8/4 and 4-8/5).
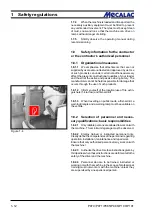
(7) Insert the articulation safeguard into the articulation
joint (1-3/arrow).
(8) Secure the machine by placing two wedges under one
wheel of the axle where
no
wheel is to be changed.
(9) Loosen the wheel nuts of the wheel to be changed so
that they can be turned manually.
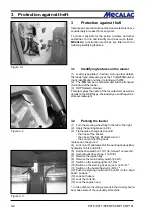
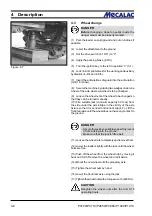
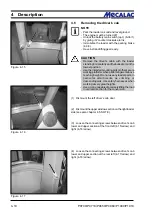
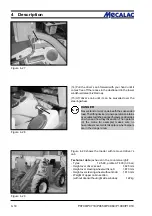
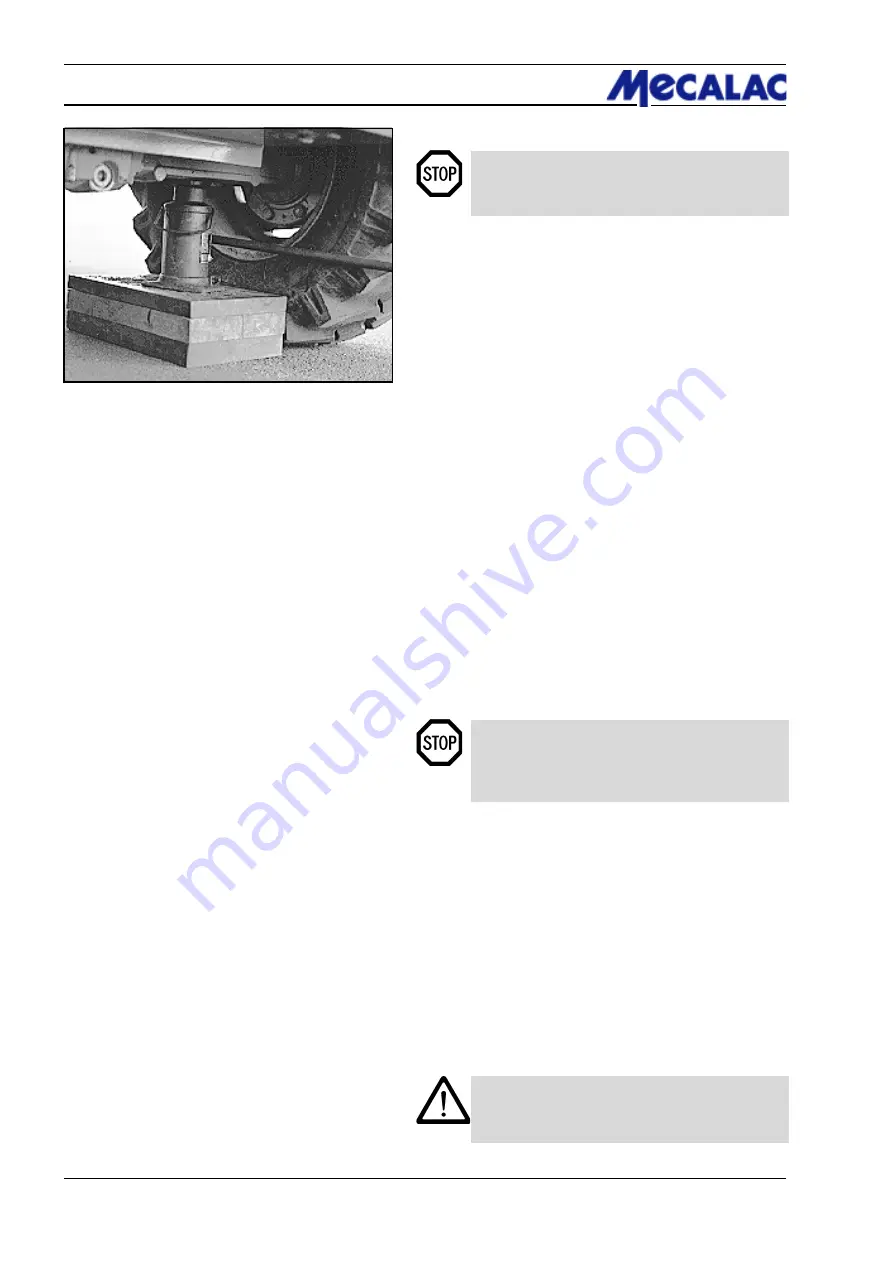
(10) Fit a suitable jack (minimum capacity 3.0 tons) from
the side under the axle bridge in the vicinity of the axle
fixture so that it is centred and cannot slip (4-7). Lift the
front/rear axle until the wheel does not have any contact to
the ground.
DANGER
- Secure the jack by a suitable support to prevent
it from sinking into the ground.
- Make sure that the jack is fitted well.
(11) Loosen the wheel nuts completely and remove them.
(12) Lower the loader slightly with the jack until the wheel
bolts are free.
(13) Push off the wheel from the wheel hub by moving it
back and forth. Remove the wheel and roll it aside.
(14) Mount the new wheel onto the planetary axle.
(15) Tighten the wheel nuts by hand.
(16) Lower the front/rear axle using the jack.
(17) Tighten the wheel nuts with a torque wrench (440 Nm).
CAUTION
Retighten the wheel nuts after the first 8-10
operating hours.
Figure 4-7
Summary of Contents for AX 1000
Page 9: ...Safety regulations...
Page 21: ...Signs...
Page 24: ......
Page 25: ...Protectionagainsttheft...
Page 28: ......
Page 29: ...Description...
Page 43: ...Operation...
Page 53: ...Attachments...
Page 58: ......
Page 59: ...Rescue towing lashing lifting by crane...
Page 66: ......
Page 67: ...Maintenance...
Page 83: ...Faults causes and remedies...
Page 86: ......
Page 87: ...Circuit diagrams...
Page 97: ......
Page 100: ......
Page 101: ...Technical data loader...
Page 111: ...Technical data attachments...
Page 124: ......
Page 125: ...Additional options modifications Notes on inspection for loaders...
Page 127: ...P070 P071 P085 P086 P100 P101 13 3 Additionaloptions modfications 13...
Page 128: ...P070 P071 P085 P086 P100 P101 13 4 13 Additionaloptions modfications...
Page 129: ...P070 P071 P085 P086 P100 P101 13 5 Additionaloptions modfications 13...
Page 130: ...P070 P071 P085 P086 P100 P101 13 6 13 Additionaloptions modfications...
Page 131: ...P070 P071 P085 P086 P100 P101 13 7 Additionaloptions modfications 13...
Page 132: ...P070 P071 P085 P086 P100 P101 13 8 13 Additionaloptions modfications...
Page 133: ...P0700 P0710 P0850 P0860 P1000 P1010 Index i Index...
Page 134: ...P0700 P0710 P0850 P0860 P1000 P1010 Index ii Index...
Page 135: ...P0700 P0710 P0850 P0860 P1000 P1010 Index iii Index...
Page 136: ...P0700 P0710 P0850 P0860 P1000 P1010 Index iv Index...
Page 137: ...P0700 P0710 P0850 P0860 P1000 P1010 Index v Index...
Page 138: ...P0700 P0710 P0850 P0860 P1000 P1010 Index vi Index...
Page 139: ...P0700 P0710 P0850 P0860 P1000 P1010 Index vii Index...
Page 140: ...P0700 P0710 P0850 P0860 P1000 P1010 Index viii Index...
Page 141: ...P0700 P0710 P0850 P0860 P1000 P1010 Index ix Index...
Page 142: ...P0700 P0710 P0850 P0860 P1000 P1010 Index x Index...
Page 143: ...P0700 P0710 P0850 P0860 P1000 P1010 Index xi Index...
Page 144: ...P0700 P0710 P0850 P0860 P1000 P1010 Index xii Index 23128003 Index 0...

