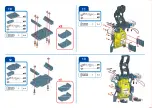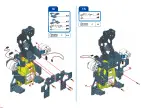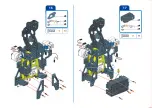
DRONE
ROBOT
DRONE
USB
USB
USB
USB
ROBOT
DRONE
ROBOT
DRONE
ROBOT
DRONE
ROBOT
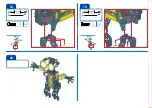
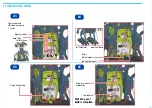
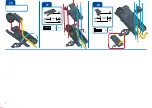
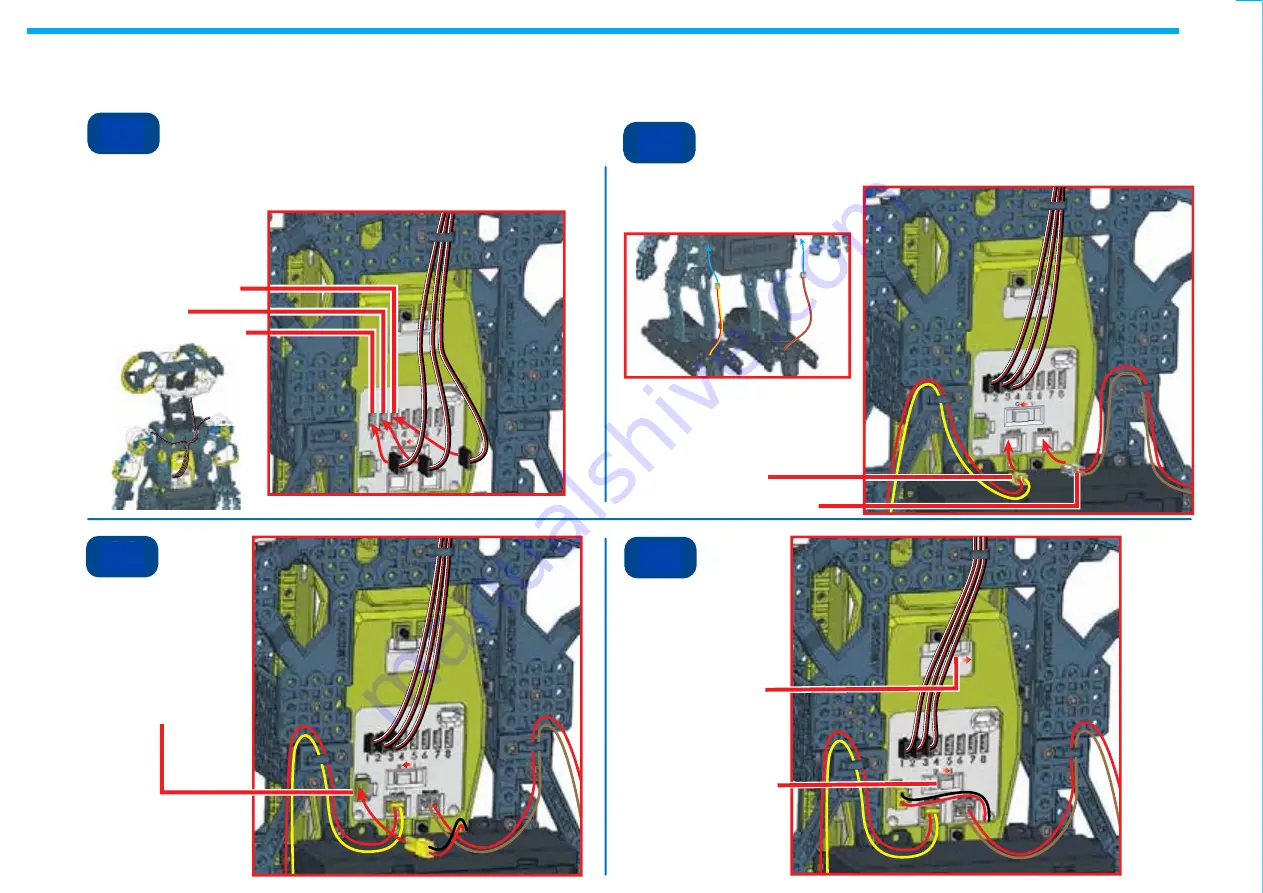
2.2 CONNECT THE ELECTRONICS
Plug in servos and
LED module into ports
1, 2 and 3
Plug in
left foot motor
and right foot motor.
Make sure robot is in
robot mode
Left Foot Motor
Right Foot Motor
Well done, your
build is complete.
Turn robot on
Right Arm Servo
Left Arm Servo
Head LEDs
31
Plug in battery cable
23
24
25
26
Summary of Contents for Meccanoid G15
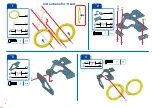
Page 1: ...8 x1 x1 x1 x1 x1 x1 x1 x1 x1 x2 x6 x6 Instructions for Left arm Lock Nut 1 2 3 4...
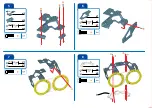
Page 3: ...16 x1 x1 x1 x1 x1 Lock Nut 6 7...
Page 4: ...17 x1 x1 x1 x1 x2 x2 8 9 10 11...
Page 5: ...18 12 13 14 15...
Page 6: ...19 16 17 18 19...
Page 7: ...8 x6 x6 x2 x1 x1 x1 x1 x1 x1 x1 x1 x1 Instructions for Right arm Lock Nut 1 2 3 4...
Page 9: ...16 x1 x1 x1 x1 x1 Lock Nut 6 7...
Page 10: ...17 x2 x2 x1 x1 x1 x1 8 9...
Page 11: ...20 10 11 12...
Page 12: ...21 13 14 15 16...
Page 13: ...22 17 18...
Page 16: ...10 7 8 9...
Page 17: ...11 10 11 12 13...
Page 18: ...12 14 15...
Page 19: ...13 16 17...
Page 20: ...23 x2 x2 18 19 20...
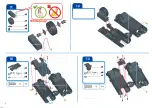
Page 24: ...24 2 3 5 4...
Page 25: ...25 x2 9 7 8 6 Yellow plug...
Page 26: ...26 x4 10 11 12...
Page 27: ...22 x1 x3 x6 x6 x1 x6 x6 14 13...
Page 28: ...22 x6 x6 x6 x6 x3 x1 x1 Instructions for Right leg 1 2...
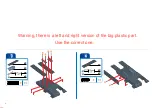
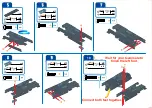
Page 29: ...26 Warning there is a left and right version of the big plastic part Use the correct one...
Page 30: ...27 x2 10 Wait for your teammate to finish the left foot Connect both feet together...
Page 31: ...28 x4 14 12 13 11 White plug...
Page 32: ...14 Instructions for Head 2 3 1 4...
Page 33: ...15 8 6 7 5...
Page 34: ...16 9...


