Assembly and Installation of –
i
System Test Stands
Mecmesin
iii
Contents
1.
Items Supplied with the Test Stand
1
1.1
MultiTest-
i
test stand
1
1.2
Vortex-
i
test stand
1
2.
Installation
2
2.1
Unpacking the stand
2
2.2
Lifting the test stand
2
2.3
Locating the stand
2
2.4
Mains power supply
2
3.
MultiTest-
i
Assembly and Installation
3
3.1
Bolting the test stand to the work surface
3
3.2
Fitting the feet to the stand
4
3.3
Fitting the loadcell to the crosshead
4
3.4
Swapping loadcells
6
3.5
Attaching grips and fixtures
6
3.6
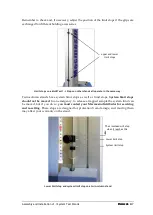
Setting the limit stops
6
3.6.1
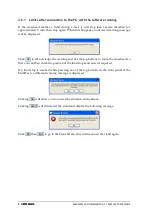
Limits after connection to the PC, with the software running
8
4.
Vortex-
i
Assembly and Installation
9
4.1
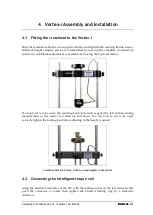
Fitting the crosshead to the Vortex-
i
9
4.2
Connecting the intelligent torque cell
9
4.3
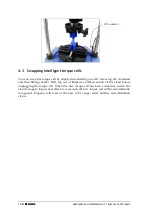
Swapping intelligent torque cells
10
5.
Connecting the PC (MultiTest-
i
and Vortex-
i
)
11
5.1
Connecting the power lead and USB lead
11
5.2
Emergency stop button
11
5.3
Jog buttons
12
6.
Installing Emperor Software on Your PC
13
6.1
Minimum system requirements
13
6.2
Access to data folders
13
6.3
Start Emperor
14
System Specifications
15
EC Declaration of Conformance
19


