Chapter 3 Installation
- 5 -
a) Main Unit
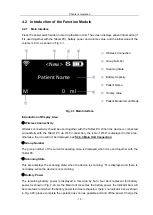
1. OLED Screen
For displaying interface information.
2. Menu Key
The Menu Key is mainly used for screen switching. Please refer to
§4 Operation
for details.
3. Power Indicator
The power indicator lights up when the device is turned on.
The power indicator goes out when the device is turned off.
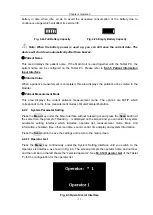
4. Function Key
The Function Key is mainly used to select sub-functions. Please refer to
§4 Operation
for
details.
5. Anti-Drop Lanyard Hole
The Anti-Drop Lanyard can be inserted into the Anti-Drop Lanyard Hole; and the operator may
hang the lanyard around the wrist, so that the Main Unit will not drop.
6. Probe Cover
The probe cover is the part through the top of which ultrasound signals are transmitted.
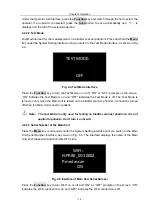
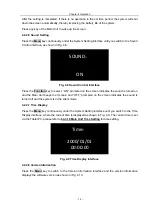
7. Scan Button
Press the
Scan
Button and hold it to access the Pre-scan Positioning Mode;
Release the
Scan
Button
under the Pre-scan Positioning to access the 3D Scanning Mode;
Press the
Scan
Button and release it immediately to access the 3D Scanning Mode. See
§4.2.4 Main Unit Scanning
for detailed operation.
8. Power Switch of Main Unit
Power on: Press the button for 1-2 seconds and release it, the Main Unit starts running and
the power indicator lights up.
Shutdown: Press the button for 3-4 seconds and release it, the Main Unit turns off and the
power indicator goes out.
9. Charging Interface
Charging interface (DC input socket of the charger): used to charge the built-in Li-ion battery.
b) Main Unit Charger
1. Charger Output Connector
For connection to the Main Unit.
2. Power Supply Plug
For connection to the mains power.


