SpiroConnect Operators Manual
MedChip Solutions Ltd.
Page 9 of 31
001.105.GBR Issue 1.12
8
Operation
WARNING:
Do not attempt to connect the SpiroConnect to the PC using the USB socket on
the SpiroConnect device via USB cable.
WARNING:
Keep the patient away from the PC during use.
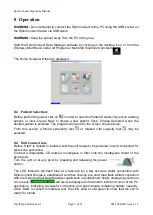
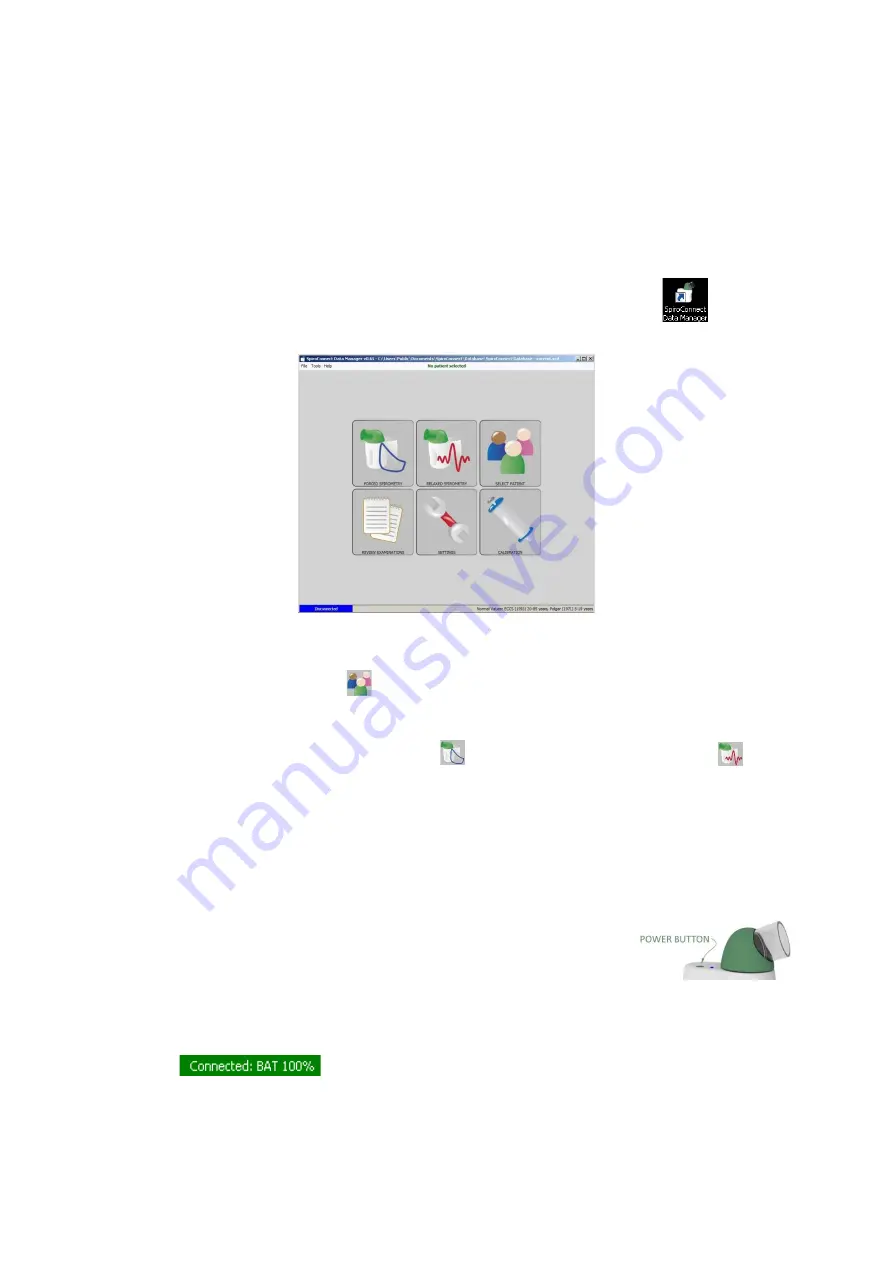
Start the SpiroConnect Data Manager software by clicking on the desktop icon, or from the
Windows Start Menu under All Programs->MedChip Solutions Spirometry.
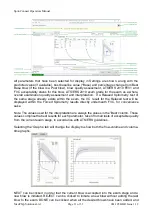
The Home Screen will then be displayed:
8.1
Patient Selection:
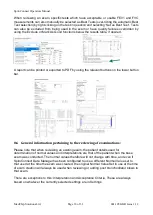
Before performing a test, click on
in order to open the Patient Selector. Select an existing
patient, or click ‘Create New’ to create a new patient. Click ‘Choose Selected’ when the
desired patient is selected. The program will return to the screen shown above.
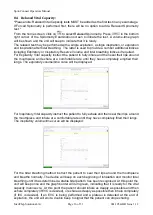
From this screen a forced spirometry test
or relaxed vital capacity test
may be
selected.
8.2
Unit Conne
c
tion:
Before
‘Start’ is clicked to initiate a test the unit needs to be powered on and connected for
tests to be performed.
Connect a disposable, CE-marked, mouthpiece or filter onto the mouthpiece holder of the
spirometer.
Turn the unit on at any point by pressing and releasing the power
button.
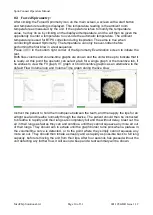
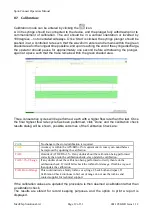
The LED indicator will flash blue at a fast rate for a few seconds whilst connection with
SpiroConnect Dongle is established, and then change to a slow blue flash whilst connection
with the SpiroConnect Data Manager application is established, finally displaying solid blue
once ready.
will also be displayed in the bottom left hand corner of the PC
application, indicating successful connection and approximate remaining battery capacity.
Once ‘Start’ is clicked to initiate a test, the LED shows solid green to show that the unit is
ready for a blow.

