background image

20

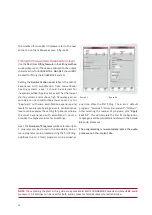
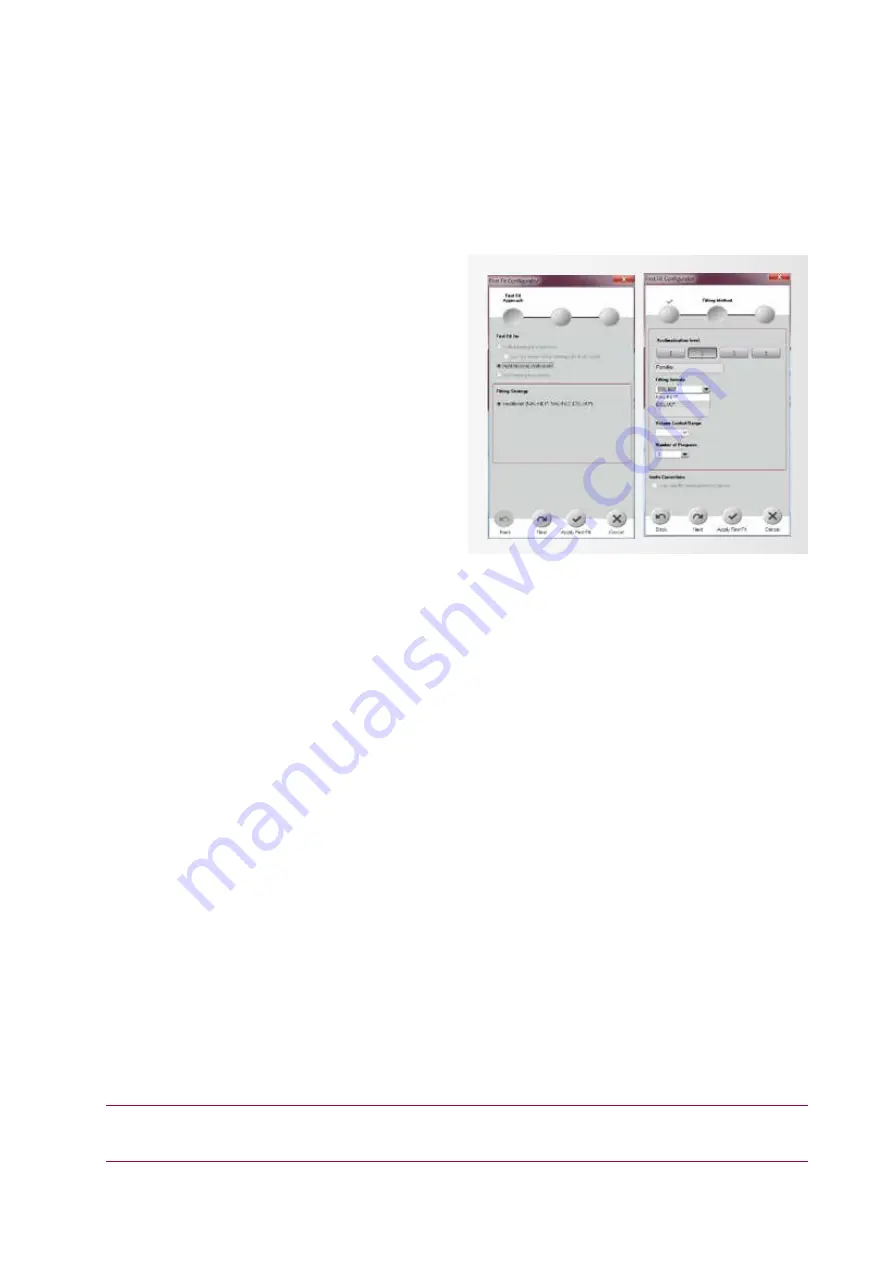
the modified formula DSL I/O (please refer to the next 
section). Use the tickboxes as seen in figure 24.

Fitting formula and Acclimatization level

Use the 

DSL I/O 

as 

Fitting formula

 in the 

Fitting method


window (figure 24), it has been optimized to the output 
characteristics for BONEBRIDGE. 

NAL-NL1 

should 

NOT


be used for fitting the BONEBRIDGE system.

Setting the 

Acclimatization Level 

reflects the client’s 

experience with amplification from conventional 
hearing systems. Level 1 should be selected for 
inexperienced hearing aid users. Level 1 has the lowest 
starting volume and cautious high frequency gain so 
sounds are not uncomfortably loud. Level 2 is for 
“beginners” with some amplification experience and 
level 3 for experienced hearing aid users. Acclimatization 
level 4 can be used as the setting for patients who are 
the most experienced with amplification. Level 4 
provides the highest volume for all settings.

Next, the 

Number of Programs

 will be selected. Up to 

3 programs can be stored in the Amadé BB. One or 
more programs can be created during the first fitting. 
Additional (up to 3 total) programs can be added, at 

any time, after the first fitting. There are 3 default 
programs: “Universal”, “Noisy Environment”, “TV/Music”. 
After selecting the number of programs, click 

“Apply 

First Fit”.

 This will complete the first fit configuration, 

target gains will be calculated and stored in the Amadé 
BB audio processor.

The programming is now complete; place the audio 
processor on the implant site.

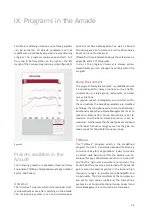
figure 23

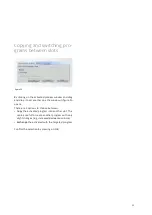
figure 24

NOTE:

 The remaining chapters in this guide are applicable to both SOUNDBRIDGE Amadé and Amadé BB audio 

processors. All settings can be used for both audio processor families unless stated otherwise.

Summary of Contents for SYMFIT 6.1

Page 1: ...1 Business Unit Vibrant Fitting Guide SYMFIT 6 1...

Page 2: ......

Page 3: ...T FIT CONFIGURATOR 19 VII The Basic Tuning 21 THE CURVE DISPLAY 21 SETTINGS IN THE BASIC TUNING 22 VIII Fine Tuning 24 FREQUENCY SHAPING 24 COMPRESSION 25 SPEECH SOUND 26 MICROPHONE DIRECTIONAL AND OM...

Page 4: ......

Page 5: ...and BONEBRIDGE Systems VIBRANT SOUNDBRIDGE INTRODUCING The Vibrogram Direct Drive threshold measurement DSL NAL NL1 NAL NL2 available for the VIBRANT SOUNDBRIDGE fitting BONEBRIDGE INTRODUCING Fittin...

Page 6: ...EQUIREMENTS Processor CPU Pentium 4 2 GHz Hard disk space 2 GB free storage RAM 1 GB Graphics Display 1280 x 1024 resolution 16 7m colors Programming Interface HI PRO or NOAHlink Programming cable wit...

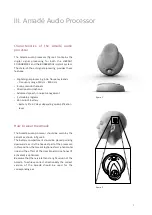
Page 7: ...ms Zinc Air 675 battery battery life 5 7 days depending on amplification level How to wear the Amad The Amad audio processor should be worn by the patient as shown in figure 2 The battery compartment...

Page 8: ...a standard Amad for the VIBRANT SOUNDBRIDGE BB for an Amad for the BONEBRIDGE Underneath all these markings there is an indicator showing on which side of the head the Amad should be worn L for the l...

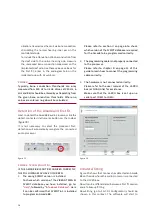
Page 9: ...ery door to see the programming socket figure 4c Placing Removing the battery The Amad audio processor uses a single Zinc Air 675 battery Figure 5 a c shows how to exchange the battery When the batter...

Page 10: ...accordingly To change the magnet figure 6 a c turn the battery door 180 anticlockwise from the closed position Once opened 180 the battery door can be lifted off and the magnet can be replaced Place...

Page 11: ...to the Amad To program the Amad connect the programming cable Make sure the Amad battery is sufficiently charged Open the battery door to access the programming socket figure 7 To connect the audio p...

Page 12: ...see the fields to enter the client data First Name Last Name and Date of Birth are required to create a new client record All other fields are optional When the data for the new client is complete cli...

Page 13: ...not necessary to select the processor first the detection automatically recognizes which audio processor is connected NOTE TROUBLESHOOTING IF THE AMAD IS NOT RECOGNIZED CORRECTLY THE FOLLOWING MAY HA...

Page 14: ...picked up by the microphones mute the Amad Refer to figure 42 on page 34 on how to mute the Amad THE PRE PROGRAMMED AMAD IS NOW GIVEN TO THE PATIENT AND PLACED OVER THE IMPLANT figure 11 figure 12 Beg...

Page 15: ...w client The data entered in this screen will be used by the Connexx software to calculate the target gains for the Amad For the first fitting the thresholds of the patient have to be entered at least...

Page 16: ...e client s experience with amplification from conventional hearing systems Level 1 should be selected for inexperienced hearing aid users Level 1 has the lowest starting volume and cautious high frequ...

Page 17: ...by bone conduction directly Meaning the hearing loss that needs to be compensated is defined by the inner ear component of the hearing loss measure and enter the bone conduction BC thresholds of the i...

Page 18: ...MAD BB IS NOT RECOGNIZED CORRECTLY THE FOLLOWING MAY HAVE OCCURRED 1 The wrong SYMFIT version is installed To check which version of the VIBRANT MED EL SYMFIT database you have installed go to Help fo...

Page 19: ...guide will now continue with a case of unilateral fitting For a unilateral fitting the following example figure 23 is for an Amad BB connected on the right side After selecting the correct side click...

Page 20: ...rs Acclimatization level 4 can be used as the setting for patients who are the most experienced with amplification Level 4 provides the highest volume for all settings Next the Number of Programs will...

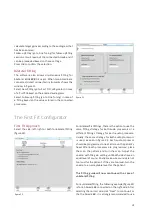
Page 21: ...e current settings that are stored in the Amad and therefore the actual gain output of the system for the same input levels REMARK ADJUSTING THE CURVE DISPLAY TO DISPLAY THE CORRECT VALUES FOR THE VIB...

Page 22: ...e For detailed information about the amplification pattern of the system please refer to the curve display Volume of specific sounds To further improve the basic fitting it is also possible to respond...

Page 23: ...button on the bottom of the basic tuning window to start a new first fit REMARK High frequency sounds are essential for speech understanding Considering this the user should get used to these kinds o...

Page 24: ...t level can be taken from the curve display REMARK Figure 27 shows that an increase of the overall gain with the handle is not possible as the control is shown as non active This is interpreted in a w...

Page 25: ...ompression Kneepoints and Compression Ratios The frequency range can be also split here with the eyeglass control By double clicking on the respective field a dropdown menu opens which allows to set t...

Page 26: ...the hearing comfort and the speech intelligibility for each acoustical situation This means that speech signals are emphasized while interfering noises such as traffic noise or air conditioning are s...

Page 27: ...a dual microphone system which can be set to Omnidirectional or Directional figure 30 In omnidirectional mode sounds from all directions are processed equally In directional mode sounds coming from th...

Page 28: ...to 105 dB To demonstrate the program change beeps press the Play alert tone button figure 31 REMARK If the alert tone is enabled in one program all activated listening programs are affected The beep f...

Page 29: ...gned for noisy situations such as traffic conversation in a large group restaurants or similar noisy situations To provide speech intelligibility and comfort within these situations the Amad parameter...

Page 30: ...ecreased by 9 dB for the whole frequency range The microphone system is set to omnidirectional and the Speech and Noise Management and Wind Noise Reduction are deactivated The Sound Smoothing algorith...

Page 31: ...ther one the window in figure 34 opens There are 2 options to choose between Copy the activated program into another slot This can be useful to create another program with only slight changes e g incr...

Page 32: ...35 In the last tab a report about the fitting session can be created figure 35 All parameters like the date and the name of the clinician audiogram of the user hearing system parameters and target gai...

Page 33: ...nstrument setting The hearing instrument setting shown on the screen is stored permanently in the client s data form If the setting is not to be stored press the Cancel button to return to the main Co...

Page 34: ...nter a comment for this fitting This comment will appear later in the session list Completion of this field is optional Measurements Fitting Select the data you wish to store for this fitting by check...

Page 35: ...dentified which band creates the feedback Note that this is the recommended manual procedure Additionally an automated Anti Feedback analyzer is available by selecting Critical Gain Measurement in the...

Page 36: ...tabase location displays the database to which the new data will be added If an NHA file is selected the whole list of clients which will be added by the import process is shown in the list field Clic...

Page 37: ...nput sounds have equal loudness over the whole frequency range Activating the test setting Loudness Scaling figure 49 activates the table in the Vibrogram tab however the fitting in the Amad remains u...

Page 38: ...via Help Connexx Help or simply by pressing F1 on your keyboard If you need any further information regarding the fitting of the Amad please refer to the Instructions for Use IFU For further informat...

Page 39: ......
Page 40: ...28274 3 1 MED EL Medical Electronics F rstenweg 77a 6020 Innsbruck Austria office medel com medel com pro...

Reviews: