AP-1301 i/t
Operator’s Guide
Document Revision: 100102
Page 23
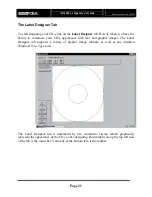
Used to add text to the label being designed. Select this tool, and
click on the location where the text should appear. Use the
“Point” tool to reposition it, or double click on the text created to
modify it. To change fonts or colors, you must first use the
“Select Font” tool, and then the “Type Text” tool.
Allows you to import a graphic image file. It is best to use
images optimized for the current printer. With the MediaFORM
Spectrum, 300 DPI pictures of no more than 4.5” work best. For
the Primera, 600 DPI (or 1200, but little improvement will be
seen) pictures of no more than 4.5” square.
Select this tool to choose the desired font or color, before
selecting the “Type Text” tool
Allows you to add a dynamic date field that will reflect the
current date when printed
Using “Type Text” Tool
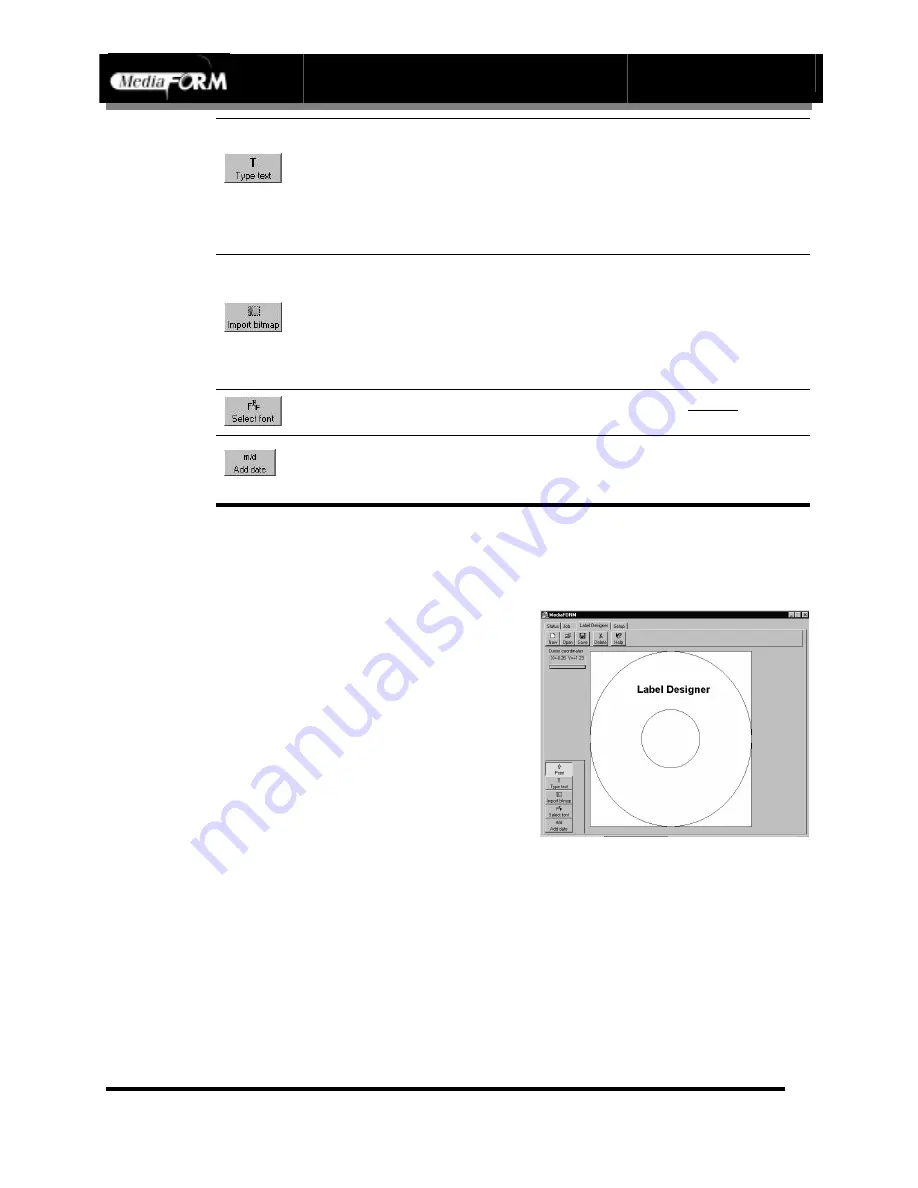
The text tool allows you to create a text element for your CD. It can be
repositioned, or it’s font attribute changed, by using the Point tool below.
To use this tool:
•
Select
Type Text
tool by clicking
on that button
•
Move the cursor (mouse) to the
image of the CD, and click once
•
Enter the text you wish to display.
For our example, we will type
“Label Designer”
Using “Point” Tool
The point tool is used to select the different elements that make up your
CD’s design. This tool is the one used when you wish to reposition an
element or change its attributes such as size, font, or location.
To change fonts in a text element:
•
Select
Point
by clicking on that button
•
Click on the text or graphic, and hold down the mouse. You will then
maneuver the object to it’s appropriate location. You may resize graphic
Summary of Contents for AP 1301
Page 1: ...AP 1301 Operator s Guide...


