ES
EN
DE
67 of 122
6.14. Darning
6.14.1. Mounting the darning plate
For some sewing work, e.g. sewing on buttons, hooks and eyes, as well as
darning and embroidering, the material must not be fed automatically and
you must be able to control the feeding of the material yourself.
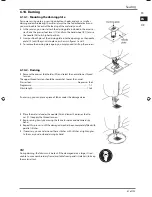
In these cases, you must attach the darning plate included in the accesso-
ries. Raise the presser foot lever (17) and turn the hand wheel (21) to raise
the needle (26) to its highest position.
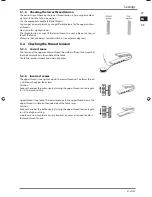
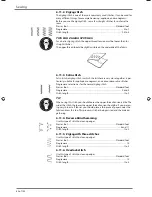
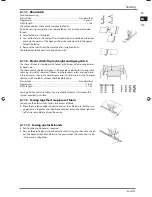
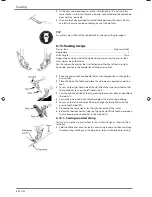
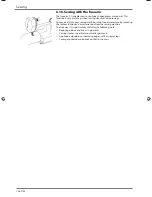
Now push both pins of the darning plate into the openings on the needle
plate (12) until they click into place, as shown in figures 1 and 2.
To remove the darning plate again, you simply need to lift up the corners.
6.14.2. Darning
Remove the presser foot holder (29) and select the normal lower thread
tension.
The upper thread tension should be somewhat looser than usual.
Presser foot: ...............................................................................................No presser foot
Programme: ..................................................................................................................... 1–7
Stitch length: ................................................................................................................1 to 4
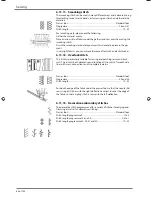
If necessary, you can place a piece of fabric under the damaged area.
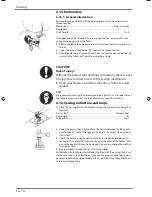
Place the material under the needle (26) and lower the presser foot le-
ver (17) to apply the thread tension.
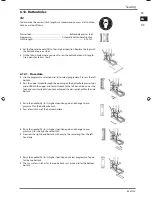
Begin sewing slowly by moving the fabric forwards and backwards by
hand.
Repeat this process until the damaged area has been completely filled with
parallel stitches.
If necessary, you can darn over these stitches with stitches at right angles
to them, as you do when darning by hand.
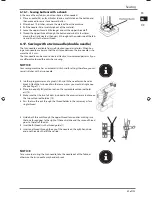
TIP
During darning, the fabric must be taut. If the damaged area is large, it is ad-
visable to use an embroidery frame (available from specialist retailers) to keep
the material taut.
Sewing
17187 ES ALDI ES Content MSN 5005 3127 final.indb 67
17187 ES ALDI ES Content MSN 5005 3127 final.indb 67
18.05.2016 07:17:28
18.05.2016 07:17:28
Summary of Contents for MD 17187
Page 2: ...nes ual ung Bitte aufklappen Please fold out Abrir aquí ...
Page 6: ...28 23 24 25 26 27 31 32 29 30 Mecánica de coser Sewing mechanisms Nähmechanik ...
Page 8: ...11 Especificaciones técnicas 39 12 Pie de imprenta 39 13 Índice 40 Índice 2 de 122 ...
Page 48: ...11 Technical data 79 12 Legal notice 79 13 Index 80 Contents 42 of 122 ...
Page 88: ...11 Technische Daten 119 12 Impressum 120 13 Index 121 Inhaltsverzeichnis 82 von 122 ...
Page 128: ...122 von 122 Letzte Seite Index ...

