68 of 122
6.15. Embroidery
6.15.1. General information
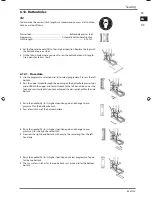
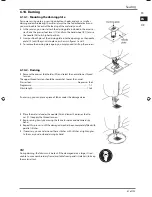
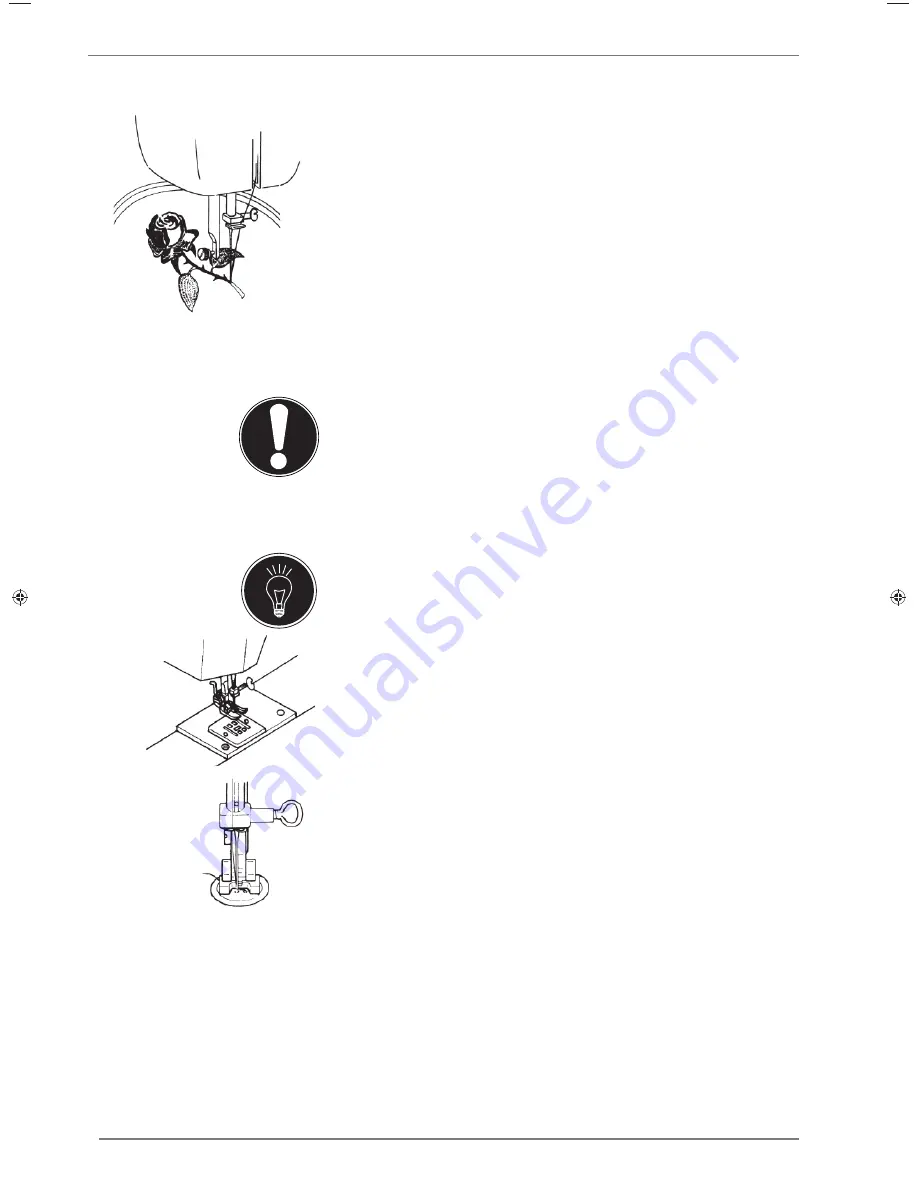
Remove the presser foot and fit the darning plate. Select the normal lower
thread tension.
Presser foot: ...............................................................................................No presser foot
Programme: .......................................................................................................................... 1
Stitch length: ................................................................................................................1 to 4
The upper thread tension must be low enough that the lower thread is not
pulled to the upper side of the fabric.
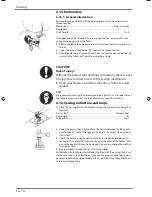
Stretch the fabric taut in an embroidery frame (available from specialist re-
tailers).
Lower the presser foot holder (29) to apply the thread tension.
Hold the embroidery frame by hand while you sew the desired pattern. Do
not move the fabric itself, only the embroidery frame.
CAUTION!
Risk of injury!
Without the presser foot and finger protection, there is a risk
of injury due to direct access to the sewing mechanism.
Keep your fingers out of the embroidery frame to avoid
injuries.
TIP
We recommend drawing the desired embroidery pattern on the upper side of
the fabric in pencil or tailor's chalk (available from specialist retailers).
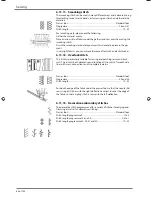
6.16. Sewing on buttons and loops
Place the darning plate on the feeder to stop the material from being fed
forward.
Presser foot: ................................................................................................. Standard foot
Programme: ........................................................................................................................ 91
Stitch width: .................................................................................................................2 to 7
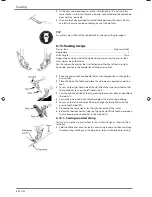
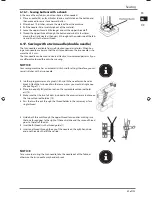
Lower the presser foot (28) and place the button between the fabric and
presser foot (28) so that the zigzag stitch enters the holes of the button, as
illustrated.
Check the button is positioned correctly by turning the hand wheel (21)
manually. The needle (26) must exactly enter the holes of the button, oth-
erwise the needle (26) may be damaged. If necessary, change the width of
the zigzag stitch.
At a low speed, sew about 6 to 7 stitches per hole.
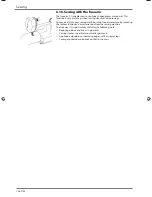
For buttons with four holes, the material is shifted with the button: then 6 to 7
stitches are sewn in the other holes. Once you have removed the fabric, pass a
generous length of the upper thread to the underside of the fabric and knot it
to the lower thread there.
Sewing
17187 ES ALDI ES Content MSN 5005 3127 final.indb 68
17187 ES ALDI ES Content MSN 5005 3127 final.indb 68
18.05.2016 07:17:29
18.05.2016 07:17:29
Summary of Contents for MD 17187
Page 2: ...nes ual ung Bitte aufklappen Please fold out Abrir aquí ...
Page 6: ...28 23 24 25 26 27 31 32 29 30 Mecánica de coser Sewing mechanisms Nähmechanik ...
Page 8: ...11 Especificaciones técnicas 39 12 Pie de imprenta 39 13 Índice 40 Índice 2 de 122 ...
Page 48: ...11 Technical data 79 12 Legal notice 79 13 Index 80 Contents 42 of 122 ...
Page 88: ...11 Technische Daten 119 12 Impressum 120 13 Index 121 Inhaltsverzeichnis 82 von 122 ...
Page 128: ...122 von 122 Letzte Seite Index ...

