18
Auto Setup
When the first time to turn on the unit, the initial setup wizard sets the
language, clock and channels automatically.
On remote control
1
Turn on the unit:
The initial setup wizard appears on the screen.
2
Choose a language:
3
Confirm the chosen language:
OK
4
Check the antenna and got to the next step:
OK
5
Choose a clock setting mode:
6
Confirm the chosen clock setting mode:
OK
7
Set the clock:
This step is not available for automatical setting.
OK
8
Choose the country where you are using the unit:
9 Select
[Start]
button to start channel scan:
, OK
10
Close the initial setup:
OK
Adjust the programmed channels
Press
HOME
button, the use
to select
[Easy Menu]
option.
Select the item
[Setup]
and press the
OK
button. The SETUP menu appears on the screen.
Select the option
[Program Edit]
on the second level options then press
button to move to the third
level.
Select the option
[Edit]
then press
OK
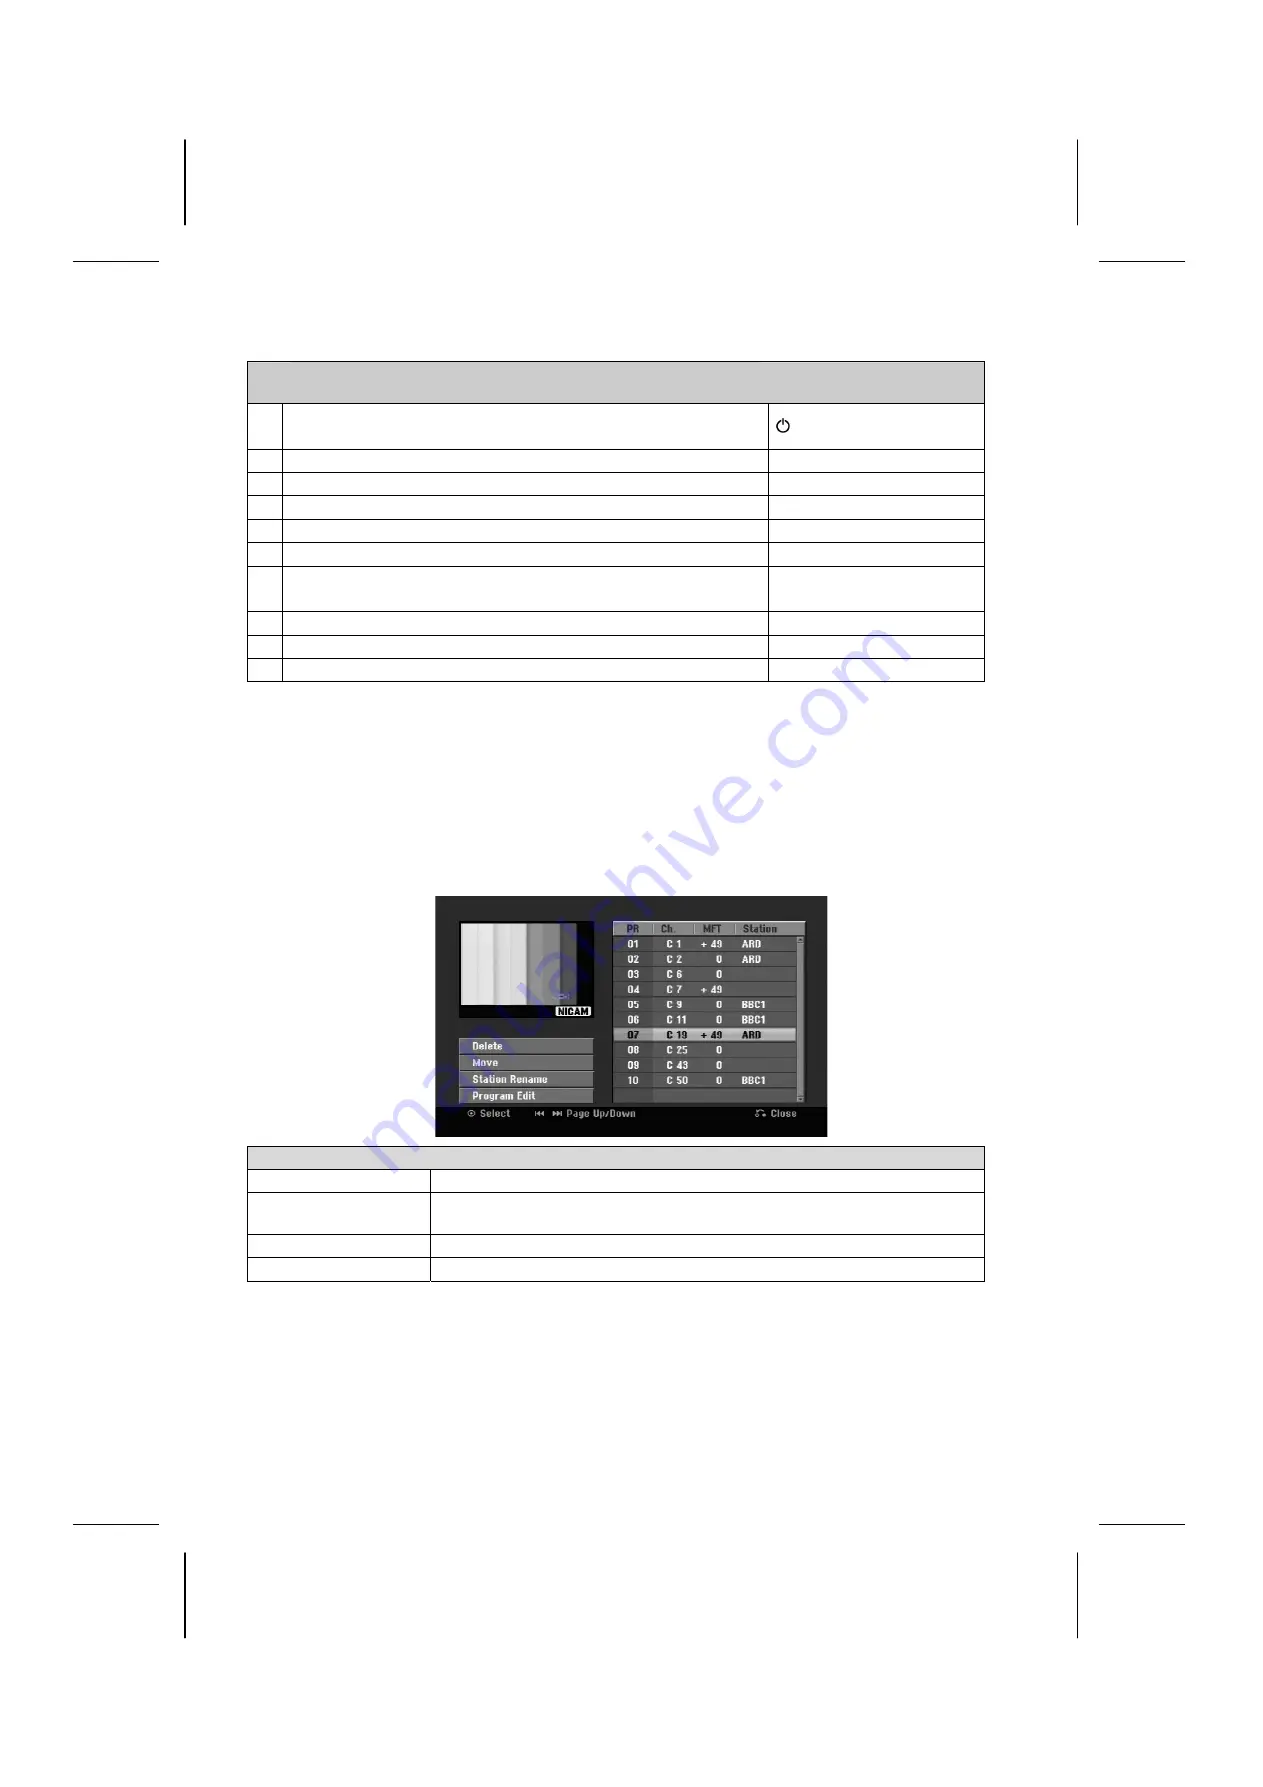
. The channel editing screen appears on the screen.
Select the channel which you would like to edit and press
OK
. An option menu on the left side of the screen
will be highlighted.
Option
Meaning
[Delete]
Delete the selected channel from programmed channel list.
[Move]
Change the order of the channels and which numerical button they correspond
to.
[Station Rename]
Change the name of the selected channel.
[Program Edit]
Change the settings of a channel manually.
Editing a channel
You can change the settings of programmed channel by selecting
[ProgramEdit]
option on the left side of the
channel editing screen.


