PCF Pro User Manual
DOC01851
Page 43 of 74
Automated Wash Cycle
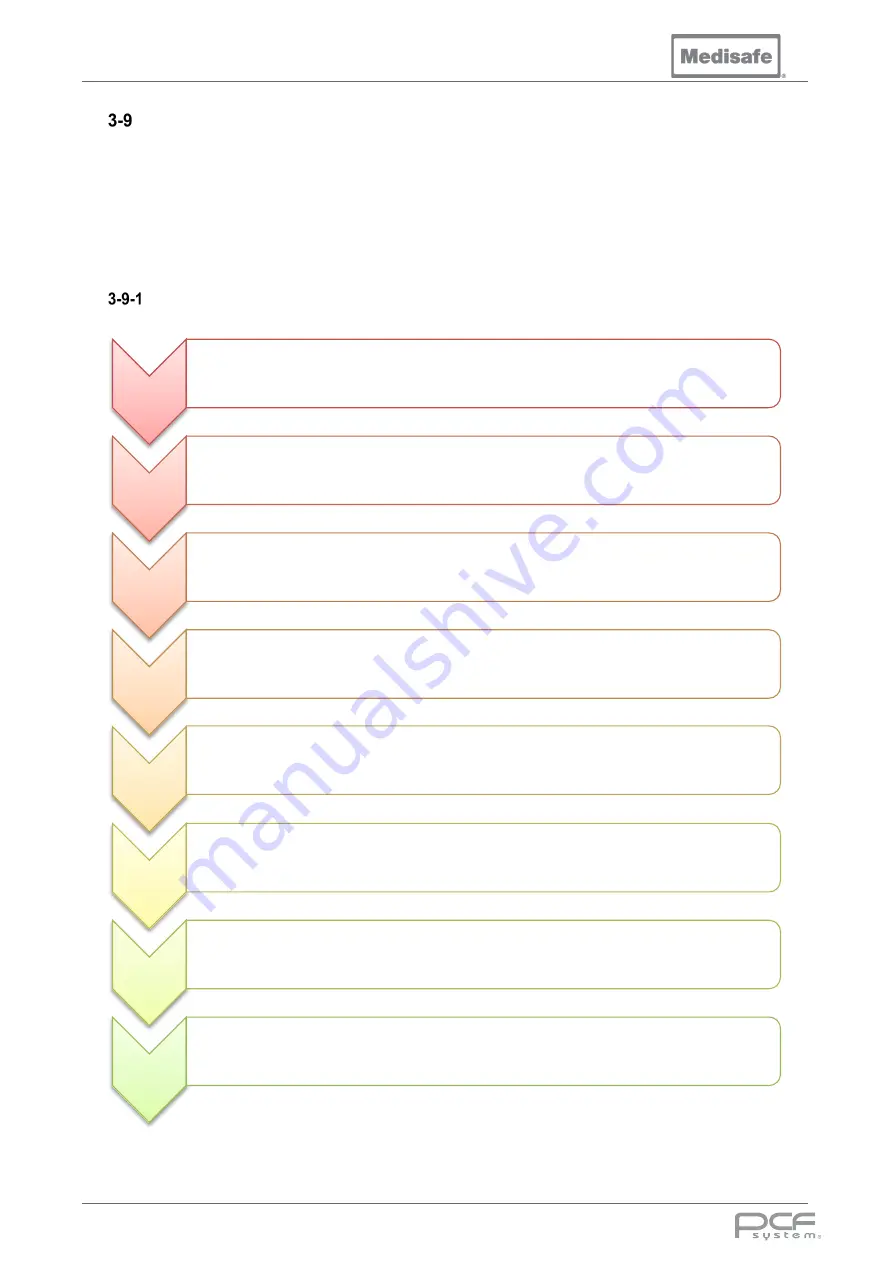
The automated wash cycle consists of the stages Pre-wash, Wash, Rinse, Final Rinse/Disinfection,
Cooling and Drying. Every stage of the cycle is configured by the Program Parameters stored in the
machines memory (see section 3-5-1). These parameters allow the cycle to be customised to select
the fill water type, skip stages, repeat stages, control temperature set points, set stage duration etc.
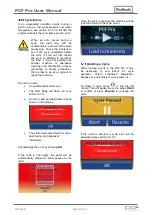
During a cycle, the remaining time for each stage will be shown on the right hand side of the display,
and the temperature/pump pressure on the left.
Cycle Process
Start Cycle
•
Lock Lid
The lid is sealed shut to prevent entry during the cycle
Pre-wash
•
Fill
Fill tank with cold water to the minimum level
•
Cycling
For a set period alternate between spray arms (45s) and lumen flushing (15s), heating up to 35°C
•
Drain
Drain until tank is empty, then for a further 20s
Wash
•
Fill
Fill tank with cold and hot water mix up to the top level
•
Dose
Detergent is added once the minimum tank level is reached
•
Heat
Heat water to the set point, circulating through the lumens and spray arms
•
Degas
Pulse ultrasonics on and off for the degas period, with no recirculation
•
Cycling
Alternate between ultrasonics (45s) and lumen flushing (15s) for a set period
•
Drain
Drain until the tank is empty, then for a further 20s
Rinse
•
Fill
Fill tank with Hot water upto the minimum level
•
Cycling
For a set period alternate between spray arms (45s) and lumen flushing (15s), heating up to the set point
•
Drain
Drain until the tank is empty, then for a further 20s
Final Rinse /
Disinfection
•
Fill
Fill tank with Hot/RO water upto the minimum level
•
Heat
Heat water to the set point, circulating through the lumens and spray arms
•
Cycling
For a set period circulate through the lumens and lid spray
•
Drain
Drain until the tank is empty, then for a further 20s
Cooling
•
Fill
Add cold or RO water run down the back of the tank up to the bottom level
•
Drain
Continuously drain the tank throughout
•
Repeat
Repeat the cooling process until chamber temperature below 60°C
•
Drain
Drain until the tank is empty, then for a further 20s
Drying
•
Soft-shot
For a set period compressed air is alternately blown through the irrigation ports and spray arms
Cycle
Complete
•
Confirm
Acknowledge cycle complete by pressing unload on the display
Summary of Contents for PCF Pro
Page 1: ...DOC01851 PCF Pro User Manual...
Page 7: ...DOC01851 Page 7 of 74 1 Introduction 1 Introduction User Manual...
Page 19: ...DOC01851 Page 19 of 74 2 Installation 2 Installation User Manual...
Page 26: ...PCF Pro User Manual DOC01851 Page 26 of 74 Installation Drawings Rear View Showing Services...
Page 27: ...PCF Pro User Manual DOC01851 Page 27 of 74 Front View...
Page 29: ...PCF Pro User Manual DOC01851 Page 29 of 74 Left Side View Lid Open...
Page 31: ...DOC01851 Page 31 of 74 3 Operation 3 Operation User Manual...
Page 55: ...DOC01851 Page 55 of 74 4 Troubleshooting 4 Troubleshooting User Manual...
Page 59: ...DOC01851 Page 59 of 74 5 Technical 5 Technical User Manual...
Page 65: ...DOC01851 Page 65 of 74 6 Appendices 6 Appendices User Manual...


