44
2. Prepare SolarBee for Towing
TOOLS: Pliers, 13mm socket & wrench
Once a location has been chosen for towing
the SolarBee to, the next step is to go out to
the SolarBee and prepare it for towing. The
following steps need to be followed before
towing the SolarBee:
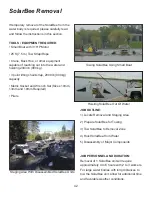
STEP 1: Turn the machine off and adjust the
hose all the way up as far as it can be pulled
up. Be sure to follow correct hose adjustment
procedure.
STEP 2: Extend all three turnbuckles all the
way out to raise the machine out of the water
as much as possible.
DECISION: Can anchor or tether line be left
in place? If Yes, it is suggested that a 15 lb
(60 N) bouyant float ball be connected to the
anchor chain or tether cable to maintain proper
positioning when the SolarBee is re-installed.
GPS technology can be used to mark position
if anchoring or tethering removal is required.
STEP 3: If removing anchors, pull up anchors
at this time. If leaving anchors in place,
disregard this step.
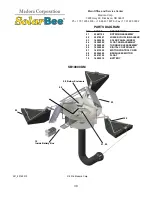
STEP 4: Locate the chain that connects the
SolarBee float arm to the anchors or tether line
and disconnect at a quick link or swivel using
pliers or wrenches, whichever is applicable.
STEP 5: If the SolarBee contains leg
extensions, these should be removed.
NOTE: The tow rope or strap should be
connected to the same point where the anchor
chain attaced to the SolarBee float arm.
The SolarBee is now ready to be towed.
SolarBee Removal
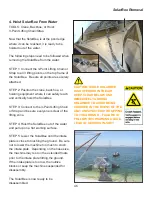
Raising Hose Up Tight
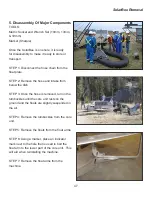
Anchor Chain Connection Point
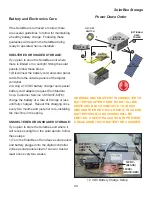
SolarBee in Raised Position, Ready to Tow

