www.medoraco.com | 866 - 437 - 8076 | info@medoraco.com
Battery Replacement
The SolarBee contains an onboard battery
located in the electronic controller that will require
infrequent replacement. Between 2 and 3
replacments are expected over the course of the
machine life.
TOOLS RECOMMENDED:
13 mm wrench
13 mm socket wrench
STEP 1:
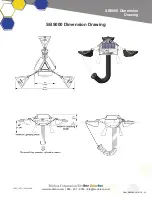
Extend all 3 turnbuckles out all the way
to raise the machine out of the water enough to
expose the entire battery compartment.
STEP 2:
Open the PV gate over the controller and
perform a complete power down procedure on the
SolarBee (be sure battery lead is disconnected
from controller).
STEP 3:
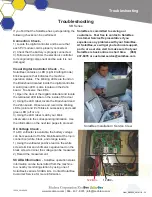
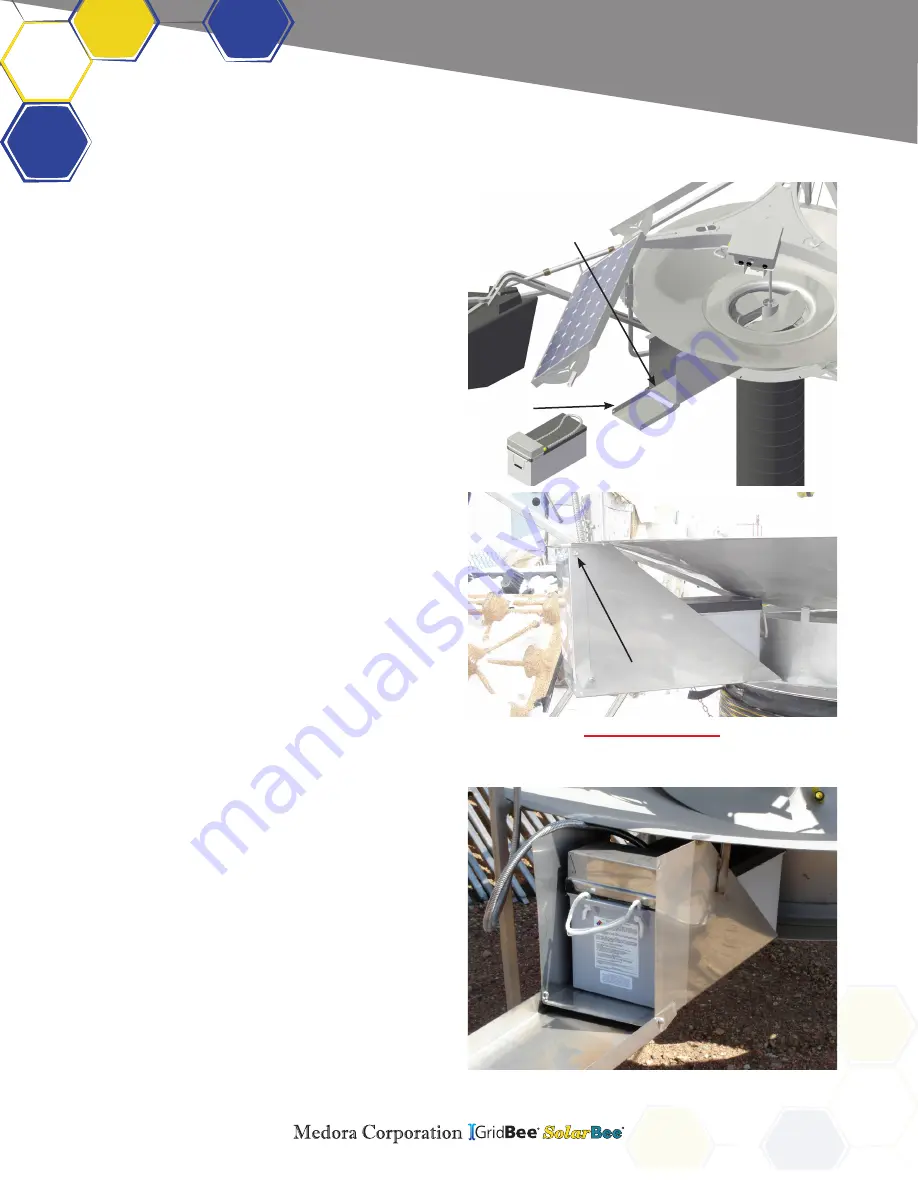
With the SolarBee off, locate the battery
compartment below the SolarBee distribution dish.
STEP 4:
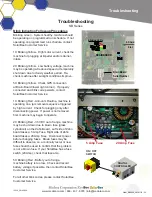
Using the 13 mm wrenches, loosen and
remove the upper bolt and locking nut. This will
allow the battery lid to be opened up. (If possible,
allow the battery lid to lay down on a stable part of
the boat)
STEP 5:
First fish through the battery lead from
the back of the battery compartment, then pull the
battery out into boat.
STEP 6:
Install new battery into position and
fish battery lead through the back of the battery
comparment.
STEP 7:
Close the battery lid and tighten bolt and
nut to secure in place.
STEP 8:
Completely power up SolarBee, close
panel gate, and reset dish depth.
IMPORTANT NOTE:
The battery weighs approximately 140 lbs and
may require two people to handle.
Maintenance and Field Adjustment
SB5000
10268_20181113
Maintenance
Battery Disposal:
Be sure to follow local law and regulations
when disposing of the used up battery!
Battery
Compartment
Battery
Lid
Battery Lid Down, Battery Lead Out
Upper Bolt
O&M_SB5000_20181113 - 25

