background image

D-0126021-A       


15


Standard HIT Protocol 

The MedRx Studio HIT software is designed to make the process of making 

HIT measurements simple. The easiest way to complete them is to use the 

Auto Test feature. 

1.


Once the hearing instrument is in a Full-On Gain mode and positioned in 

the test box as stated in the previous section, you can either run each test 

individually by clicking on the Start button or perform as many tests as 

you wish automatically by clicking on the Start Auto button. 


a.


In order to use the Start Auto feature, you must select each test that 

you want to run by clicking on the red X next to it and it will change 

to a green check mark. All tests with the green check mark will run 

after clicking on the Start Auto button.  


2.


Once the OSPL90 and Full-On Gain tests are completed, a prompt will 

instruct you to adjust the hearing aids settings to Reference Test Gain 

before moving on to the next test. 


3.


Put the hearing aids into a RTG mode in your manufactures software to 

match the RTG displayed as close as possible. The calculated RTG is based 

on OSPL90 and Full-On Gain measurements. 

*Note: If software does not have test box mode and you are using real ear 

mode at full on gain, then lower overall gain until measured output 

reaches the RTG. 

4.


Once at RTG click Accept to continue to Frequency Response, Equiv. Input 

Noise, Harmonic Distortion, Battery Current, Input-Output, and 

Attack/Release.  

Sample HIT 
Measurements 

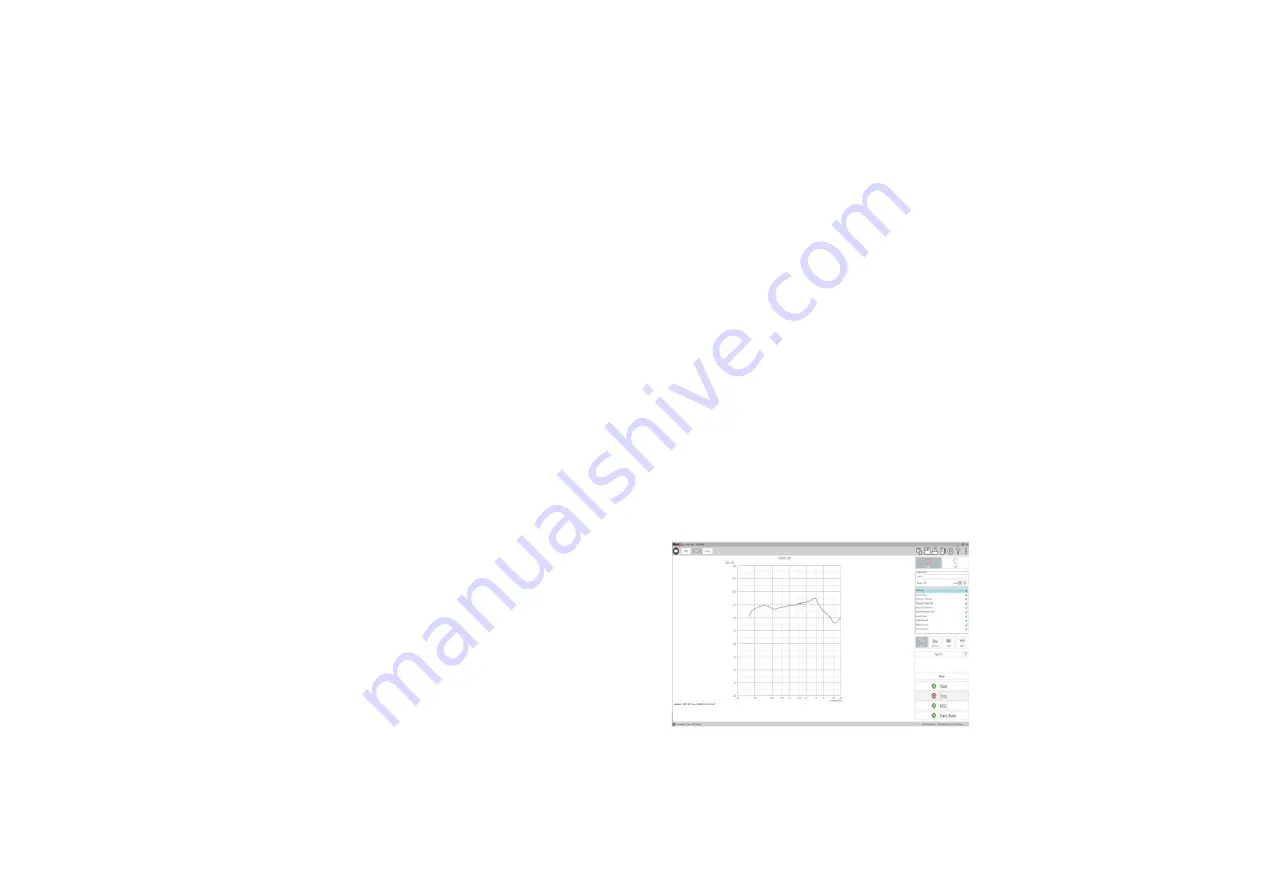
The screenshots below illustrate the Avant HIT+ representations 

of the ANSI S3.22-2009 Hearing Instrument Test Battery.  The 

system also supports the IEC 60118-7 2005-10. 

Many manufacturers include a technical data sheet with the 

hearing instruments to compare your measurement results to. 

They can also commonly be found in the fitting software or online 

on the manufacture’s website. If you cannot locate the specs 

sheet or the manufacturer does not send one, you can simply call 

and request one be sent with each hearing aid. 

References and tolerances for each test can be found in the 

interactive help files by clicking the “?” Icon or pressing the F1 

key.  


OSPL90 

Summary of Contents for AVANT HIT+

Page 1: ...D 0126021 A 1...

Page 2: ...888 392 1234 727 584 9600 Fax 727 584 9602 Email medrx medrx usa com www medrx usa com Distributor MedRx International c o MAICO Diagnostics GmbH Sickingenstr 70 71 10553 Berlin Germany Tel 49 30 70...

Page 3: ...on 11 Performing HIT Measurements 12 Attaching Hearing Instruments to the Coupler 12 Battery Pills 13 Setting Up the Hearing Instrument for HIT Measurements 13 Positioning Hearing Instruments in the T...

Page 4: ...Statement The MedRx AVANT HIT device is an acoustic chamber that utilizes loudspeakers and measurement microphones for verification of overall performance of hearing aids for adults and children The m...

Page 5: ...place for the couplers to function properly Replacement O rings are available from MedRx The Allen Wrench is used when removing the Reference Microphone for re calibration or replacement Coupler Mic...

Page 6: ...at the factory Carefully install the Coupler Microphone green as shown Take care when handling these components as they are delicate precision calibrated instruments The Coupler Microphone plug is ke...

Page 7: ...x Studio shortcut on your Windows desktop NOAH Launch NOAH Select a patient Launch MedRx Studio module following NOAH procedures Basic Software Options Several options are available which allow the us...

Page 8: ...ystem by clicking the Icon in the top right corner of the software or pressing the F1 key HIT Module Select HIT from the main menu Tool Bars Top Tool Bar The Tool Bar icons have the following function...

Page 9: ...aring aid is leaking sound thus affecting the reference microphone Settings Auto Test Preferences and Procedure Options 1 In the Test Set Up Window add or remove the tests you want to include in your...

Page 10: ...ptions from the left sidebar 2 The customization options will change based on the group and settings chosen in the main body 3 Under Hearing Aid select the appropriate hearing instrument battery type...

Page 11: ...the Studio software go up to the top right menu bar Click the three vertical dots Click on the check mark The HIT Box Verification widow will pop up Click start and blue lines will show up on top of t...

Page 12: ...Blu Tack 3 Align the sound bore with the opening of the ITE coupler adapter Press the sealing material firmly into the ITE adapter 4 Ensure that the black O ring is installed in the 2cc coupler and s...

Page 13: ...ry Current testing cannot be done with rechargeable or body worn instruments Setting Up the Hearing Instrument for HIT Measurements 1 Open manufacture s hearing aid fitting software and connect hearin...

Page 14: ...irectly above the fan shaped marking on the test surface and at the same distance height above the foam surface of the test chamber as the reference microphone inlet Proper positioning for ITE BTE and...

Page 15: ...RTG mode in your manufactures software to match the RTG displayed as close as possible The calculated RTG is based on OSPL90 and Full On Gain measurements Note If software does not have test box mode...

Page 16: ...D 0126021 A 16 Full On Gain Reference Test Gain Frequency Response Equivalent Input Noise Total Harmonic Distortion Battery Current...

Page 17: ...D 0126021 A 17 Input Output Attack and Release Induction Coil...

Page 18: ...late with the pencil icon Editing a template will open the print editor and allow you to adjust print elements 8 Duplicate existing templates icon 9 Delete template icon To Use an Existing Print Templ...

Page 19: ...s 8 Drag and drop elements onto the page to create your template a You can combine data from multiple modules into a single template b Elements may overlap and will stack cover previously added elemen...

Page 20: ...Hearing Instrument Test box as replacement parts for internal components may result in increased emissions or decreased immunity of the Avant Hearing Instrument Test Box The Avant Hearing Instrument T...

Page 21: ...er emissions IEC 61000 3 3 Non applicable Guidance and manufacturer s declaration electromagnetic immunity The Avant Hearing Instrument Test Box is intended for use in electromagnetic environment spec...

Page 22: ...recommended separation distance in meters m Field strengths from fixed RF transmitters as determined by an electromagnetic site survey a should be less than the compliance level in each frequency rang...

Page 23: ...aximum output power of transmitter W Separation distance according to frequency of transmitter meters 150 kHz to 80 MHz d 1 17 P 80 MHz to 800 MHz d 1 17 P 800 MHz to 2 5 GHz d 2 33 P 0 01 0 12 0 12 0...

Page 24: ...environment should be between 10 C and 35 C humidity within 30 to 90 All components with operator contact are made of bio compatible materials The green ready light on the front of the device indicate...

Page 25: ...6mA m Magnetic Strength per ANSI Standard Communication Port USB Power Requirements USB Power Dimensions Approx 24 cm x 25 cm x 16 cm L x W x H Net Weight Approx 1 8 kg Approx 7 lbs Enclosure Acoustic...

Page 26: ...ter liquid damage Repair or replacement of the system as provided under this warranty is the sole and exclusive remedy of the purchaser MedRx shall not be liable for any consequential or incidental da...

Reviews: