27
2022_001
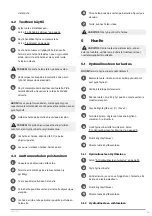
4.2 To operate the product
1
Connect the product to a power source, refer to “2.4
Electrical safety” on page 26.
2
Wear personal protective equipment. Refer to “1
Introduction” on page 24.
3
Firmly put 1 wooden log on the workbench with the
log support. Make sure that the wooden log is to be
split along the length of the grain. Make sure that the
wooden log cannot twist or slide during the split of
the wooden log.
Caution!
Do not put the wooden log on the top part
of the blade.
4
Pull the trigger lock back with your forefinger before
you push the hydraulic control lever forward.
5
Use 2 hands to operate the product. Keep 1 hand on
the hydraulic control lever and 1 hand on the start
inhibitor.
Note!
The piston stops if 1 hand is released. If 2 hands are
released the piston moves back to the start position before
it stops.
6
Push the hydraulic control lever down to split the
wooden log.
Caution!
Do not push the hydraulic control lever
down for more than 5 seconds. Otherwise the hydraulic oil
can overheat.
7
If the wooden log does not split, turn it 90° and push
the hydraulic control lever.
8
If the wooden log does not split, discard it.
4.3 To release a wooden log that is
stuck
1
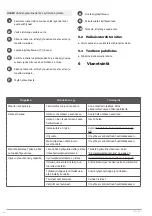
Release the 2 hands from the hydraulic control lever
and the start inhibitor.
2
Make sure that the piston moves back to the start
position and stops.
3
Put a wooden wedge below the wooden log that is
stuck.
4
Push the hydraulic control lever down to push the
wooden log on the wooden wedge.
5
If the wooden log is not released, put a thicker
wooden wedge below the wooden log that is stuck.
6
Push the hydraulic control lever down to push the
wooden log on the wooden wedge.
7
Repeat until the wooden log has become free.
Warning!
Do not hit on a stuck wooden log.
5
Maintenance
Warning!
Always pull out the power plug before
you do adjustments, replace parts, clean the product or do
maintenance of the product.
5.1 To do a check of the hydraulic oil
Note!
Regularly do a check of the hydraulic oil.
1
Stop the product. Make sure that all moving parts
have completely stopped.
2
Pull out the power plug.
3
Turn the product to its short side to the ground with
the motor down.
4
Loosen the oil filler screw (C). (Figure 2)
5
Do a check of the oil level. There should be oil
between the marks A and B on the dipstick.
6
If it is necessary, fill with hydraulic oil. Refer to “5.1 To
do a check of the hydraulic oil” on page 27.
7
Tighten the oil filler screw.
8
Turn the product to its operation position.
5.1.1 To fill with hydraulic oil
1
Refer to “5.1 To do a check of the hydraulic oil” on
page 27.
2
Fill with hydraulic oil.
3
Replace the seal, if it is damaged. Make sure that the
seal is in correct position.
Summary of Contents for 009968
Page 54: ......


