EN
106
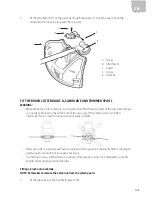
2.
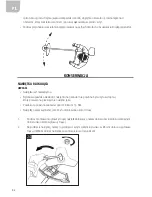
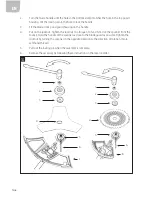
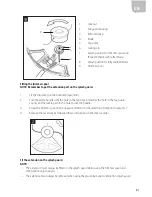
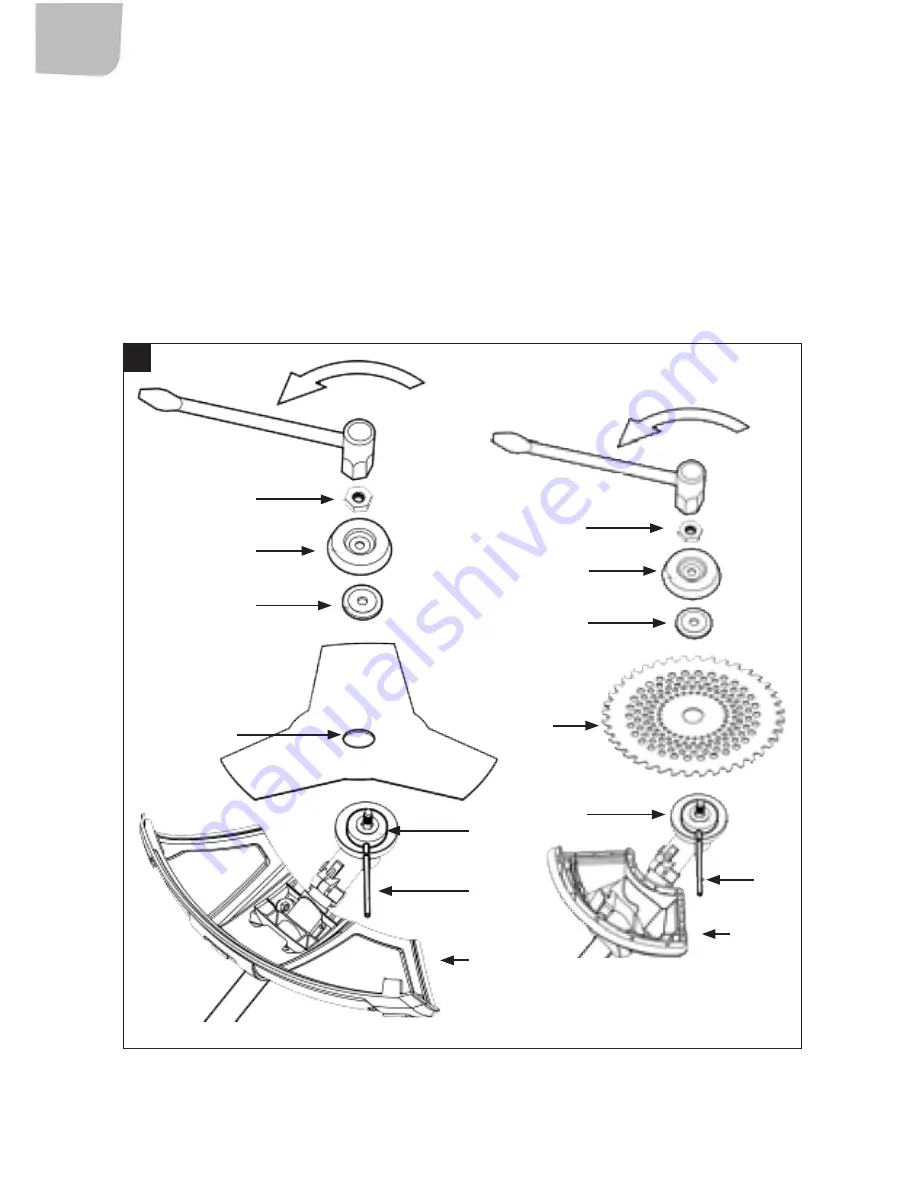
Turn the blade handle until the hole in the bottom clamp matches the hole in the top guard
housing. Put the locking pin in the hole to lock the handle.
3.
Fit the blade, clamp and guard housing on the handle.
4.
Put on the lock nut. Tighten the lock nut to a torque of 35–50 Nm. Use the spanner from the
tool kit. Hold the handle of the spanner as close to the blade guard as possible. Tighten the
lock nut by turning the spanner in the opposite direction to the direction of rotation. (Note:
Left-hand thread.)
5.
Pull out the locking pin when the assembly is complete.
6.
Remove the accessory by following these instructions in the reverse order.
1A
1
2
3
4
5
6
7
1
2
3
4
5
6
8
Summary of Contents for 721-349
Page 101: ...EN 101 Open the choke...
Page 127: ......

