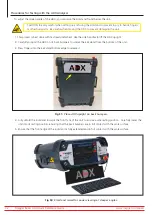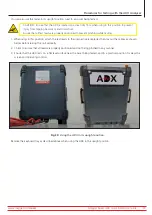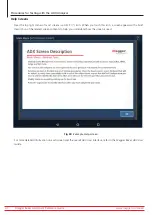
www.megger.com/baker
Megger Baker ADX Quick Reference Guide
28
ADX Software Overview
Adding/Editing Assets
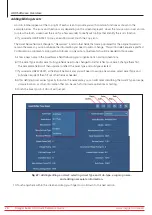
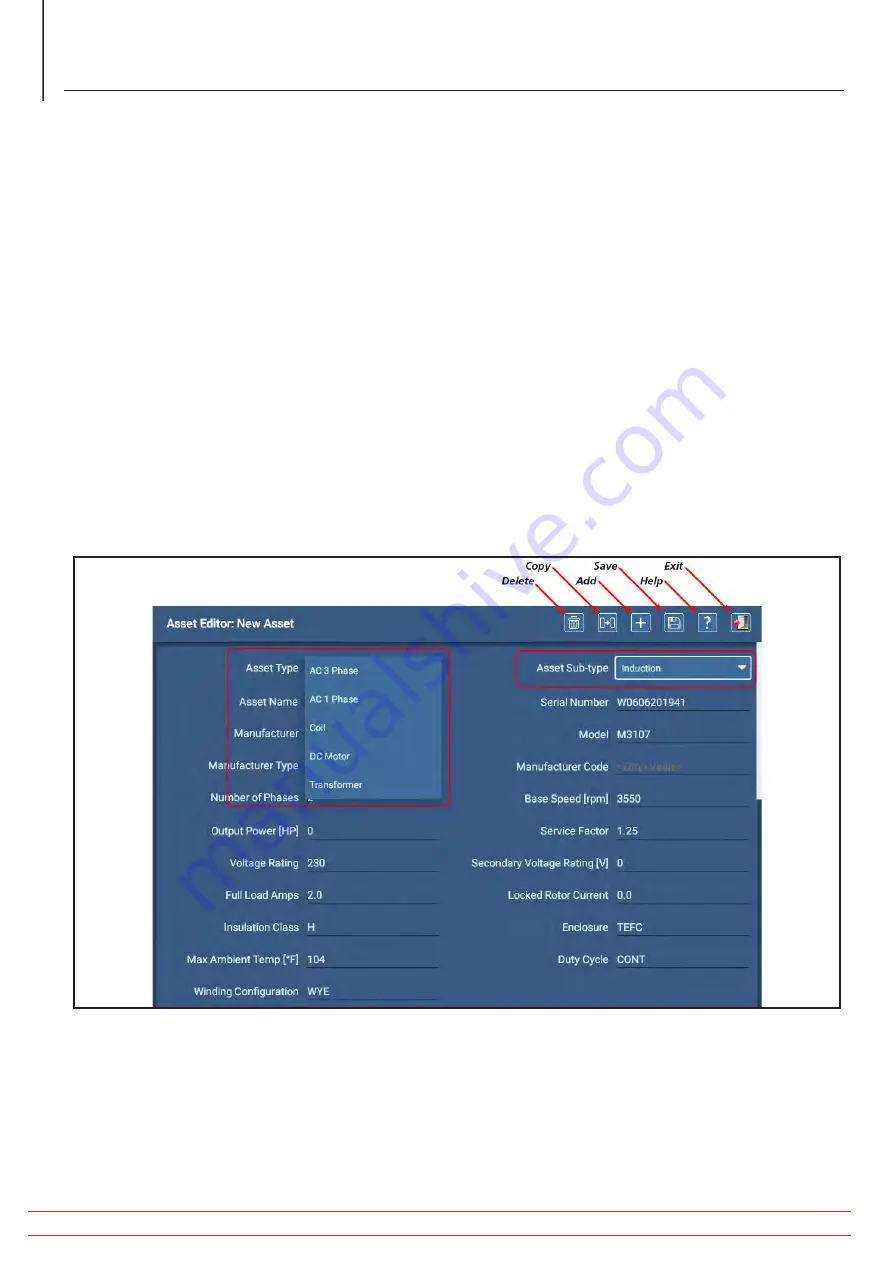
An icon toolbar appears at the top right of each screen to provide you with common functions as shown in the
example below. The icons and functions vary depending on the screen displayed. Hover the mouse cursor over an icon
(or press the touch screen over the icon for a few seconds) to see flyout tooltips that identify the icon’s function.
4. If you selected EDIT ASSET to copy an existing Asset, touch the Copy icon.
The Asset Name field will change to “New Asset” and all other fields that were populated for the original Asset will
remain the same so you can minimize the information you need to add or change. This will include Sequence and Test
Configuration assignments, along with Attributes so only minor adjustments should be needed in those areas.
5. Enter a new name in the Asset Name field following your organization’s naming conventions.
6. If the Asset Type and/or Asset Sub-type fields need to be changed to better reflect your Asset, change them first.
The nameplate fields will then update to reflect the Asset type and sub-type selected.
7. If you selected NEW ASSET, all fields will be blank and you will need to assign a new name, select Asset Type and
Sub-type (required) then fill out other fields as needed.
8. After defining Asset values typically found on the nameplate, you can add notes describing the Asset’s typical usage,
storage location, or other information that can be useful for normal applications or testing.
9. Touch the Save icon, but do not exit just yet.
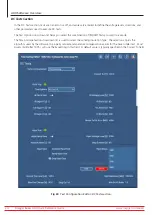
Fig 27:
Adding/editing an Asset: selecting Asset Type and Sub-type, assigning name,
and adding nameplate information.
10. Touch anywhere within the screen and drag your finger to scroll down to the next section.

