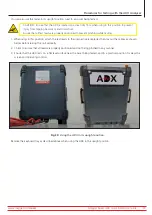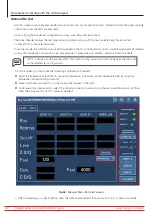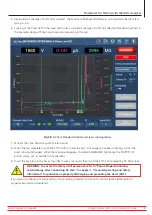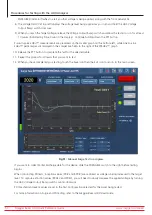
Single-phase AC, DC, or Coil Connection
1. Plug the ADX test leads 1, and 2 into their respective receptacles on the back of the tester.
2. Plug the ground cable into its receptacle on the back of the ADX.
3. Label the leads on the Asset 1 (positive lead) and 2 (negative lead).
4. Connect corresponding numbered test leads to each numbered Asset lead.
5. Connect the black ground lead to an Asset ground terminal or other solid ground contact for single-phase motor.
6. Coils typically use only leads 1 and 2.
Startup and Setup
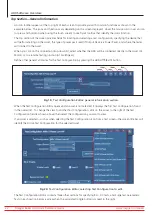
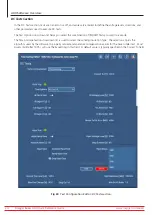
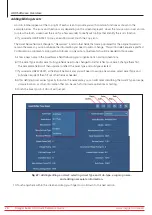
Refer to the ADX Setup Card or the
Megger Baker ADX User Guide
for information on properly setting up the
Android™ operating system for your language and location.
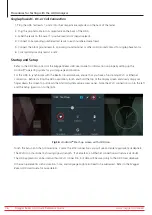
For the ADX to synchronize with the Realm Cloud database, ensure that you have a functioning Wi-Fi or Ethernet
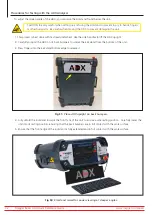
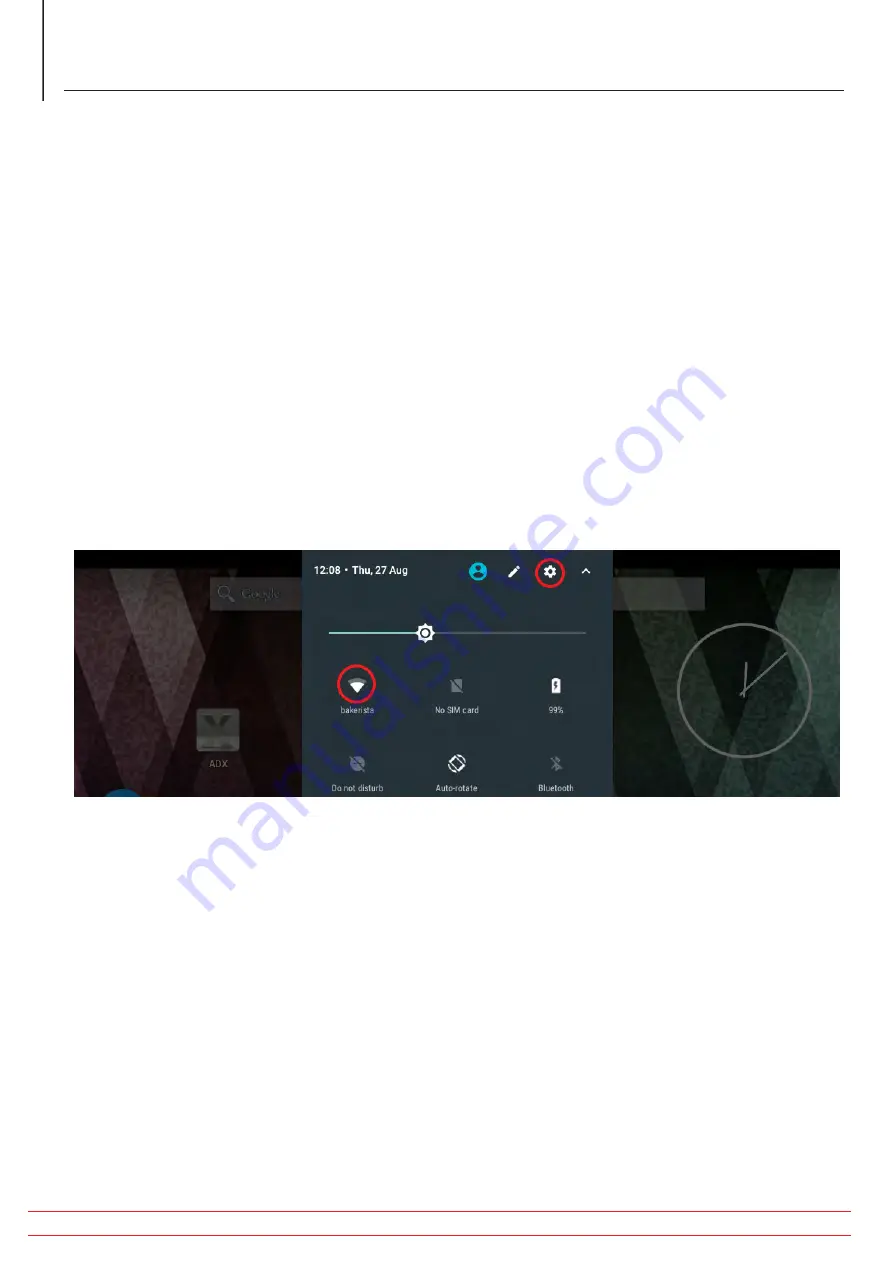
connection. Before starting the ADX application, touch and hold the top of the display screen and slowly drag your
finger down the screen to pull down the Android system setup access panel. Note the Wi-Fi connection icon to the left
and the Setup (gear) icon to the right.
Fig 36:
Android
TM
Start-up screen with ADX icon.
Touch the Setup icon then Connections. Locate the Wi-Fi connections you will use and enter appropriate credentials.
The Wi-Fi icon should be lit, showing signal strength. If all else fails, an Ethernet connection will remove all doubt.
The ADX application can be used without Wi-Fi connection, but data will be saved only to the ADX local database.
Other setup elements such as location, time, and language might also need to be addressed. Refer to the
Megger
Baker ADX User Guide
for more details.
www.megger.com/baker
Megger Baker ADX Quick Reference Guide
36
Procedures for Testing with the ADX Analyzer

