Selecting an Asset to Test
You can use the ADX to test a device without selecting an Asset, but features are limited:
You can run only RLC, DC, and Surge testing in Manual mode.
Reference waveforms cannot be used, and Surge testing cannot include PD testing.
Any saved data is not automatically associated with the Asset being testing.
The software uses a default Test Configuration that cannot be edited.
For a quick introduction, you can test without an Asset to get familiar with the basic Manual mode testing features.
For a more practical introduction to the ADX features and functions, you will need to create an Asset and at least one
Test Configuration that will work with the motor you want to use during your introduction.
Refer to the “ADX Software Overview” chapter for information on creating Assets and Test Configurations.
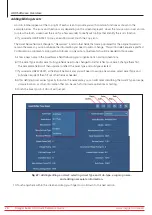
1. In best practice, selecting an Asset is the first step in all testing procedures. Press the ASSETS icon in any main screen
to open the Assets Selection screen.
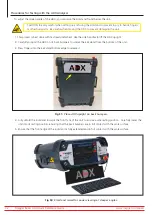
2. Use the tools available in Browse or Search Mode to locate the Asset needed.
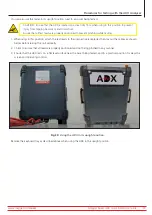
3. When you see the target Asset in the list, click on or touch the Asset then press SELECT ASSET to return to the
Manual Test Main Menu (or other main menu depending on where you started the process).
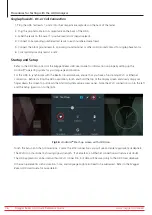
4. When the software loads the Asset information, it will use the assigned Active Test Configuration to set test limits
and parameters (depending on mode selected). Changes to most test parameters can only be made by editing the
Test Configuration.
NOTE: The selected asset and its associated test configuration will be shown on the top line of most
ADX screens
Fig 39:
Selecting an Asset for testing.
For more details on using the
Asset Selection
screen and its tools, refer to the
Megger Baker ADX User Guide.
www.megger.com/baker
Megger Baker ADX Quick Reference Guide
39
Procedures for Testing with the ADX Analyzer


