Manual IR/DA/PI Test
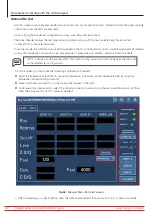
1. After selecting your test options and values, press the START button to enable testing. The indicator in the top right
corner flashes while the test leads are energized.
2. Using the Voltage Output Ramp switch on the ADX front panel, ramp up the voltage to target level to prepare for
the IR/DA/PI tests. Slowly increase the voltage to avoid creating an overvoltage or overcurrent condition.
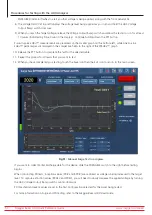
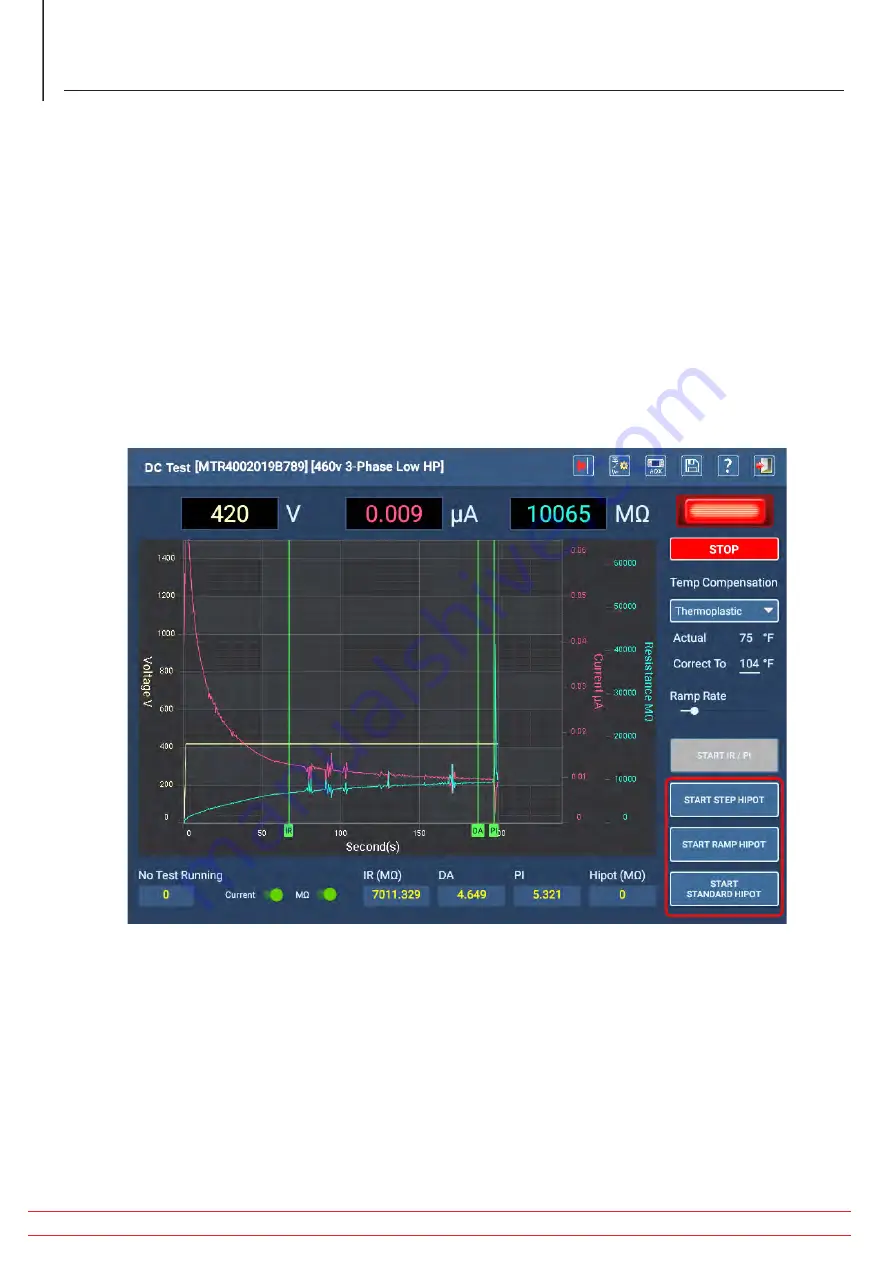
3. Select the test you want to run by clicking on the buttons in the lower right section. In most cases, you should run
the IR/PI test before running a HiPot test to ensure that the Asset passes the lower voltage tests.
4. Monitor the display during testing to track progress and view results. If a test fails, the software will notify you of
the issue before stopping the test.
5. When a test fails, you should troubleshoot and repair the Asset for the reported failure before continuing with your
testing.
6. When the IR/DA/PI tests complete, examine the results to your satisfaction then prepare to conduct the HiPot test.
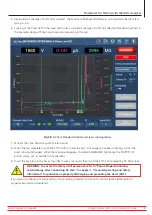
Fig 47:
DC Test HiPot type selection.
Manual Standard HiPot Test
1. When IR/DA/PI tests are run first, the HiPot test buttons will be enabled when they complete.
2. Using the Voltage Output Ramp switch on the ADX front panel, ramp up the voltage to the target HiPot level.
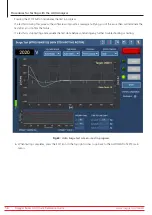
3. Touch the button for the type of HiPot test you want to conduct (in this example Standard HiPot).
4. The LEADS ENERGIZED light found above the STOP button will flash when voltage is applied. The LEDs on the front
panel of the ADX will also light when each lead is energized.
www.megger.com/baker
Megger Baker ADX Quick Reference Guide
46
Procedures for Testing with the ADX Analyzer


