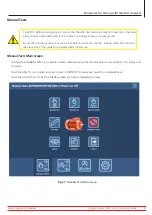
Manual Step Test
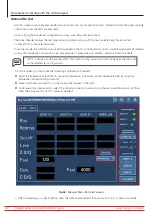
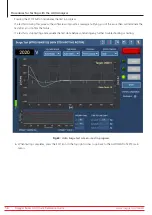
The example manual DC TESTS screen shown below illustrates the controls configured for HiPot Step tests.
Typically, an IR/DA/PI test is run prior to executing a step HiPot test. Complete that test as described earlier if
applicable.
You might want to use a slower Ramp Rate to help you accurately reach your step voltage levels.
1. Using the Voltage Output Ramp switch on the front panel, raise the voltage to the level needed for the first step
then press the START STEP HIPOT button. The LEADS ENERGIZED light above the START/STOP button will flash and
LEDs on the front panel will light.
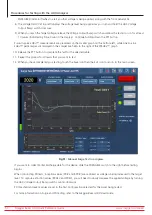
2. Monitor the test step time (for example, 60 seconds per step) using the display graph then start your next step as
needed by ramping to the next voltage level then pressing the START STEP HIPOT button for each new step.
3. Repeat this process until all steps have been tested. Ensure that the time for each step is consistent. The last step
will be recorded as the final HiPot test.
4. When you have completed all steps, press the STOP button.
5. A message will appear notifying you that the Asset is being discharged. When the message disappears, the LEADS
ENERGIZED light above the START/STOP button will go out, along with the front panel LEDs.
Fig 49:
DC Test; HiPot Step test.
6. Touch the Save icon in the bar at top right to save your results then touch the EXIT icon to leave the DC Test screen
and return to the Manual Tests main screen.
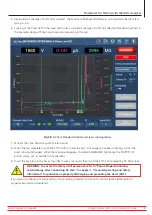
WARNING: To ensure the safety of all personnel, refer to “Ensure Proper Grounding
and Discharge after Conducting DC Tests” in chapter 1, “General Operating and Safety
Information” for guidance on properly discharging and grounding the Asset (DUT).
If you plan to continue with Surge testing, no grounding is needed, but do not touch test leads before testing is
properly executed and completed.
www.megger.com/baker
Megger Baker ADX Quick Reference Guide
48
Procedures for Testing with the ADX Analyzer


