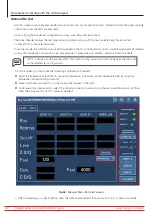
Automatic DC Test
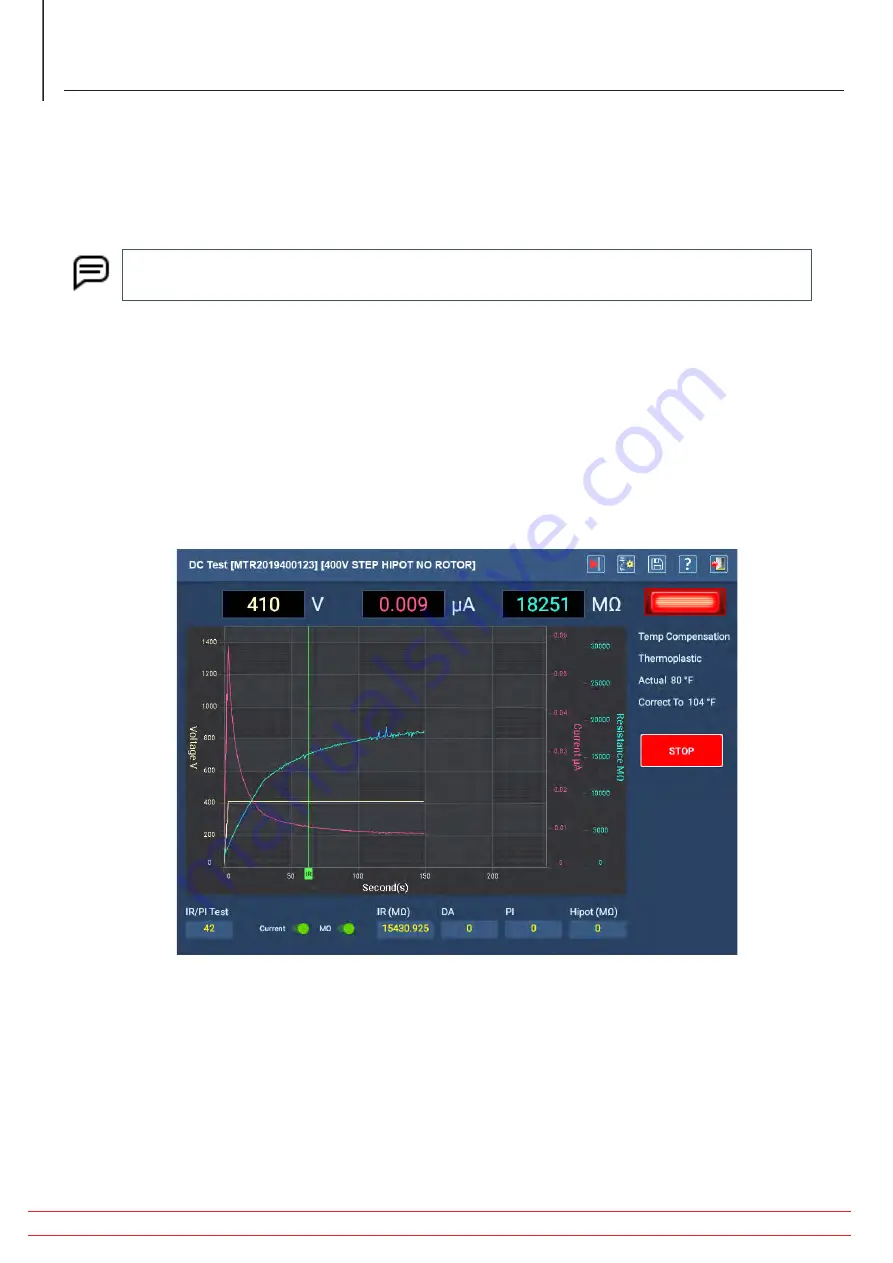
During automatic DC testing, you can use the toggles below the graph to display or hide Y-axis elements for current
and resistance. Otherwise, all testing is automatically executed from this screen using the parameters specified in the
Test Configuration currently assigned to the selected Asset.
Notice that this screen has only a START/STOP button in place of all the controls available in manual mode.
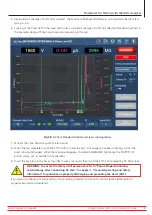
NOTE: Use the E-STOP button on the lower right of the ADX front panel to stop the test and quickly de-
energize the high voltage leads if needed.
After pressing START, voltage is applied to the test leads automatically by the ADX. The LEADS ENERGIZED indicator in
the top right corner lights and stays lit until the leads have properly discharged. LEDs on the ADX front panel also light
when leads are energized.
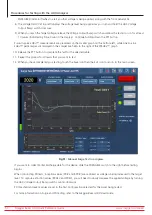
You can monitor test progress, viewing applied voltage along with current and resistance values as the test executes.
The software adds markers to key points in the test process where IR, DA, and PI testing complete. Markers also
appear for HiPot tests.
If a test fails during this process, the software will provide a message notifying you of the issue and will terminate
the test immediately. In the event of a failure, stop testing and evaluate the test data before conducting any further
troubleshooting or testing.
Fig 58:
Auto DC test screen.
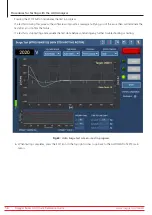
When testing completes, a small message box appears in the middle of the screen showing the progress of the
discharge process (in volts). When the message disappears, the LEADS ENERGIZED indicator will turn off, and the test
leads will be discharged.
Review the test results here as needed then press the EXIT icon to leave the screen and return to the Automatic Tests
main menu.
Before returning to the main menu, a message appears instructing you to allow the Asset sufficient time to discharge
before removing test leads. Depending on the Asset’s size and the amount of time high voltage has been applied, this
time will vary.
www.megger.com/baker
Megger Baker ADX Quick Reference Guide
56
Procedures for Testing with the ADX Analyzer

