10
GENERAL TESTING PROCEDURE
Firmly connect the instrument terminals to the
respective earth electrode and test spikes. See ‘Basic
Test Procedure’.
1. Press and hold the appropriate push button for
approximately 2 seconds. This starts the test
sequence including display test; circuit condition
and 'Noise' monitoring.
DET5/4
remains on for 30
seconds, or until a push button is pressed to turn Off.
2. Check the circuit condition warning LEDs. If any
adverse conditions are indicated, the cause should
be rectified (to prevent a false reading), before the
test continues. Note:- If the Current spike
resistance is too high for the required
measurement range, the
DET5/4
will autorange
to a range which can tolerate a higher Current
spike resistance. This results in a loss of
resolution.
3. If conditions for the test are satisfactory, the display
will stabilise, and the reading given may be
accepted.
4. It is advisable that the battery of the
DET5/4R
is
fully charged before embarking on a test
sequence. It can be extremely inconvenient if the
battery becomes too low while a field test is in
progress. Similarly, with the
DET5/4D
new
batteries should always be available.
DISPLAY SYMBOLS
The 3
1
⁄
2
digit display shows the reading directly in Ω or
kΩ adjacent to the range indicator, with the decimal
point automatically positioned. If the resistance under
test exceeds 19,99kΩ, an over-range symbol appears
(‘1’ as left hand digit).
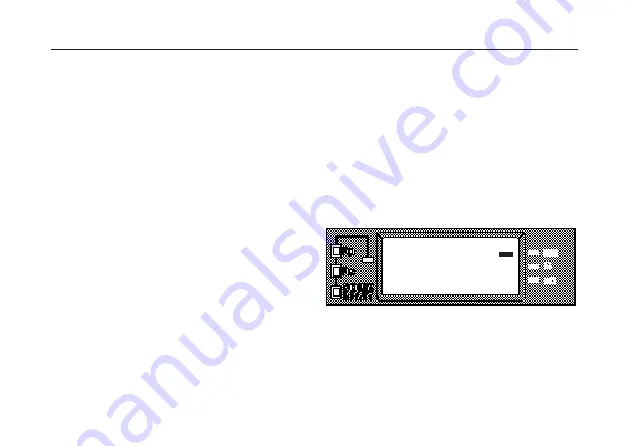
Low battery voltage
If the battery voltage is too low the segment of the display
alongside the battery symbol will flash. In this case the
batteries hold only enough charge for one or two more
measurements and must be recharged (
DET5/4R
) or
replaced (
DET5/4D
) before further testing.
Fig. 3 Low battery voltage indication
CIRCUIT CONDITION WARNING INDICATORS
Warning LED’s to the left of the display will indicate any
excessive resistance in the Current circuit or Potential
circuit, and any excessive electrical ‘Noise’ in the
circuit. The illumination of any of these LED’s will
always be accompanied by a warning alert indicator at
the top left of the display screen.
OPERATION
Summary of Contents for DET5/4D
Page 41: ...41...


