10 Support information
10.3 How to download a Diagnostic File
In most support cases the first action is to ask the customer to download the diagnostic file, because it is very
helpful at identifying the current state of the LANTIME and finding possible errors. Therefore we recommend
that you attach your Diagnostic File when sending a ticket to our support.
The diagnostic file includes all status data of a LANTIME system logged since the last reboot. It can be
downloaded from all LANTIME timeservers or you can save the file on a USB stick connected to the device.
The file format of the diagnostic file is a tgz-archive. The archive contains all the important configuration and
logfiles.
10.3.1 Download via Web GUI
•
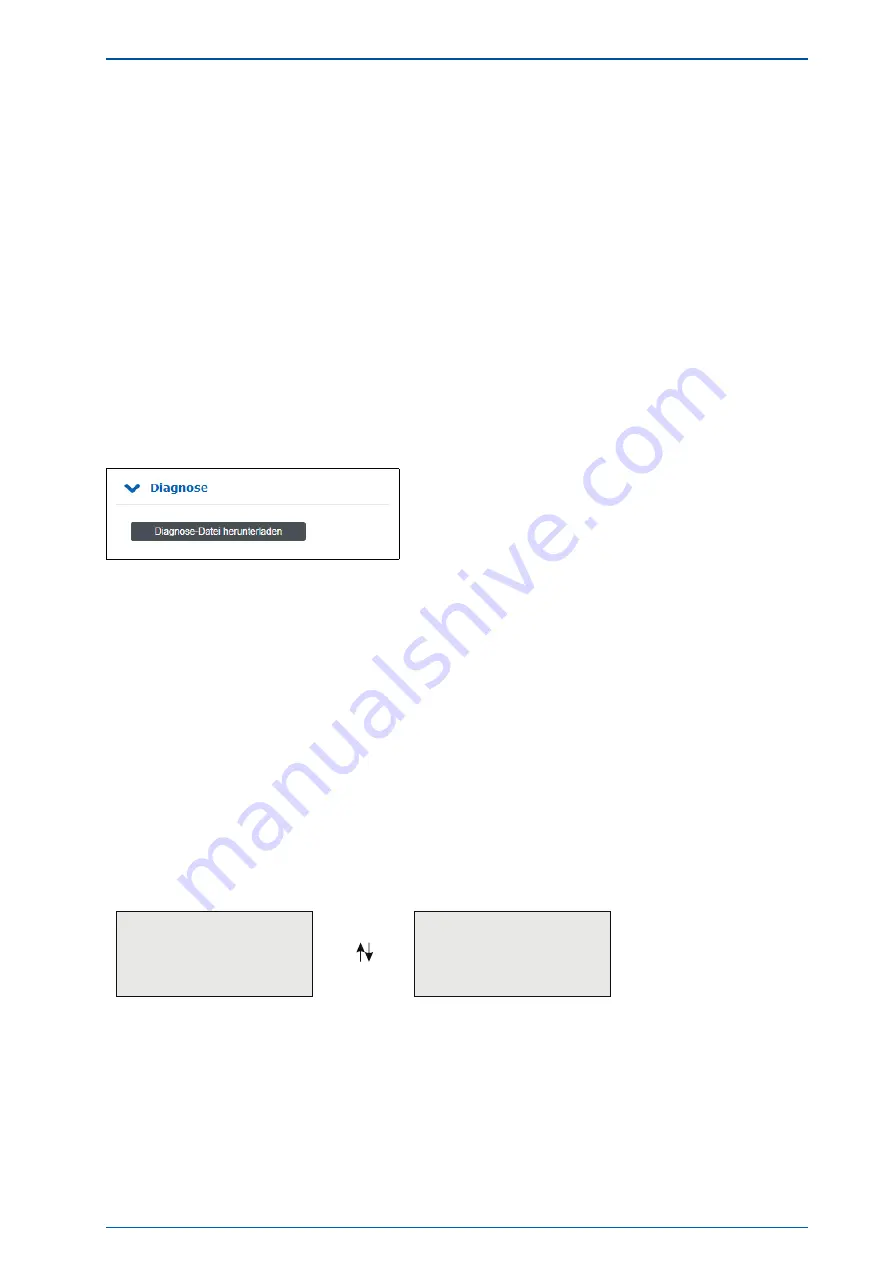
Connect to the Web GUI by putting the IP address into the address field of the web browser.
•
Open the „System“ page and the submenu "Diagnostics".
•
Press the "Download Diagnostic File" button.
•
The file will take some time to be created as its size is several MBs. After the file has been created it
will be automatically sent to your web browser. Then save the file to your local hard disk.
•
The diagnostic file is named
"lt_diag_SERIALNUMBER.tgz"
and the file format is a tgz archive. You can
open the tgz archive e.g. with 7Zip (https://www.7-zip.org/).
10.3.2 Download via USB Stick
•
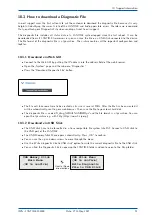
The USB stick have to be formatted in a linux compatible file system like FAT. Connect a USB stick to
the USB port of the LANTIME:
•
The USB Memory Stick Menu opens automatically. Press „OK“ to confirm.
•
You can use the up and down arrows to move through the menu.
•
Use the „Write diagnostic File to USB stick“ option to write the current diagnostic file to the USB stick.
•
You can find the Diagnostic File by opening the LANTIME folder and continue on to the Diag folder.
USB Stick Menu
(OK to confirm)
Write Diagnostic
File to USB Stick
USB Memory Stick
Main Menu
(OK to confirm)
Use Up / Down
arrow buttons
IMS - LANTIME M4000
Date: 27th May 2021
51

