19
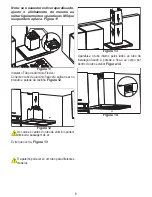
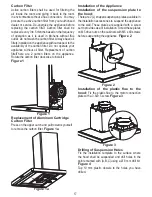
NOTE: If the hood seems skewed, adjust
the alignment of the hood by loosening
the M5 screws that the suspension
plates on the top are installed to.
Figure 11
Figure 11
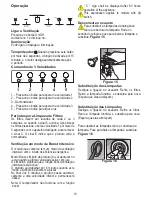
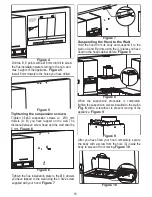
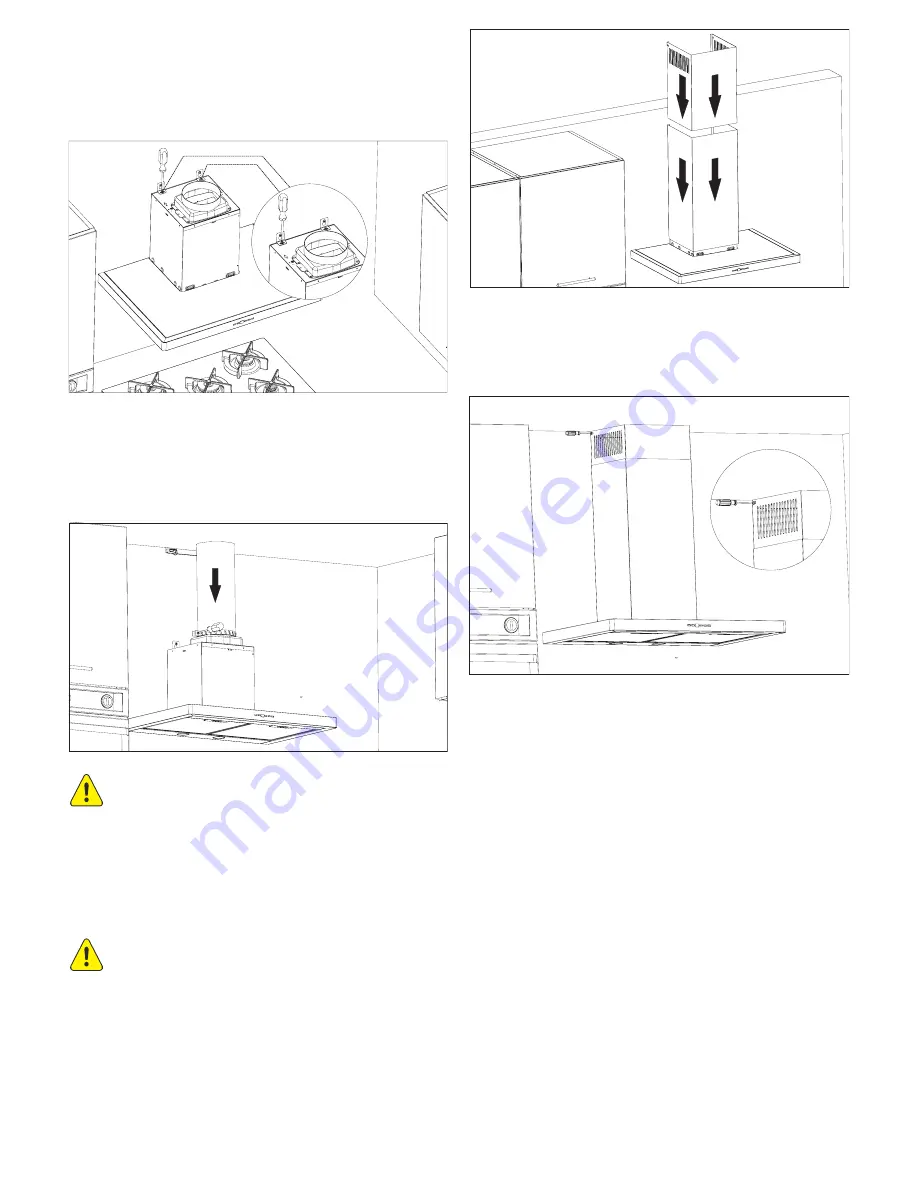
Installation of aluminum pipe:
Install the
flexible aluminum pipe to the plastic flue. Install the
other end of the pipe to the flue hole on the wall.
Figure 12
Avoid bends and elbows as much as possible
as the bends and elbows in the aluminum pipe
shall reduce the air suction power.
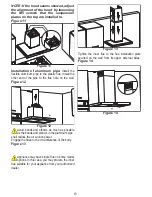
Engage the flues to the circumference of the body.
Figure 13
Appliance may have single flue on some model
options. In this case, you may procure the inner
flue suitable for your appliance from your authorized
dealer.
Figure 12
Figure 13
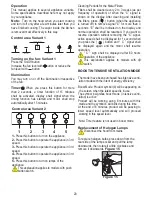
Tighten the inner flue to the flue installation plate
secured on the wall from its upper external sides.
Figure 14
Figure 14
Summary of Contents for MEP 191 XN
Page 2: ...2 DESENHOS TÉCNICOS ...
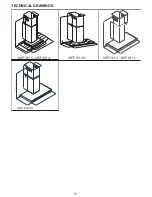
Page 13: ...13 TECHNICAL DRAWINGS ...

