43
distance from the cutting wheel, using
the scale.
Angle stop (13)
For this secure the parallel stop on the
other side of the cutting wheel and set
the angle stop on the rail.
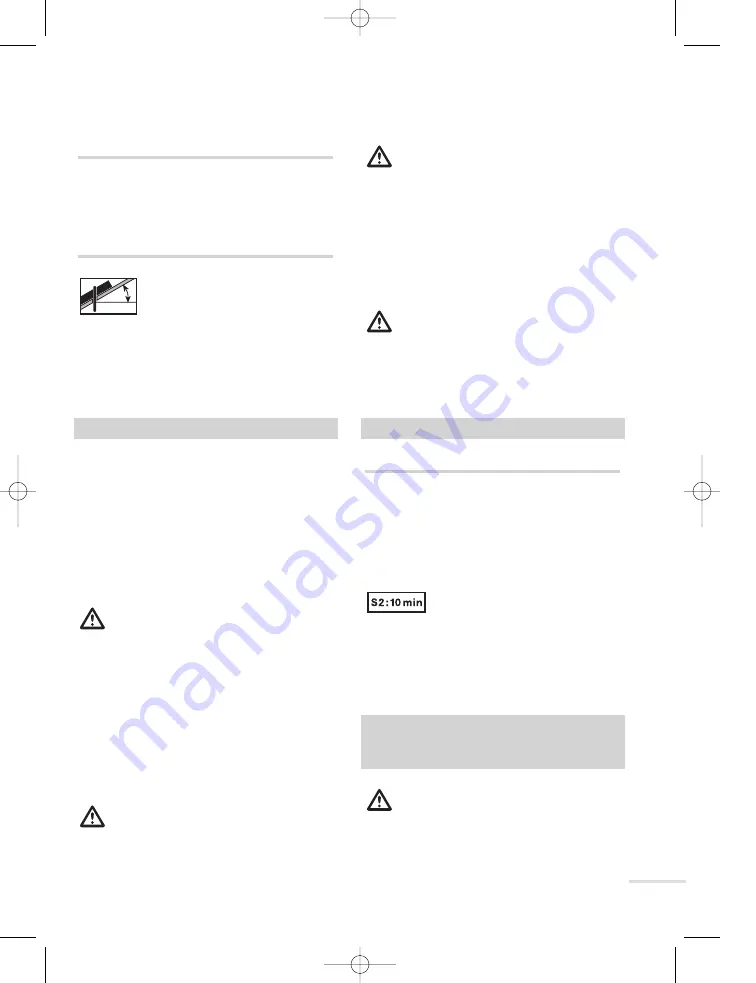
Mitre setting
The adjustable work plate
enables mitred cuts at angles
of up to 45 o to be made. To
obtain the desired mitre undo the two
screws to the right and left of the work
plate (9). Set the mitre and do up the
screws.
8 – Operation
The unit is provided with a residual
current circuit-breaker integrated in the
mains plug (Fig. 5), which prevents the
motor from starting uncontrolled when
putting into operation, after power
failure or short-circuit.
• Insert the plug into a power socket.
ATTENTION! Prior to putting into
operation, a functional test must
always be conducted:
- Press "TEST" key: The integrated
residual current safety fuse must be
able to be audibly deactivated.
- Press "RESET" key: The integrated
residual current safety fuse must be
able to be audibly activate.
ATTENTION! As soon as the
residual current safety fuse is
activated, the pilot lamp (L) comes
on. It goes out with a short-circuit,
power failure or when the mains plug
is pulled.
ATTENTION! Without prior
functional test, the unit cannot
be switched on! Only after the
functional test has been conducted is
the unit ready for operation.
• To switch on: Press On/Off switch to (l).
• To switch off: Press On/Off switch to (O).
ATTENTION! With any functional
disturbance or shutdown, press
the On/Off switch (1) on the unit to
"0" to prevent the motor from starting
uncontrolled.
9 – Mode of operation
Cutting tiles
Cut with the decorated side upward.
Always use a light but even pressure
when pressing the work-piece against
the blade edge, even if the resistance
increases.
Do not run the tool for long
periods at a time. To avoid
overheating the tool should not be kept
switched on for longer than 5–10 minutes
at a time. Allow the tool to cool down
between whiles.
10 – Maintenance and
environmental
protection
WARNING! Pull out power plug.
After use clean the tool with a damp
cloth only. Empty and clean the water
0 – 45
°
5461050-Fliesensch-man 12.03.2007 13:34 Uhr Seite 43
Summary of Contents for 5461050
Page 3: ...3 1 4 8 3 6 8 13 Abb 1 12 9 7 11 10 0 45 5461050 Fliesensch man 12 03 2007 13 34 Uhr Seite 3...
Page 4: ...4 MONTAGE 4 11 6 4 11 6 3 4 11 1a 1b 1c 5461050 Fliesensch man 12 03 2007 13 34 Uhr Seite 4...
Page 46: ...46 4 35 7 5 10 11 12 13 5461050 Fliesensch man 12 03 2007 13 35 Uhr Seite 46...
Page 47: ...47 D 7 OFF 7 D 5461050 Fliesensch man 12 03 2007 13 35 Uhr Seite 47...
Page 48: ...48 6 5461050 Fliesensch man 12 03 2007 13 35 Uhr Seite 48...
Page 49: ...49 3 7 7 2 3 MPA DIAMANT 180 mm 25 4 mm 5461050 Fliesensch man 12 03 2007 13 35 Uhr Seite 49...
Page 52: ...52 MEISTER WERKZEUGE MeisterCRAFT 5461050 Fliesensch man 12 03 2007 13 35 Uhr Seite 52...
Page 54: ...54 4 35 5 10 11 12 13 5461050 Fliesensch man 12 03 2007 13 35 Uhr Seite 54...
Page 55: ...55 OFF 5461050 Fliesensch man 12 03 2007 13 35 Uhr Seite 55...
Page 56: ...56 5461050 Fliesensch man 12 03 2007 13 35 Uhr Seite 56...
Page 60: ...60 MEISTER WERKZEUGE MeisterCRAFT 5461050 Fliesensch man 12 03 2007 13 35 Uhr Seite 60...
Page 89: ...89 5461050 Fliesensch man 12 03 2007 13 35 Uhr Seite 89...
Page 91: ...91 5461050 Fliesensch man 12 03 2007 13 35 Uhr Seite 91...

