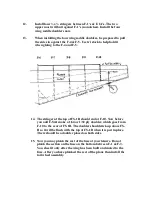
JOINING THE WING TO THE FUSALAGE
1.
You can join the wing to the fuse before or after the wing is glassed.
That’s your choice. The fuse should not be glasses. Start with the
fuse on its nose.
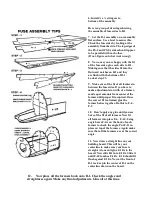
Slide the wing tongue into the wing tongue hole in the fuse. Now
you may have to sand a little of the wing saddle to get the wings
trailing edge to fit flush with the bottom of the fuse at former F-6
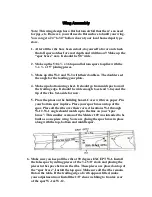
2.
Once you are satisfied with the wings fit in the saddle go ahead and
add the wing tongue doubler to the inside of F-3. Drill the holes
through the wing at the bolt location with the 13/64” drill bit. Mark
the fuse the distance from F-6 that the holes will be. Take a piece of
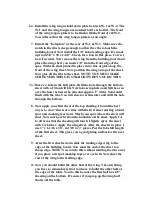
¼” x 2” x 9” A/C grade plywood, mark a centerline on the 2” wide
piece. Take this piece and hold it over the 2 sides of the wing
saddle. With the centerline on the marks you made for the hole
locations. From inside the fuse, mark the width of this piece. Now
cut just outside the lines and sand to fit inside the wing saddle. This
is the plate you will bolt the wing to. On top of the plate make two
¼” x 2” x 2” doublers and glue to top of the wing bolt plate you
have installed.
3.
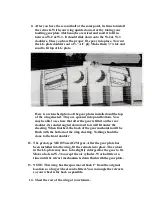
Put the wing back in place. Make sure you line the wing up along
the centerline of the plane. Now with a 13/64” drill, drill through
the bottom of the wing into the plate you installed. Remove the
wing and tap the holes in the wing bolt plate with 14 x 20 tap. Drill
the holes out in the bottom of the wing with a ¼” drill bit.
4.
Your wing is now installed. You may consider securing your wing
bolt plate by taking a small drill bit and from the outside and drill
through the wing saddle into the bolt plate. Then add glue and a
large diameter toothpick. Do this at least twice on each side.
5.
Be sure to place the wing tongue doubler on backside of F-3 when
the wing installation is complete. Add the stringers to the bottom of
the front of the fuse and sheet the remainder of the fuse.
6.
Now is a good time to glass your fuse and then put the wing fillet
into place.


