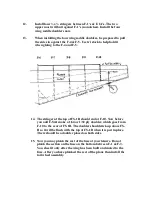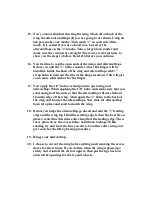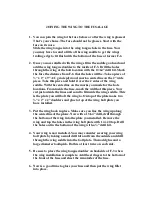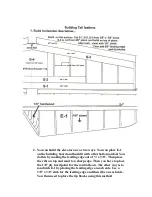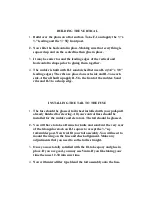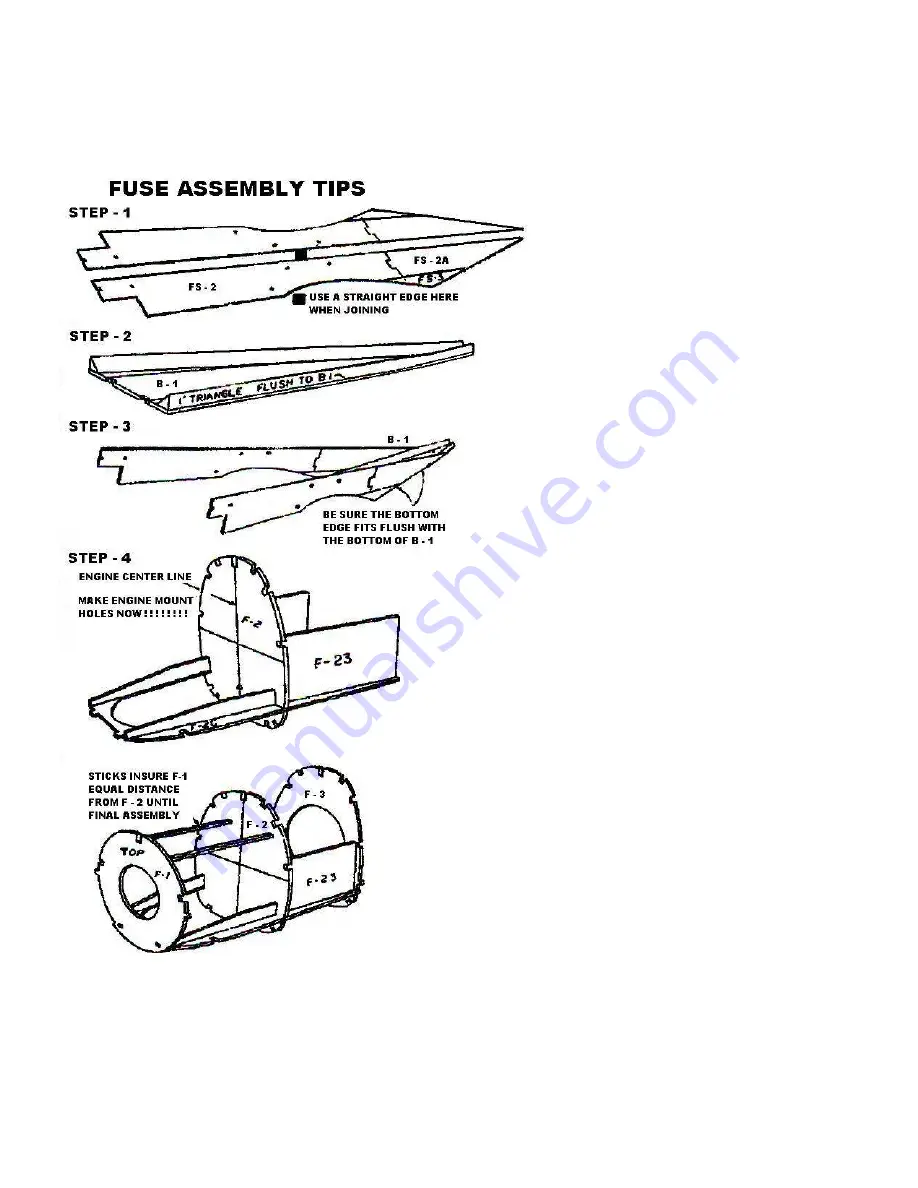
6. Install ¼ x ¼ stringers to
bottom of the assembly
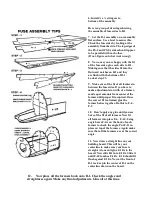
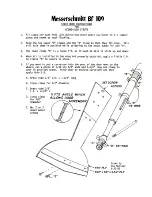
Here is a group of drawings showing
the assembly of fuse sides to B-1
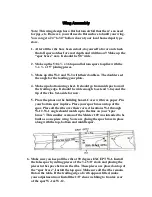
7. Set the B-1 assembly on a reasonably
flat surface. Use a level to assure this.
Check the fuse sides by looking at the
assembly from the side. The top edges of
the FS-2 and FS-2A sides should appear
to be parallel with each other.
(If not, figure out what went wrong!)
8.
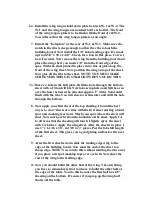
Now once you are happy with the fit
of the fuse sides, glue each side to B-1.
Making sure that the sides fit into the
Outward notches on B-1 and they
are flush with the bottom of B-1.
Look at step #3.
9.
Make sure of the fit of all formers in
between the fuse sides. If you have to
make adjustments to width of a former,
sand equal amounts from center of the
former until proper fit acquired. Once
the correct fit is attained glue the
former halves together. Do this to F-6 -
F-9
10.
Don’t apply any glue until you are
Sure of the fit of all formers. Now fit
all formers into place F-6 – F-10. Using
angle brace F-6A on the back of each
former to check the angle. Put F-11 in
place on top of the formers. Again make
sure that all the formers are at the correct
angle.
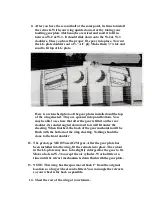
11. Now draw a straight line on your
building board. This will be your
centerline to make sure your fuse is
straight. At one end glue F-10A to the
board. Now slide B-1 into F-10A. Slide it
until F-10 touches F-10A. F-10 should fit
flush against F-10A. Now at the front of
B-1 tack or pin the center of B-1 on the
centerline drawn on the board.
12. Now place all the formers back onto B-1. Check the angles and
straightness again. Make any final adjustments. Glue all at this time.


