Wing Assembly
Note: This wing design has a flat bottom airfoil thus there’s no need
for jigs, etc. However, you will need a flat surface to build your wing.
You can get a 24” to 30” hollow door at your local home depot type
store.
1.
After all the ribs have been cutout, do yourself a favor and check
that all spar notches for exact depth and width now!! Make up the
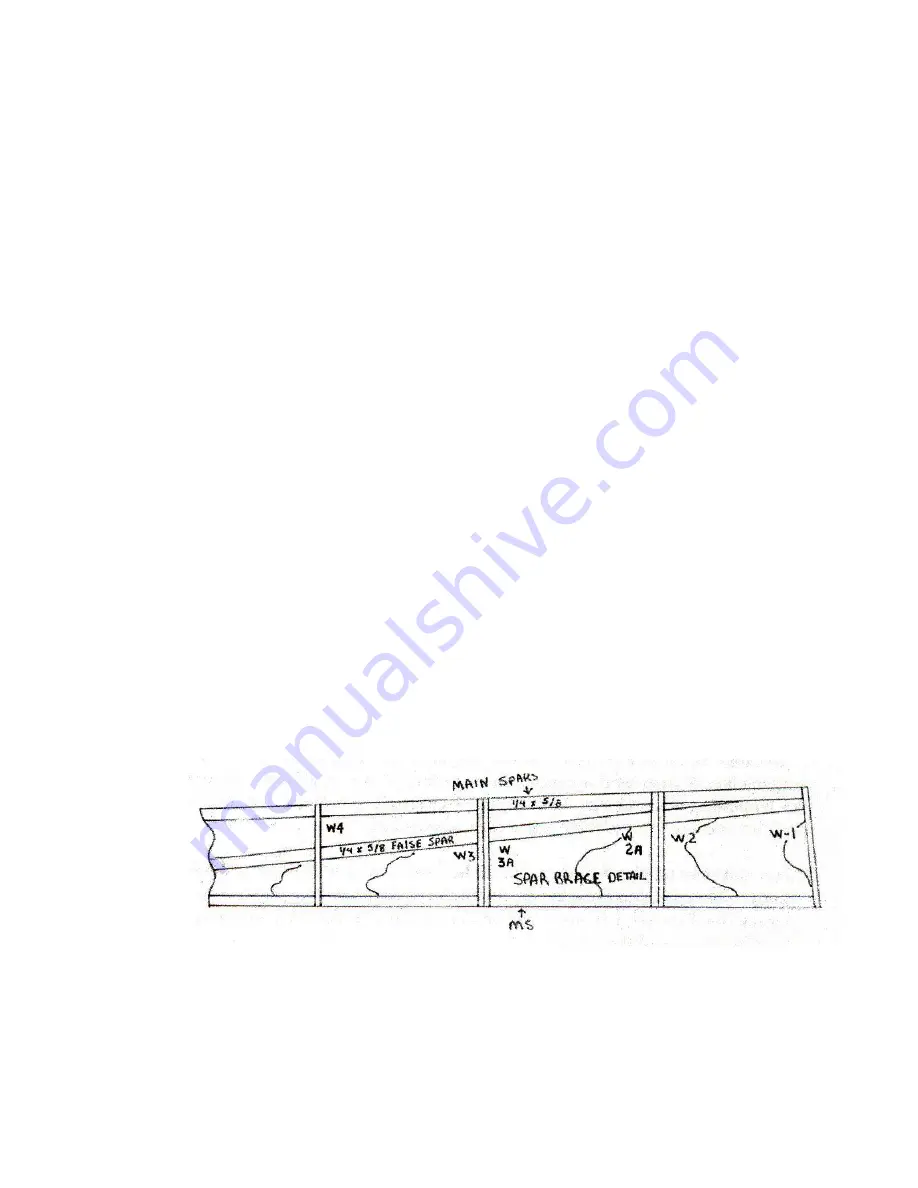
“spar brace” now. It should be 5/8” wide.
2.
Make up the 5/8 x ¼ x 36 top and bottom spars to splice with the
¼ x ¼ x 15” joining pieces.
3. Make up ribs W-2 and W-3 with their doublers. The doublers set
the angle for the landing gear plate.
4.
Make up a bottom wing sheet. It should go from mid spar toward
the trailing edge. It should be wide enough to extend ¼ beyond the
tip of the ribs. Set-aside for now.
5.
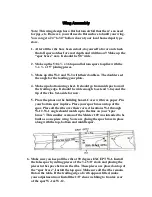
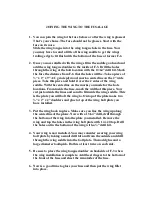
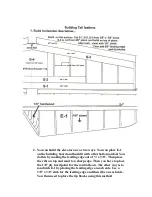
Place the plans on the building board. Cover with wax paper. Pin
your bottom spar in place. Place your spar brace on top of the
spar. Place all the ribs over their correct locations W-1 through
W-12. W-1 angle should match up to the line on your “spar
brace”. This smaller version of the Meister 109 was intended to be
built as a one piece wing. So we are gluing the spar brace in place
along with the top, bottom and middle spar.
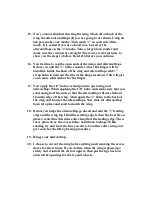
6. Make sure you keep all the ribs at 90 degrees EXCEPT W-1. Install
the false spar by cutting pieces of the ¼ x 5/8” stock and placing the
pieces in the space between the ribs. These pieces are placed on top of
the “spar brace”. Install the top spar. Make sure all the ribs remain
flat on the table. If the trailing edge of a rib appears lifted, make
your adjustment now Install the 1/8” shear webbing to front & rear
of the spar W-1 & W-12.


