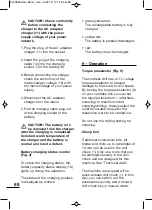
• Hold the locking ring (2) and open
the drill chuck (1).
• Insert the drill bit or screwdriver
blade. Hold the locking ring (2)
and close the drill chuck (1).
• Ensure that the jaws in the drill
chuck grasp the tool and centre
it.
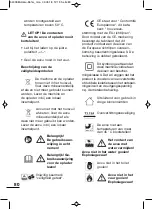
CAUTION! Accidentally
switching the machine poses
risk of injury. Set the switch for
the direction of rotation in the
centre position during standstill to
activate the on/off switch lock.
CAUTION! Risk of cutting
injuries.
• Wear gloves to insert a drill bit
into the quick-release drill
chuck.
• Tighten the quick-release drill
chuck to clamp the tool in
place.
The drill chuck of right/left
rotating machines is always
fixed with a left-threaded screw.
This must be released from the
front through the drill chuck (1)
before changing the drill chuck.
Left-threaded screws can only be
loosened by rotating to the right .
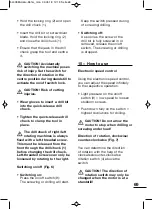
Switching on/off (Fig. 6)
•
Switching on:
Press the on/off switch (9):
The screwing or drilling will start.
Keep the switch pressed during
of screwing/drilling.
•
Switching off:
As soon as the screw or the
drill bit is fully screwed in or
removed, release the on/off
switch. The screwing or drilling
is stopped.
10 – How to use
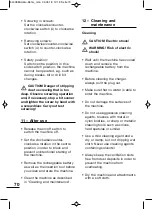
Electronic speed control
Using the electronic speed control,
you can adjust the speed infinitely
to the respective operation.
• Light pressure on the on/off
switch (9) = low speed to loosen
stubborn screws.
• Push down fully on the switch =
highest revolutions for drilling.
CAUTION! Do not allow the
motor to stop when drilling or
screwing under load!
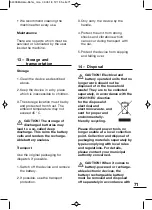
Direction of rotation, clockwise/
counter-clockwise (Fig. 7)
You can determine the direction
of rotation with the help of the
clockwise/counter-clockwise
rotation switch (4) above the
switch.
CAUTION! The direction of
rotation switch may only be
changed when the motor is at a
standstill!
69
5400980-Akku-Bohrs_man 03.05.18 12:19 Seite 69

