108 of 271
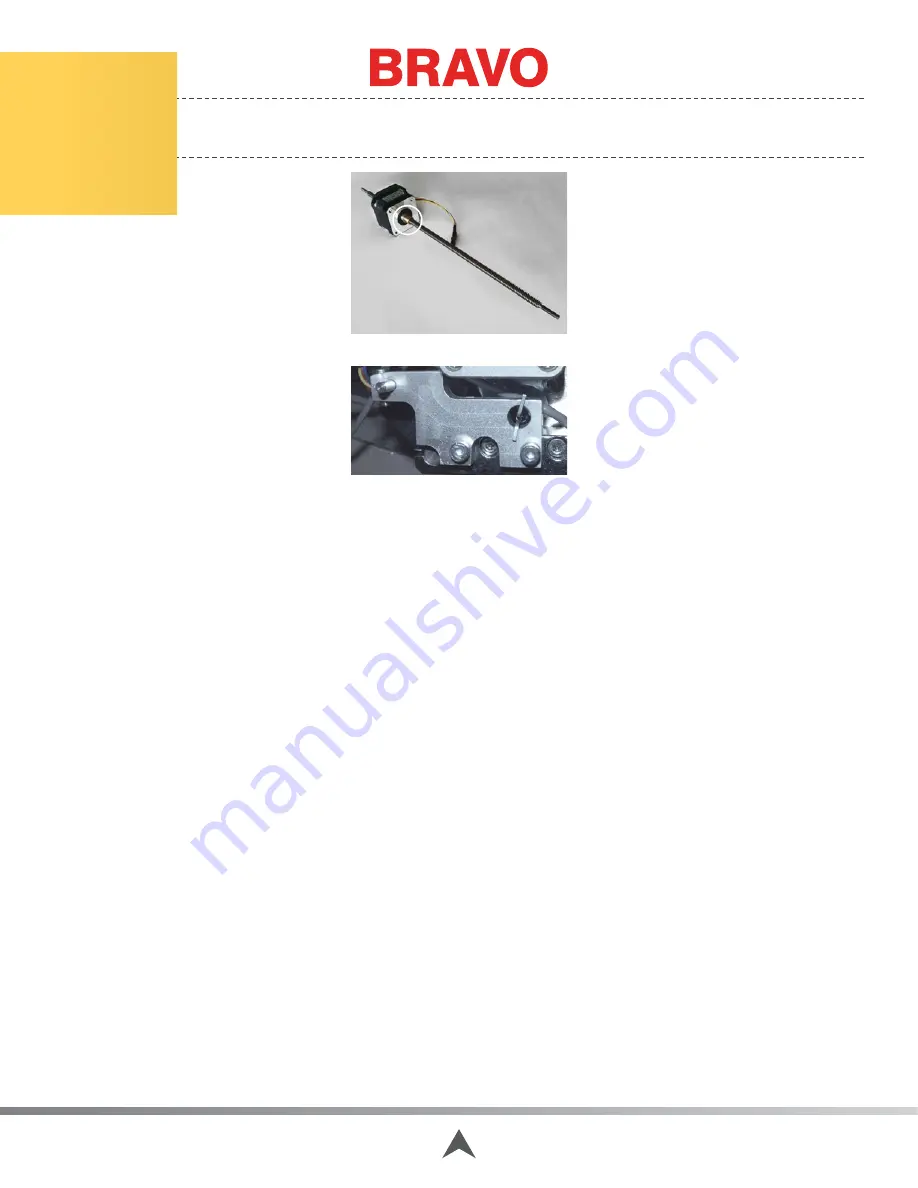
CAUTION: Do not remove the spindle from the motor as this will cause the anti-backlash nut to
spring off.
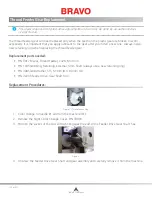
Figure 3 - Anti-backlash nut
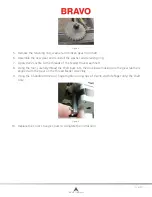
Figure 4 - Left Color Change Spindle Mounting Bracket
7. Move the needlecase assembly by hand to the left until the spindle is freed from the left color
change mounting bracket.
8. Remove the 3 motor mounting screws and remove the color change stepper motor from the color
change housing.
9. Loosen (do not remove) the two screws that mount the left color change spindle mounting brack-
et to the needlecase.
10. Install the replacement color change stepper motor onto the housing making sure that the wires
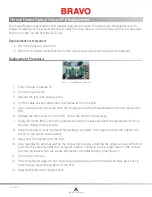
coming out of the motor face the back of the machine and down as shown in Figure 1.
11. Re-tighten the 3 motor mounting screws.
12. Turn the spindle clockwise and insert the left end of the spindle into the left spindle mounting
bracket until the threaded portion of the spindle is flush against the bracket.
13. Tighten the screw that clamps the bracket to the spindle.
14. Mount the right color change spindle mounting bracket to the needlecase. Tighten the clamping
screw. Leave the screws that mount the bracket to the needlecase loose.
15. Connect the color change motor harness to the motor.
16. Turn the machine ON.
17. Color change to Needle 16, tighten the two screws on the left color change spindle mounting
bracket.
18. Color change to Needle 1 and tighten the two screws on the right color change spindle mounting
bracket.
19. Check for free movement of the color change from Needle 16 to Needle 1.
Table of Contents


