119 of 271
Presser Foot Assembly Replacement
•
This procedure should be done only by an authorized service technician.
Repair Parts Needed:
• Presser Foot Assembly Repair Kit
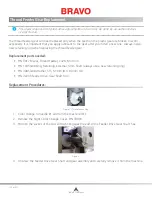
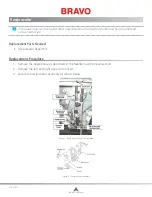
Figure 1 - Presser Foot Assembly Installed
1. When replacing the presser foot assembly, replace ALL of the parts that are in the presser foot
assembly repair kit.
2. With the machine on, take the z-shaft to its HEAD UP position.
3. Turn the machine off.
4. Pull all of the thread out of the needles only and tie them all together in a knot at the bottom.
5. Remove the needle case access cover.
6. Remove the needlecase cover and let it hang on the bottom by the threads.
7. Loosen the top screws on both the left and right color change spindle mounting brackets.
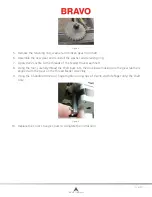
Figure 2 Wire Installed Through Take Up Levers
8. Slide a stiff wire (e.g., a piece of hanger wire) through the take up levers as shown above to keep
the take up levers together (to make it easier to reinstall the needlecase later).
9.
Slide the needlecase carefully to the left and allow the first two needles to drop.
10. Remove the right upper arm front cover.
11.
Loosen the top and bottom M4x4mm flat point set screws that hold the presser foot shaft in
place.
CAUTION!!
Hold onto the spring as you remove the presser foot guide shaft. It might jump
when the pressure on it is released.
Table of Contents


