216 of 271
Y-Drive Belt Replacement
The Y-drive belts will wear out and stretch over time. To extend the useful lifetime of these belts, always
ensure they are properly tensioned at all times. Incorrect tensioning of the belts will cause them to wear
prematurely and might also cause damage to the machine itself.
•
This repair requires timing and other adjustments and should be performed by an authorized
service technician.
•
When replacing y-drive belts, always replace both belts as a pair. Leaving a worn belt on the
machine with a new belt installed on the other side can cause both belts to wear prematurely
CAUTION!!
At any time when the machine is either powered down or in E-Stop mode, neither
the X- nor Y-carriage should be moved at a high rate of speed. If there is a desire to manually
move either carriage, it should be pushed or pulled GENTLY to prevent serious damage to the
main control board.
Replacement Parts Needed
• Belt, Timing, Open, AT5-16 X 1124 Long (two pieces)
Replacement Procedures
1. Color change to Needle #16.
2. Turn the machine OFF.
3. Remove the left upper arm front cover.
4. Remove both the left and right upper arm covers.
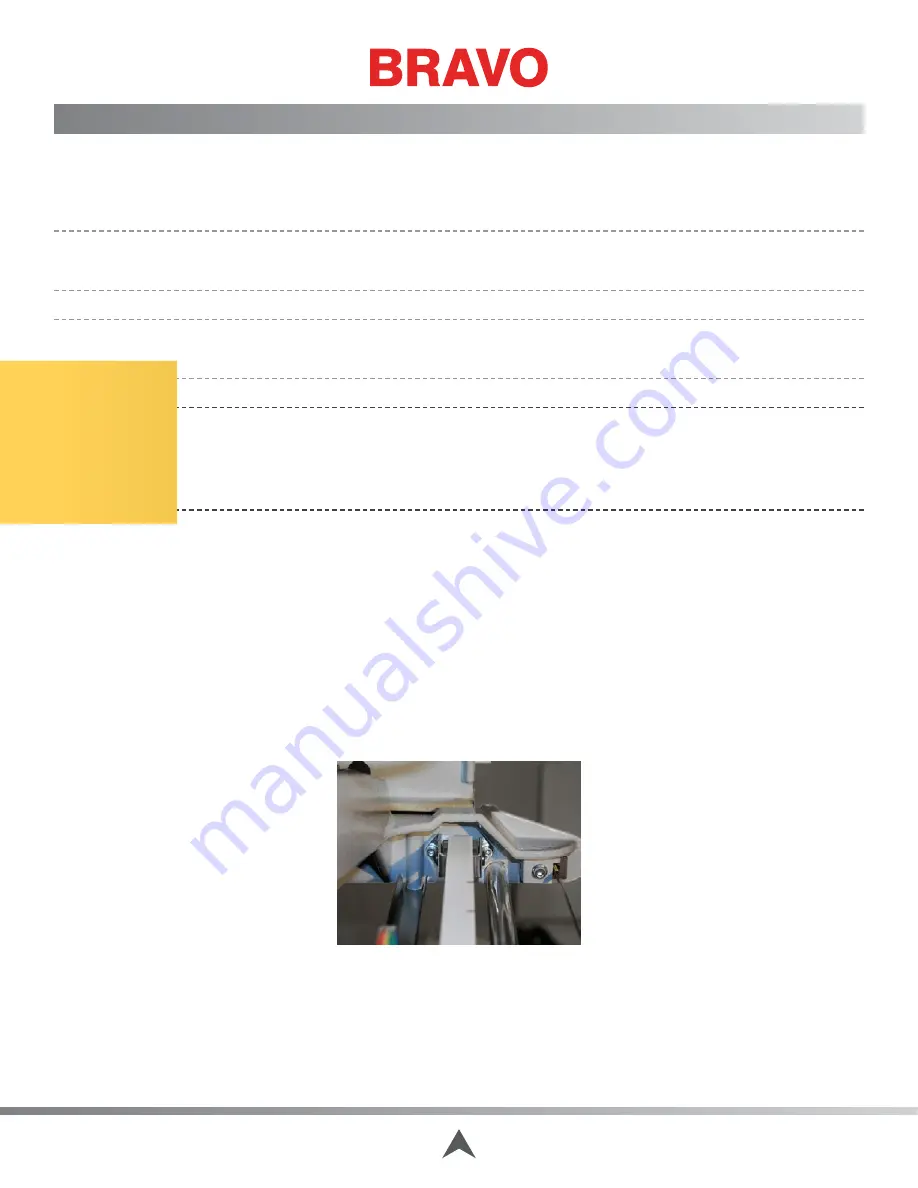
Figure 1 - Y-Drive Belt Adjusting Nuts (Left Side)
5. Loosen the tension on the y-drive belt by loosening the nuts on the idler bearing mounting brack-
et studs.
Table of Contents


