85 of 271
5. Push the force gauge (attached to adapter) down on the upper y-belt until the belt touches the
Y-belt tensioning fixture. The force should read 8.1 ± 0.3 lbs.
6. Repeat steps 4 and 5 for the other side of the machine. If the belt tension on either side needs to
be adjusted, proceed to the adjustment procedure.
•
Note: If a BRECO meter is used to measure the tension, the measurement should be 45-50 Hz.
Y-Axis Belt Tension Adjustment
Procedure for Y-belt on left or right side of machine
1. Turn the machine OFF.
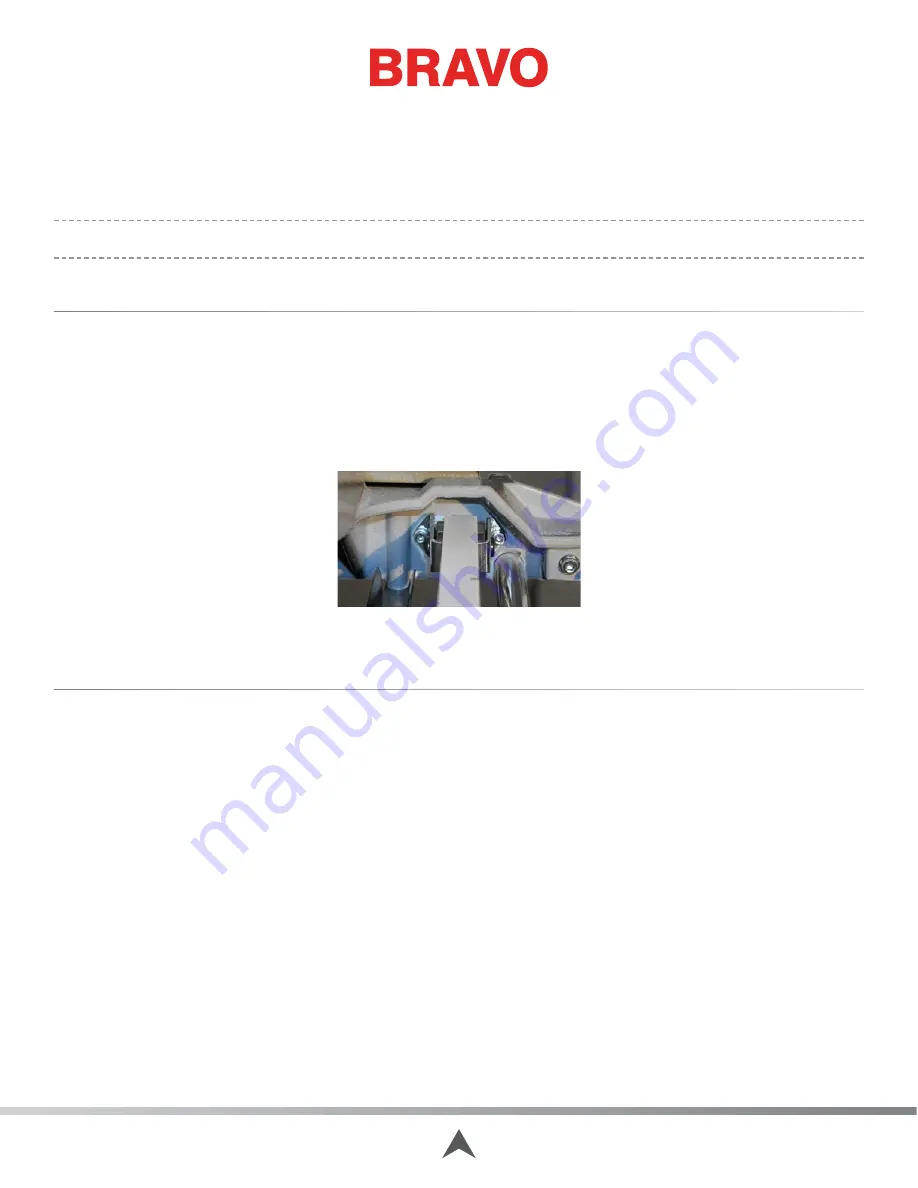
2. Move the x-beam back and forth a few times, bring it to the front to a dead stop, then adjust the
tension up or down at the tension adjusting screws indicated in the image below. To increase the
tension, turn both adjusting screws clockwise by the same amount. To decrease the belt tension
turn both adjusting screws counterclockwise by the same amount.
Figure 3 - Y-Drive Timing Belt Adjusting Screws
When Belt Tensions are Correct
1. Reinstall the left and right arm covers.
2. Do a short machine functional test and observe correct y-axis movements. If the belts travel on
the idler pulley off-center to the left or right, readjust the tension starting at the beginning of this
section.
Table of Contents

